Art Niche Decorating Idea
Easy Upgrade for Your Art Niche
I’m kicking off this blog post by telling you guys, I am not a fan of an art niche. I never have liked them and I can’t really tell you why. They seem somewhat limiting and kinda hard to decorate. Am I alone in my feelings? Well, our new house has one art niche, it was pretty boring and just blended in until we dressed it up. I’m going to show you how we upgraded our art niche with wood tile! Sounds hard, but it was simple.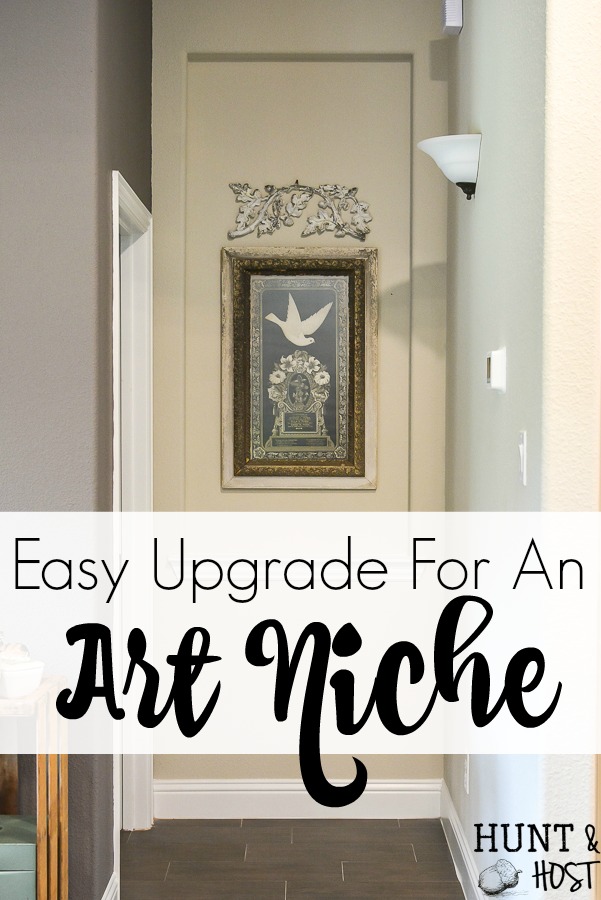
This post is sponsored by DIY Decor Store, all opinions and ideas are 100% my own.
This little turn into the master bedroom was boring and felt kind of lost and random. I wasn’t really sure what to do with it, I didn’t feel like simply painting it was the look I was going for. When I saw Aspect Peel & Stick Wood Tiles I knew it would be the perfect addition to this space and I was right! I can’t even explain the transformation it made to this room. The DIY Decor Store has a variety of products to help you easily update your home DIY style. My friends also did some projects around their houses you should check out (all links are down below!). I’m sure they will help you get ideas on how to transform some difficult spots, there are some seriously amazing transformations…these ladies rock!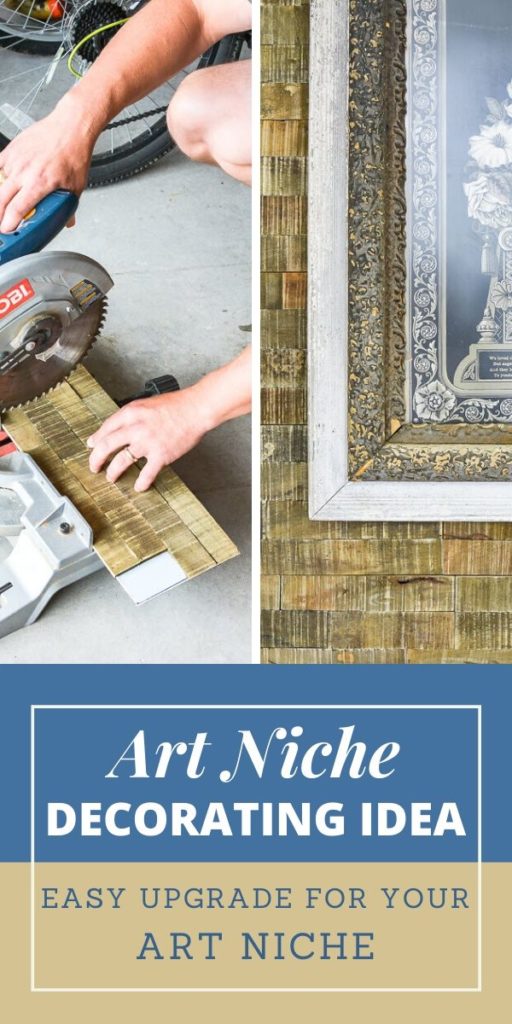
Let me show you how we used wood tiles to decorate our art niche.
How to hang Peel & Stick Wood Tiles
- I ordered the Aspect Wood tiles and let them rest in the house. The wood tiles are real wood and just like wood flooring, you have to let the tiles get acclimated to your home so they don’t swell or shrink after you hang them. I stuck them in my office for a few days.

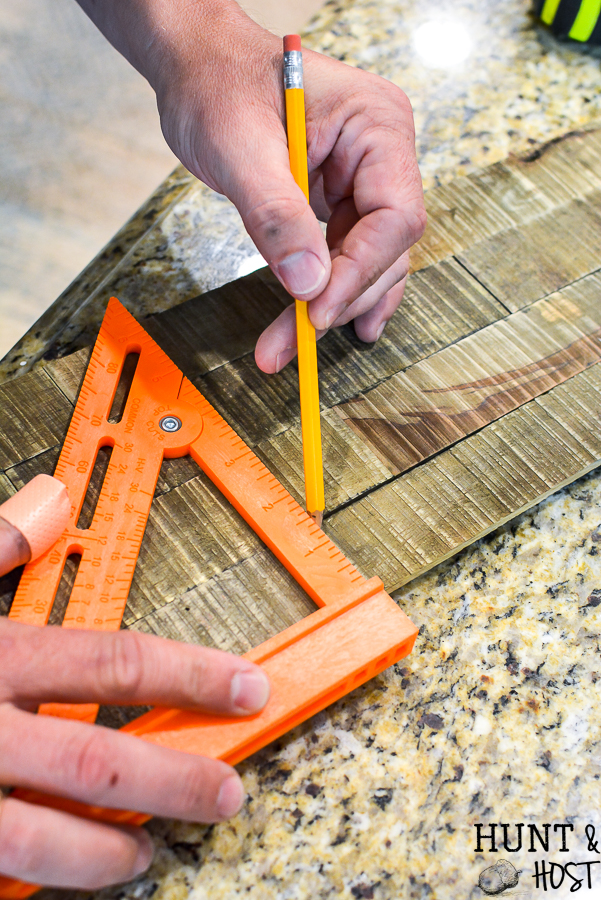
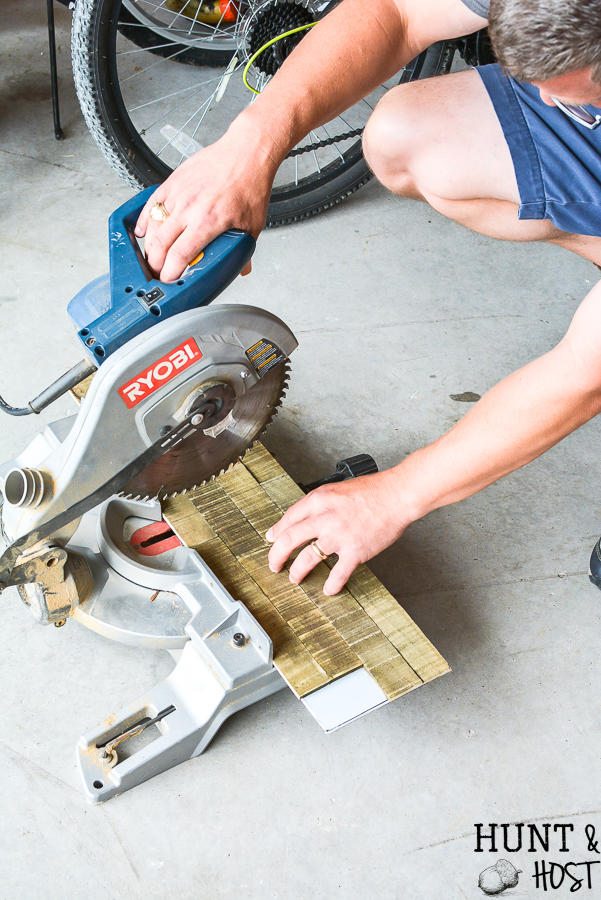
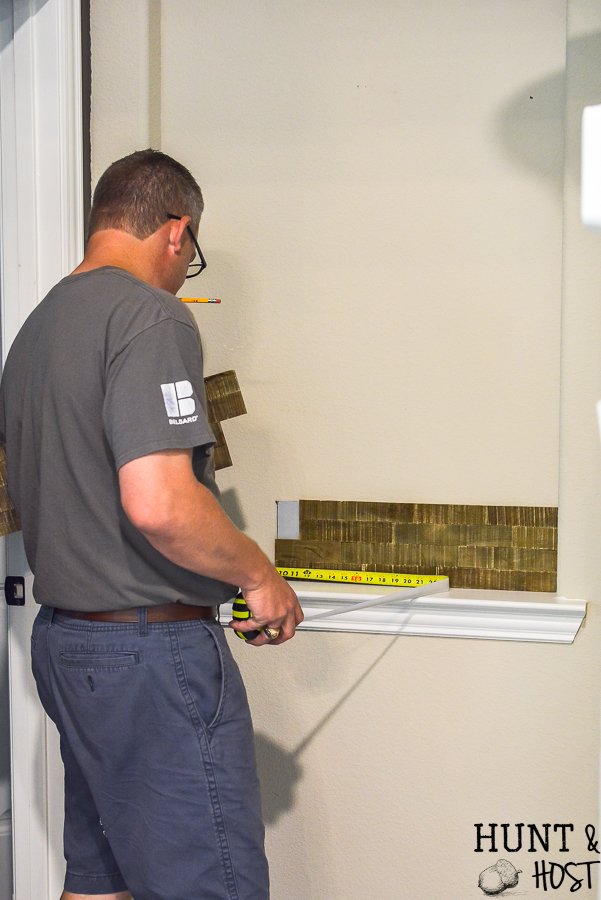
- My husband was so sweet and basically did the install for me, he was up for a quick and easy project. We started by cutting the long piece off the edge of a tile and then measuring the next one to fit the spot. You want to measure and dry fit each row before you pull the paper off the sticky backing. This stuff REALLY sticks, so you need to have the measurements right the first time. We went one row at a time for accuracy. We used a chop saw to cut the wood tile pieces.
- Once you know your measurement is correct, peel and stick the individual tiles.
- Move to the next row. Make sure to check and make sure the board seams aren’t lined up, you want a more random pattern. If they are just flip the board or switch the order so no seams are in a line.
- Continue until the top.
- We had to rip (cut the long way) the last row of boards for the height to be correct.
- Stand back and enjoy
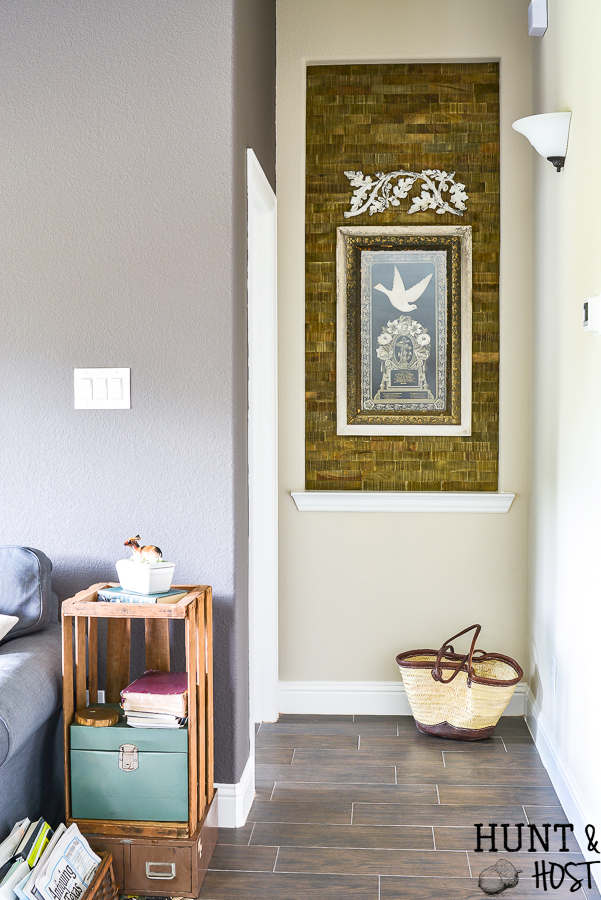
This was honestly one of the quickest projects with the most dramatic results we’ve ever done. When we finished my husband said, “we need more projects like that, low effort, big impact!” I couldn’t agree more.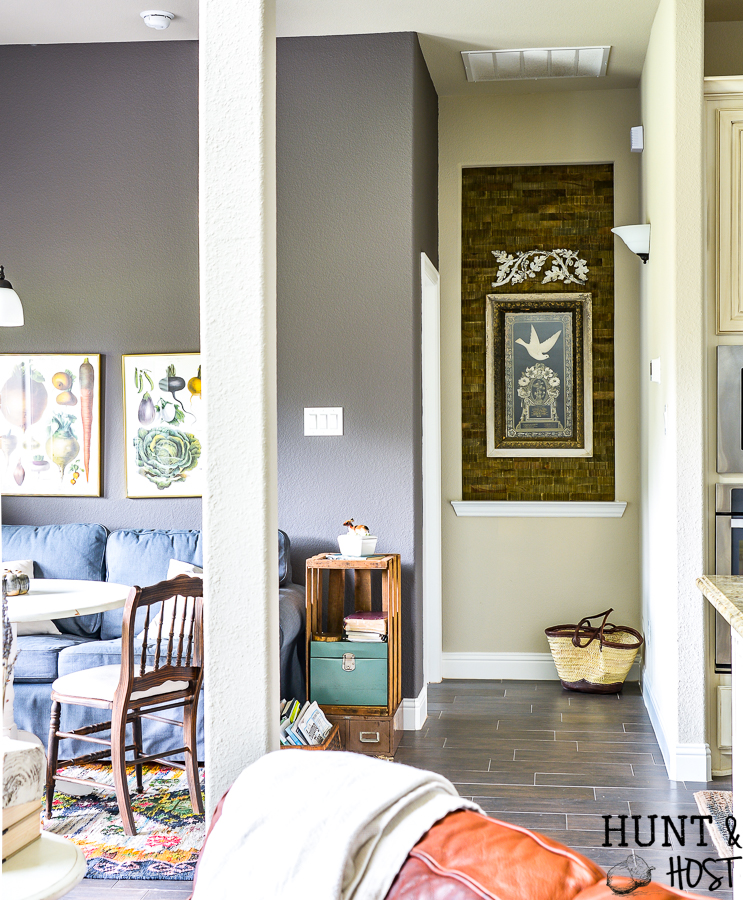
The tiles are great for a variety of applications like upgrading a backsplash, finishing an accent wall or decorating small spaces with big flair. My friends are ready to show you a few other ideas that might help you take a space in your home from ho-hum to spectacular in no time, so if you didn’t peek at their projects, please be sure to head over now! I’d appreciate you sharing this project if you enjoyed it!
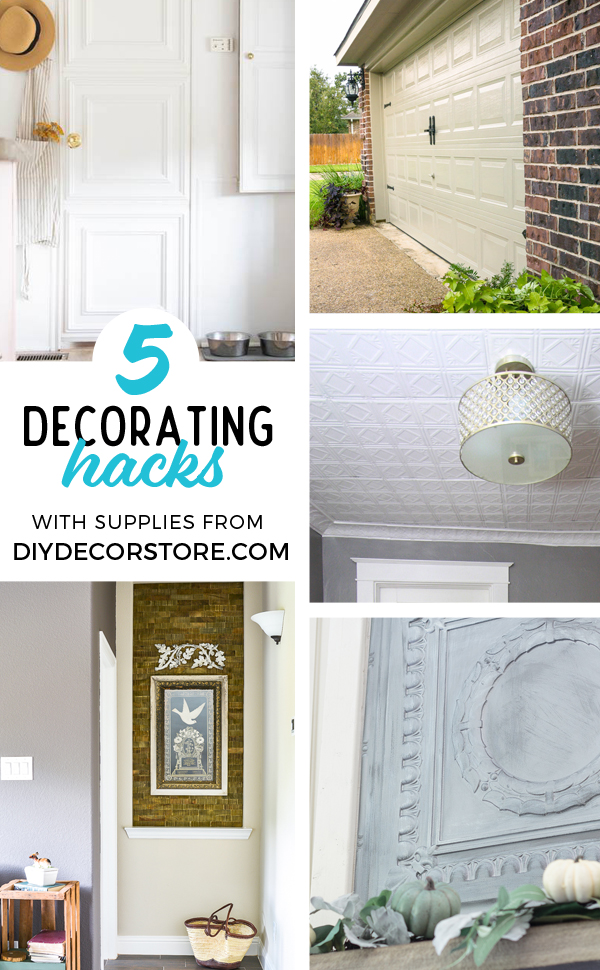
Here’s some awesome decorating hacks using supplies from the DIY Decor Store:
It turned out so good kim! I did not even know what an art niche was until now! So cute!
lol – maybe it’s a southern thing, but they are everywhere in new construction
Looks great, excellent upgrade!
thank you, still can’t believe how easy it was
Gosh, I wish I had art niche now! This is an amazing little transformation!
so funny – they are still not my fav but I am loving this one now!
It turned out so nice ????????. Great job!
Also, thanks for gathering the courage and obedience to pray on FB live yesterday. I saw it at just the right time and it encouraged my heart tremendously! You and Brooke are on fire and your “flames” are warming the hearts of many with God’s love. Thank you!
Thanks you so much Moriah! I appreciate you and your encouragement so much, I am thankful the prayer touched you. Brooke is such a wonderful soul, I am so thankful for her too!
Love the niche. Much warmer and eye appealing!
thanks friend!!!
what a fun way to jazz that area up. I swear southern builders love them! Looks great!
Thanks Sara – I don’t get it but you have to do something with them right!?
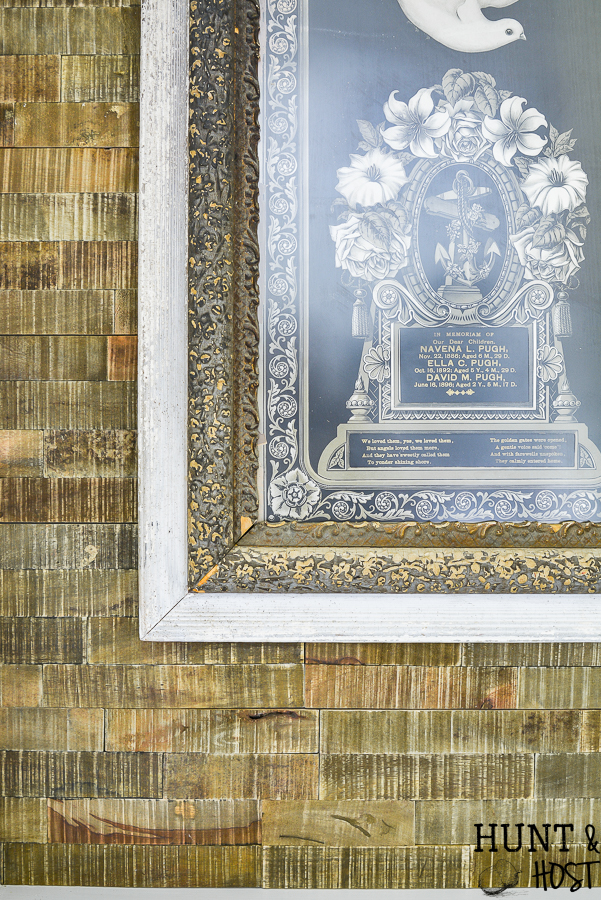
This is so so pretty! I love that wood product and your project shows it off really well. But that art piece! Where did you get it? Three children lost to death … at ages 2 months, 5 years and 2 years?! How awful! I wonder what happened?
thank you and the mourning piece was my family. I found it at my grandmother’s house. I am not sure what happened, but it was unfortunately very common to lose children back then 🙁