Farmhouse Garden Tray: Napkin Painting Tutorial
Today I’m sprucing up a wooden serving tray I got for a dollar at a local flea market. I’ve been eyeing all the gorgeous furniture I’ve been seeing gussied up with napkin print. 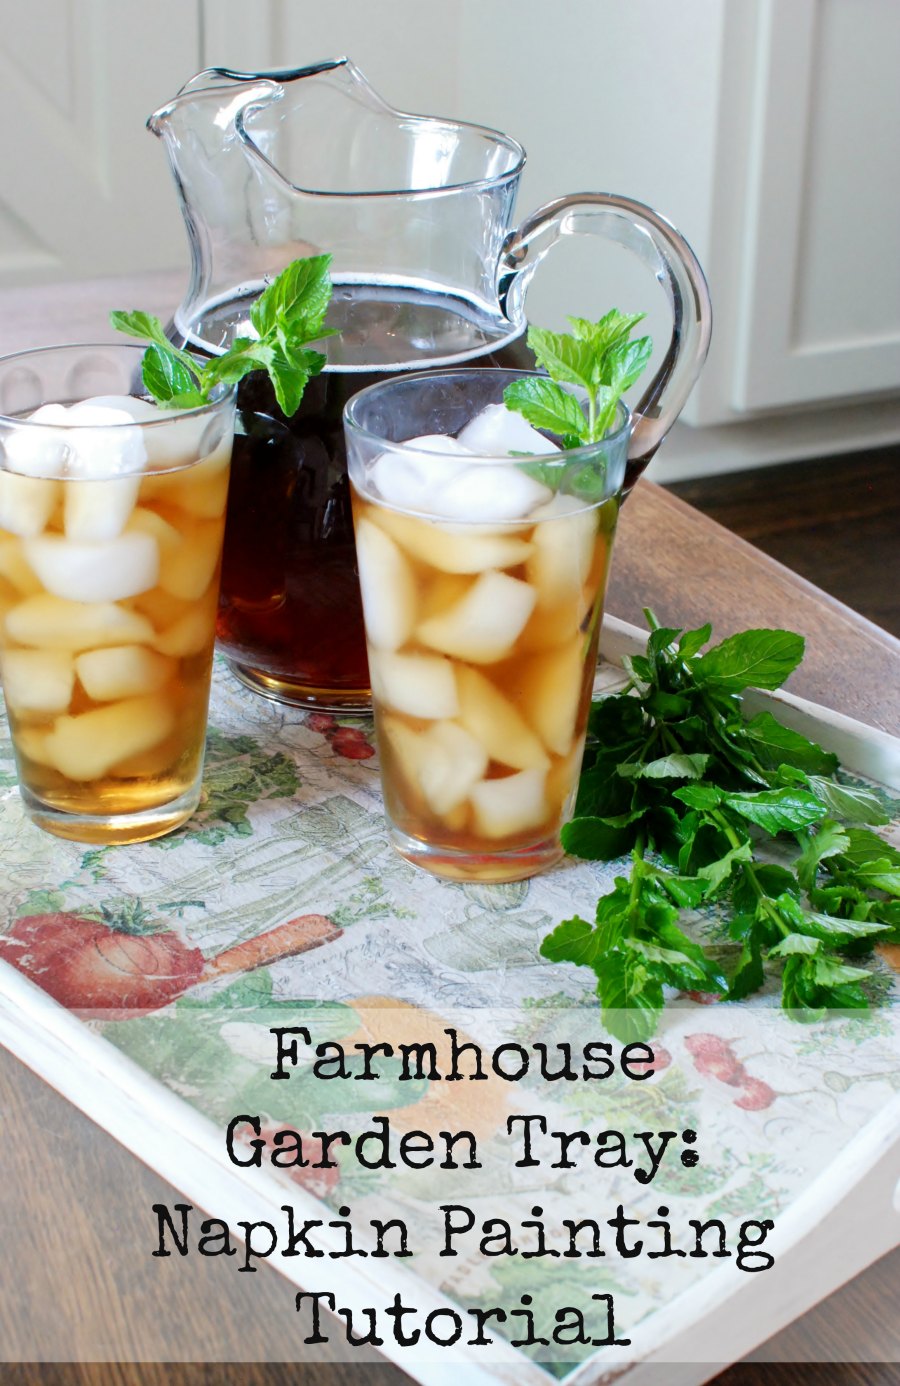
Have you seen some? It looks as if some amazingly talented artist hand painted a beautiful pattern that has aged and worn over time. But really it’s just a napkin. And it’s so easy to do!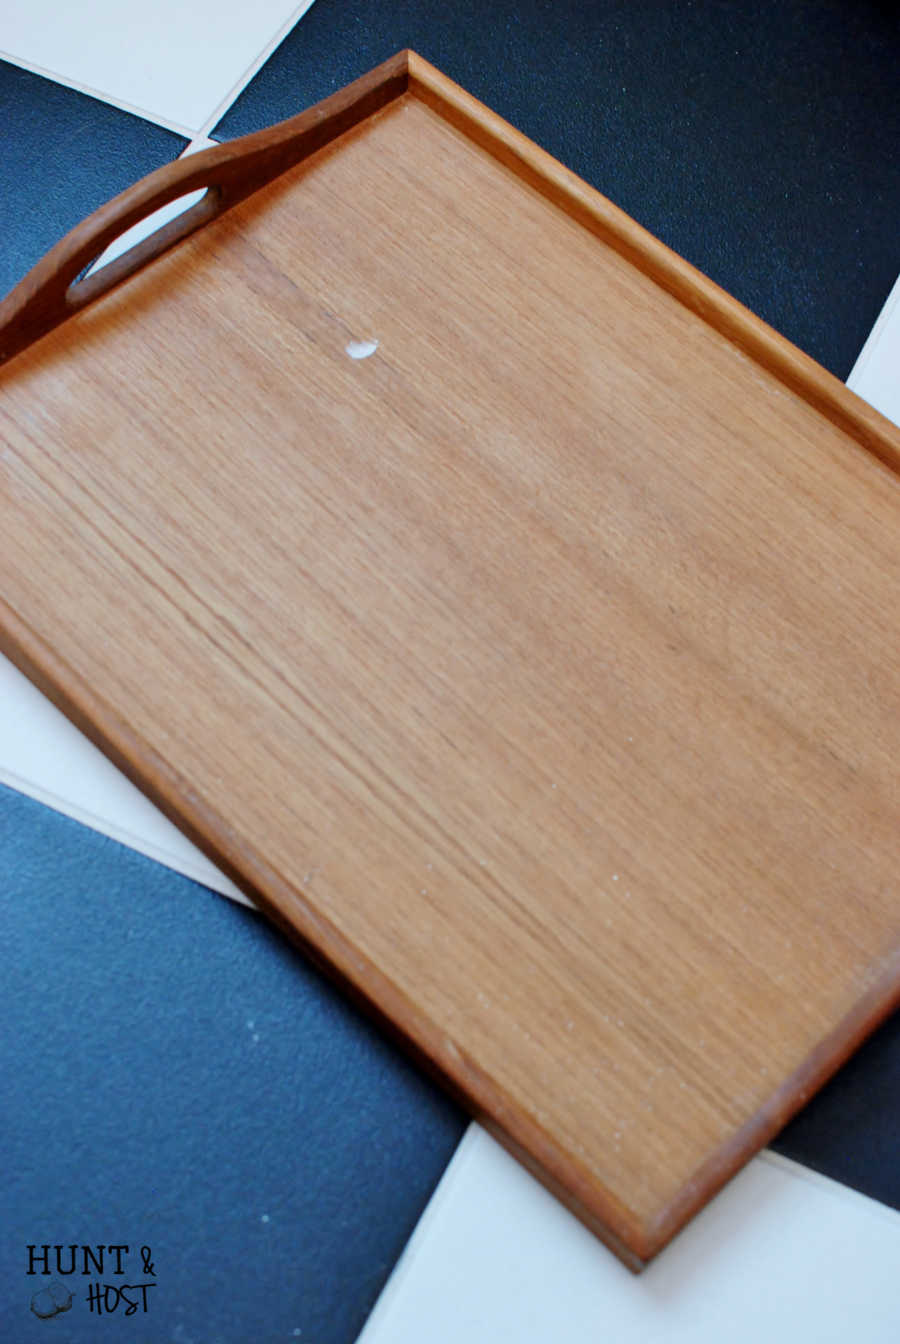
The hardest part was finding napkins I liked. Tuesday Morning had a great selection and that is where I got these farmhouse garden napkins.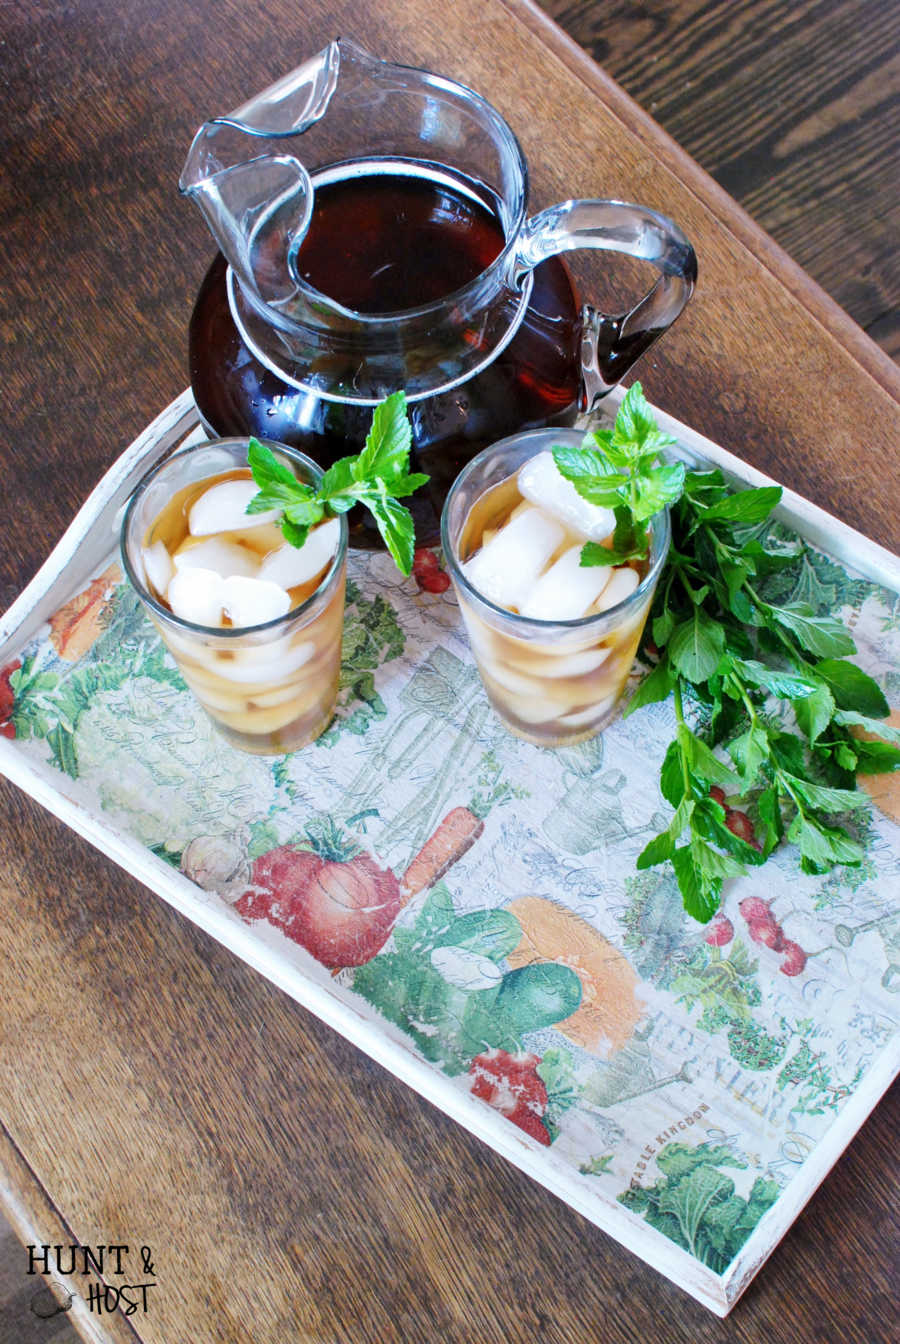
I started by painting my tray white.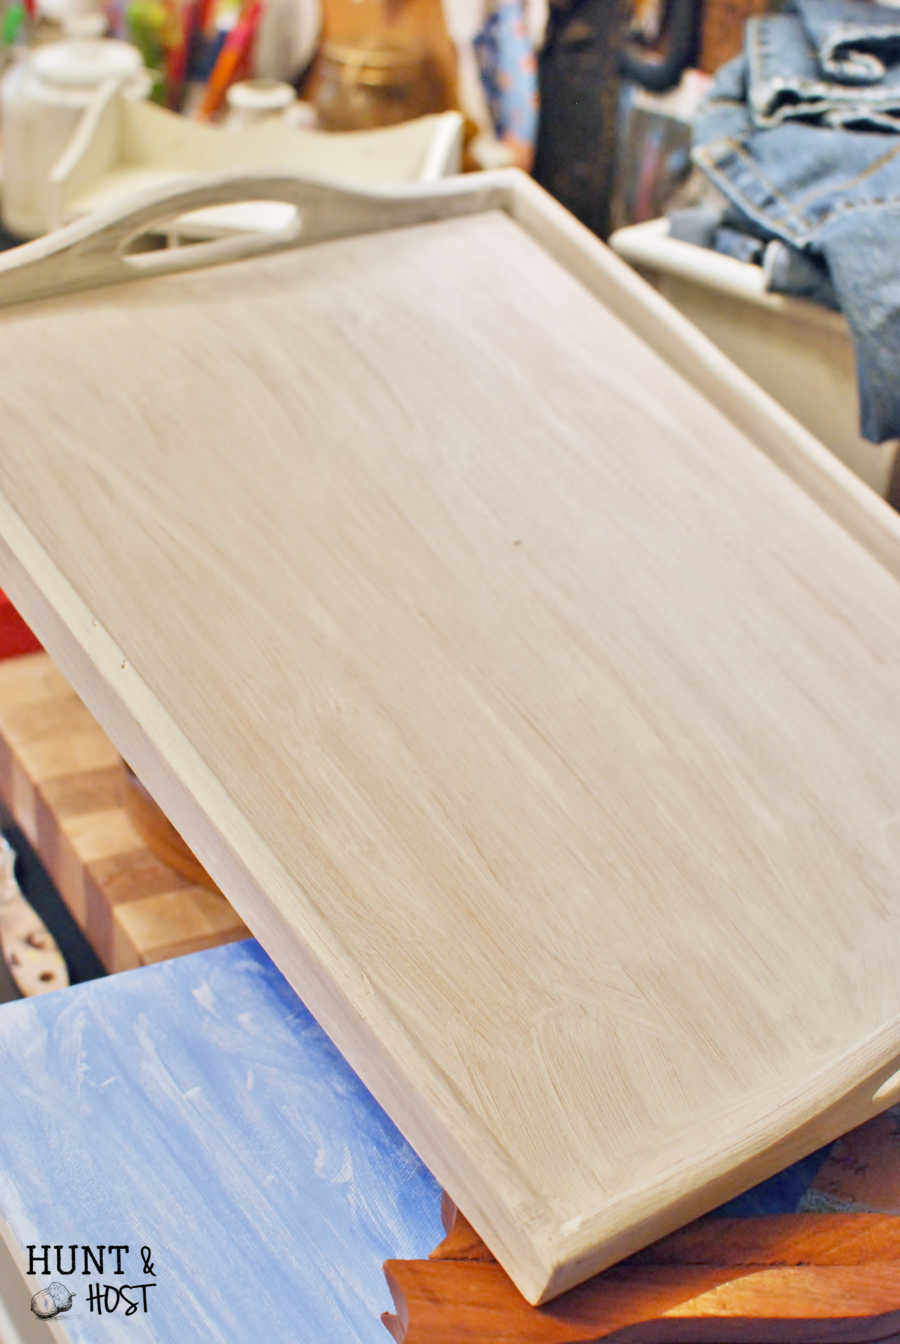
Next you need to separate the layers of the napkins. They are typically three ply. Two layers separate easily, the third you have to work to get started. Throw away the two extra white layers. 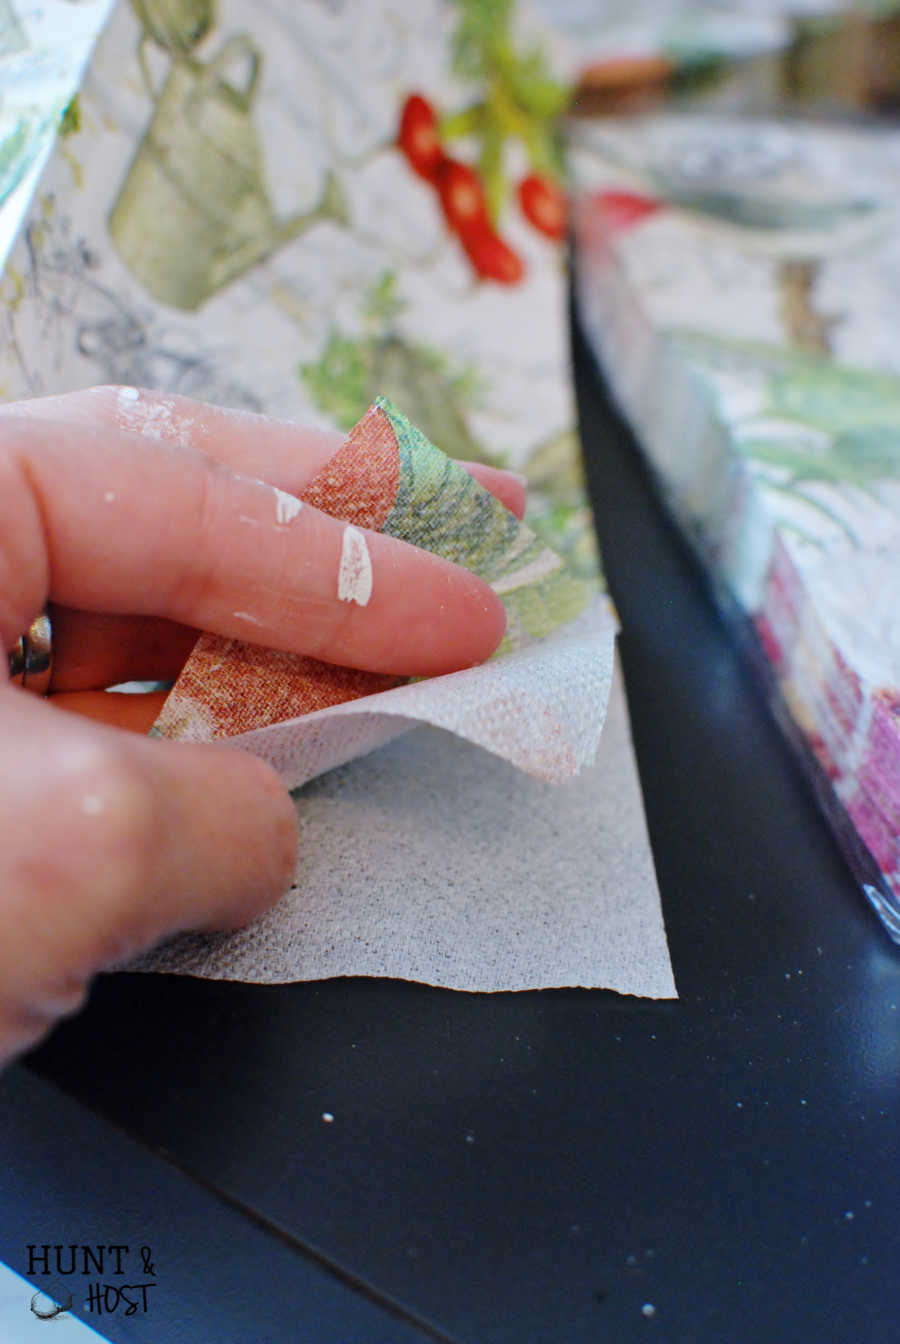
Since I was just “painting” the inside of the tray I cut two napkins to fit. I would have liked to match the seams, but the napkins I used didn’t have a repeat pattern, so I couldn’t. Once distressed it’s hard to notice.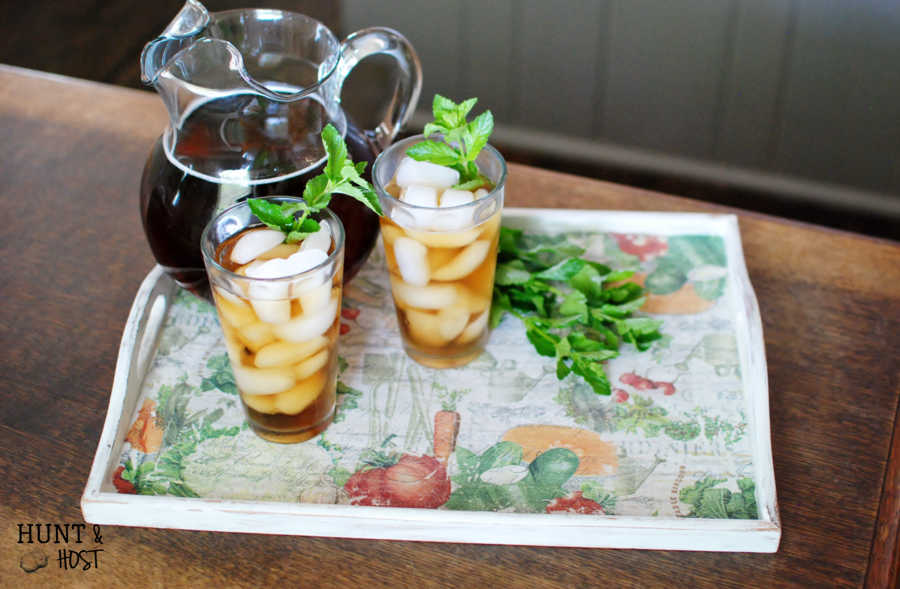
Coat the surface you are decorating with a good dose of decoupage. If you are doing a large area work in batches because the decoupage needs to be wet. Lay napkin down and gently press out bubbles.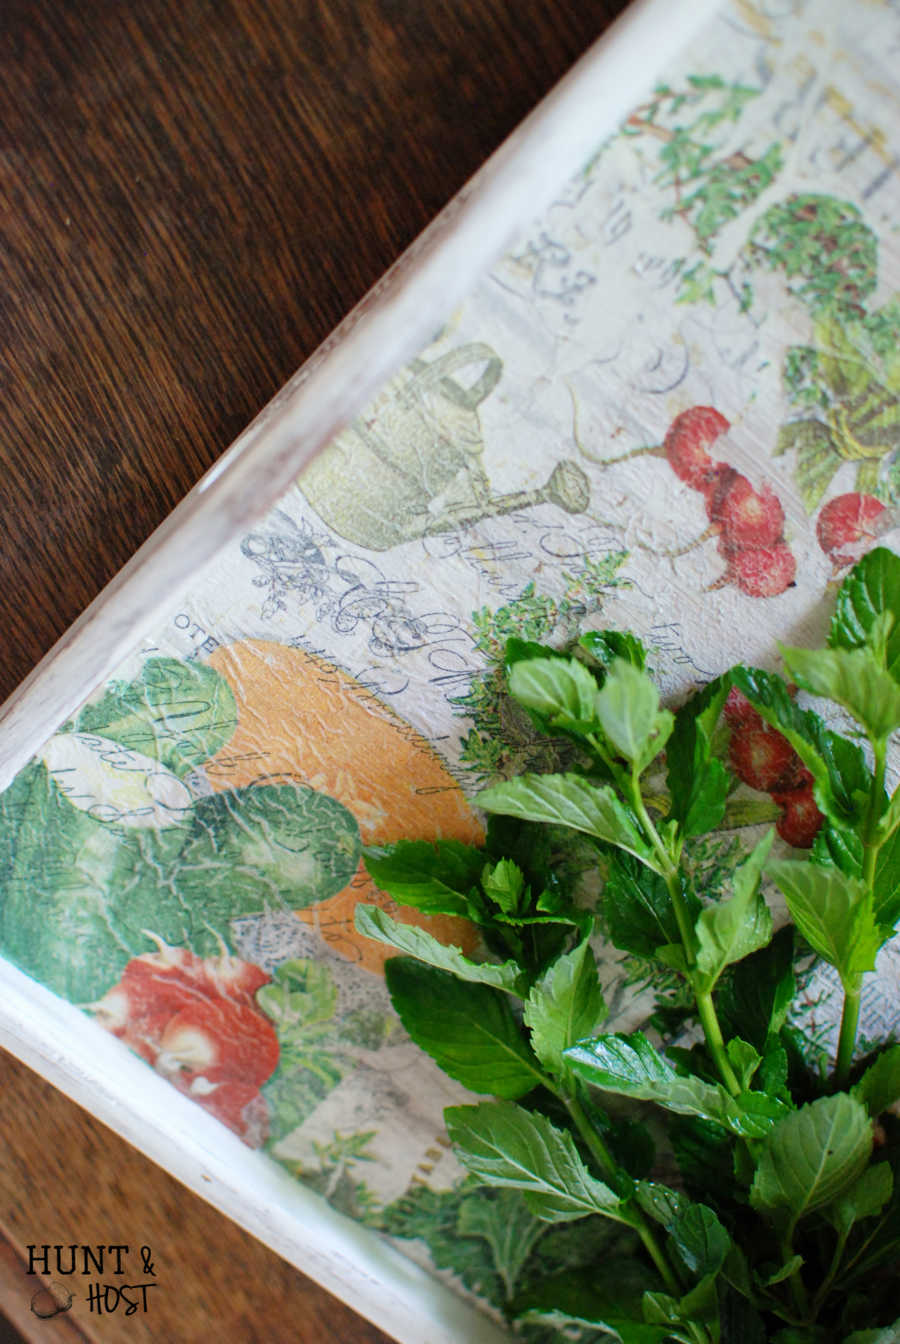
A few wrinkles here and there are ok because again, once you distress they just blend in. I only used decoupage under the napkin, not as a top coat.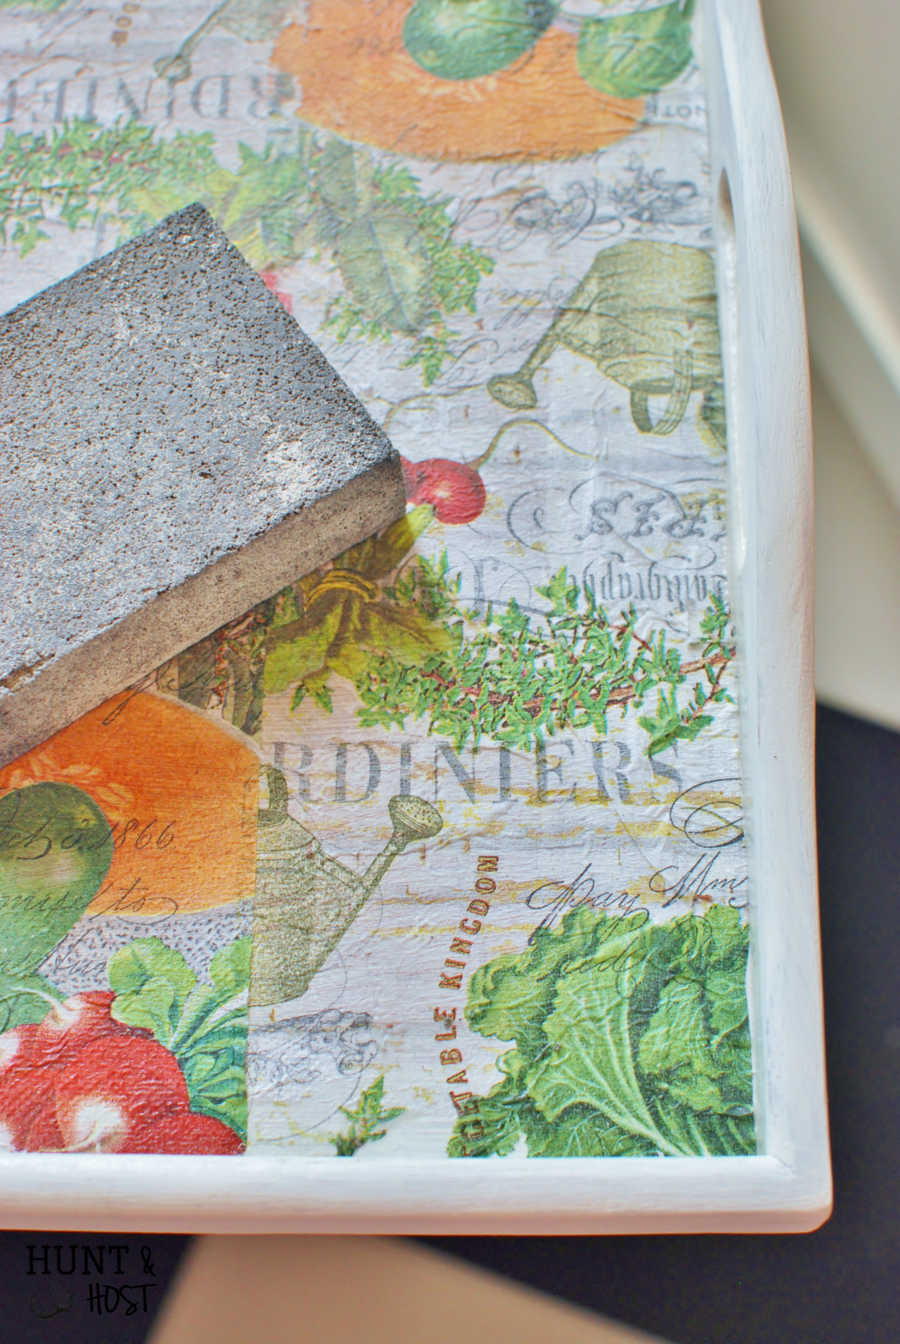
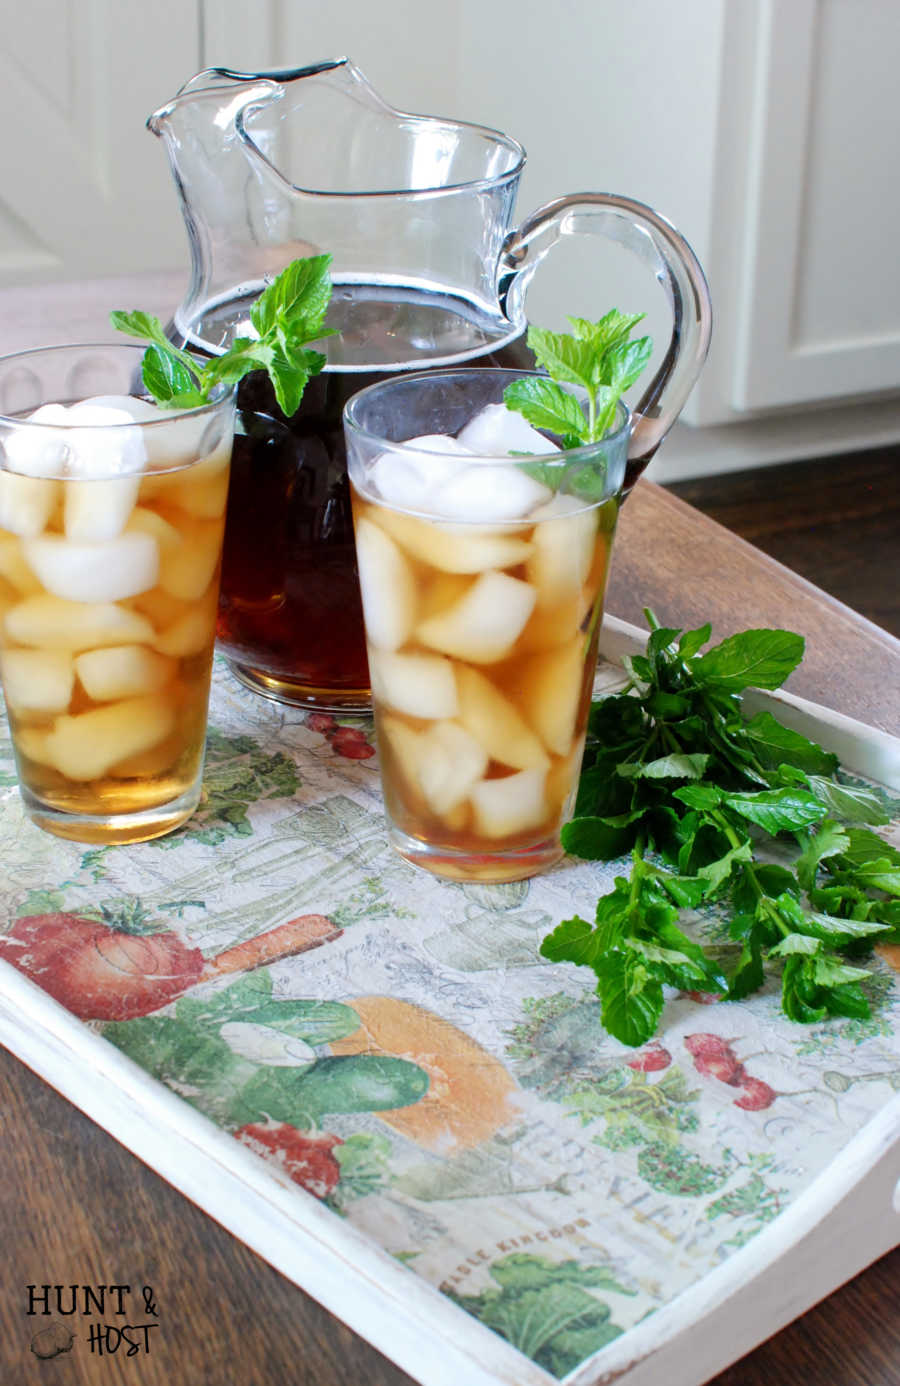
I let my napkins dry completely overnight. As a final step I lightly sanded the entire tray, including the napkin covered areas for a worn in look.
What an easy and inexpensive way to makeover thrift store scores! Please take a moment to check out the other farmhouse projects my friends have for you this month.
Click their names or photos below to see each blogger’s project!
Angie @ Knick of Time
Susan @ Love of Home
Julie @ Love My Simple Home
Laurie @ Vin’yet Etc.
Paula @ Sweet Pea
Tammy @ One More Time Events
Stacy @ Anastasia Vintage
Kim@ Hunt and Host
Tricia @ Suburban B*tches
Amy @ My Life From Home
Christen @ DIY Swank
Megan @ Hello Farmhouse
Tara @ Lehman Lane
Visit our hashtag #FarmhouseFriends on social media as well!


Your tray looks fantastic! What a transformation! Did you put a protective sealer on before you sanded?
Thank you – I didn’t put a sealer on it. I am thinking about it since it will have wet items on it. I will either use a matte modge podge over the top, or may try waxing it, but sometimes wax doesn’t work on odd surfaces like this…it might pull up the napkin. I welcome an y ideas other than these!
I use the napkins on marble tiles from Home Depot and put several coats of the Hard Coat mod podge and then seal with Minwax, Polycrylic water based protective finish.
LOVE this idea, I might have to copy you!!!! thanks for the tip!
have a piece of plexiglass cut to the size of your tray and just lay over your beautiful napkin tray. If you every want to change out your napkins, just lift out the plexiglass or gets dirty, just wipe off with damp cloth.
Lovely! I think I say this every time I comment, but you come up with the best ideas! I have a slight napkin obsession and this would be a good way to use some of my pretty ones.
lol, Thanks Paula! It was fun to hunt for the napkins!!! I would love to see your “collection”!
What a darling project! I love trays and this one is so sweet!
It turned out really fun! thank you
I seriously want to come and make stuff with you all day! You’re such an inspiration!
well come on!
I love this tray and the pattern is absolutely adorable! Pinned
Thank you Tammy, I appreciate you sharing, so glad you liked it!
I love pretty napkins, such a sweet project!
Julie @ Love My Simple Home
It’s such an easy project for such a big impact too, that’s what I love! Thanks Julie!
That is a cute tray, great idea, thanks.
Glad you like it!
How clever, there are so many napkins that are completely adorable, fantastic idea!
There are a ton of choices, you could do so many different things with this technique!
Great transformation, Kim! I love those garden patterned napkins you incorporated. This tray is so perfect for summer!
thank you!
Your tray looks great Kim! It’s perfect for carrying those cold drinks.
Thanks Tara, it’s a fun summer piece
This is very pretty and would make a great hostess gift.
That’s a fantastic idea…there are so many thrifty makeovers that would be great gifts!
Beautiful tray. love the napkin you chose! I would protect the surface with ModPodge or varnish just in case it gets wet with the drinks.
thanks, so glad you like it, I did go over it with a paste wax for protection, so far that has been great, but those would work too!
Love your tray along with the pretty napkins.
I love all your cute ideas. cute tray
thank you friend 😉