What To Do With Left Over Wrapping Paper
I don’t know about you, but I always have so much wrapping paper left over after the Holidays! I personally HAVE to buy at least 3 new wrapping paper rolls each year. What started as something to make my life easier, has now become a bit of a tradition in this family– and that’s different wrapping papers for each kid! They’re different every year, they’re different for every kid, and they’re usually something that I feel matches their personality or reminds me of them (and they never know which one is theirs until Christmas morning– although they do try to guess)! And I have to get a different wrapping paper for any other gifts I’m giving, so they’re all different under the tree! I really do enjoy doing it this way, but it leaves me with an abundance of wrapping paper– that I can’t really use the next year! I’m not a fan of wasting, hence an idea was born: Wrapping paper garland!
If you know me, you know I LOVE a garland! Any season, any supplies, whatever the case, I always default to a garland! They’re beautiful, they’re generally easy, and I can always pull one off on a budget! If you’d like to see more DIY garlands, you can see that on the blog HERE!
Not only are we using leftover wrapping paper from the roll itself, but if your people happen to tear their wrapping paper nicely (or not to shreds anyway) you could use that too I imagine!
what you need
- Circle cookie cutter or jar lid (mine was about 5″ across)
- Scissors
- 26 gauge wire or string (I prefer wire since it holds the garland’s shape better)
- Leftover wrapping paper

let’s make a wrapping paper garland
Once you’ve gathered your leftover wrapping paper, you can start by cutting your circles! I used a jar lid that was about 5″ wide, traced it, and then folded my wrapping paper over itself multiple times in order to cut multiple circles all at the same time– I’m all about making things easier on myself! And it DEFINITELY doesn’t have to be a perfect circle! As a matter of fact, I think it’s better to be a little messy!
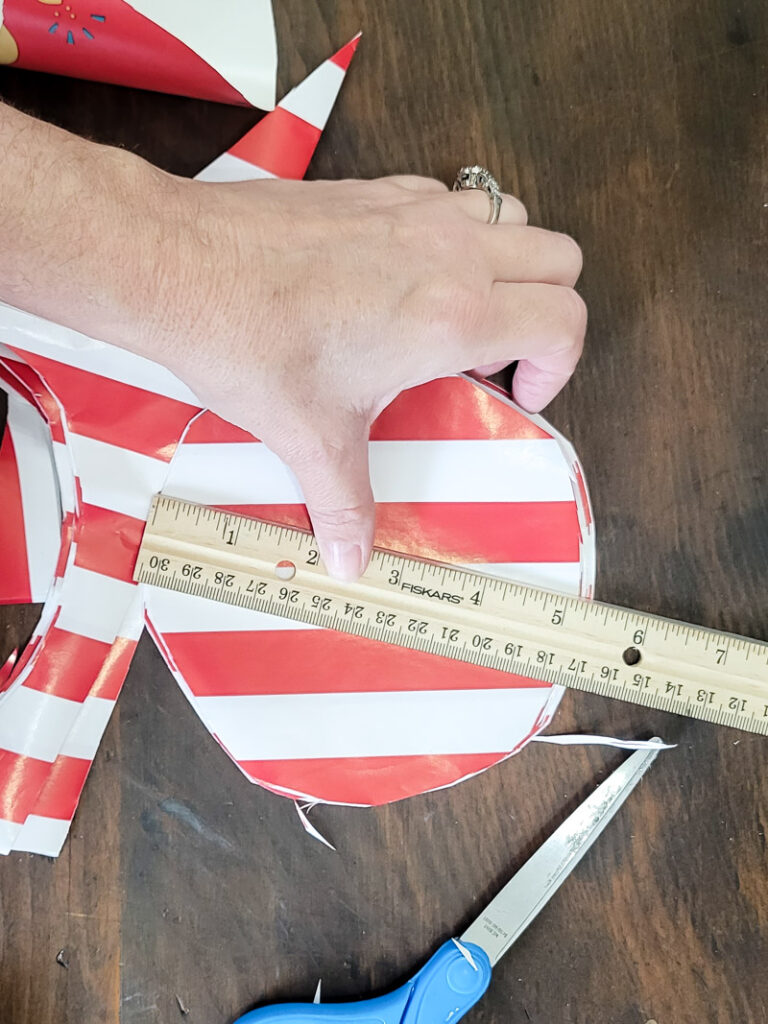
And then I used the circles I’d already cut to create more circles with different wrapping paper– like a stencil! I had about 50-60 circles for my garland, but the amount you need depends on the size garland you’re looking to make, of course!
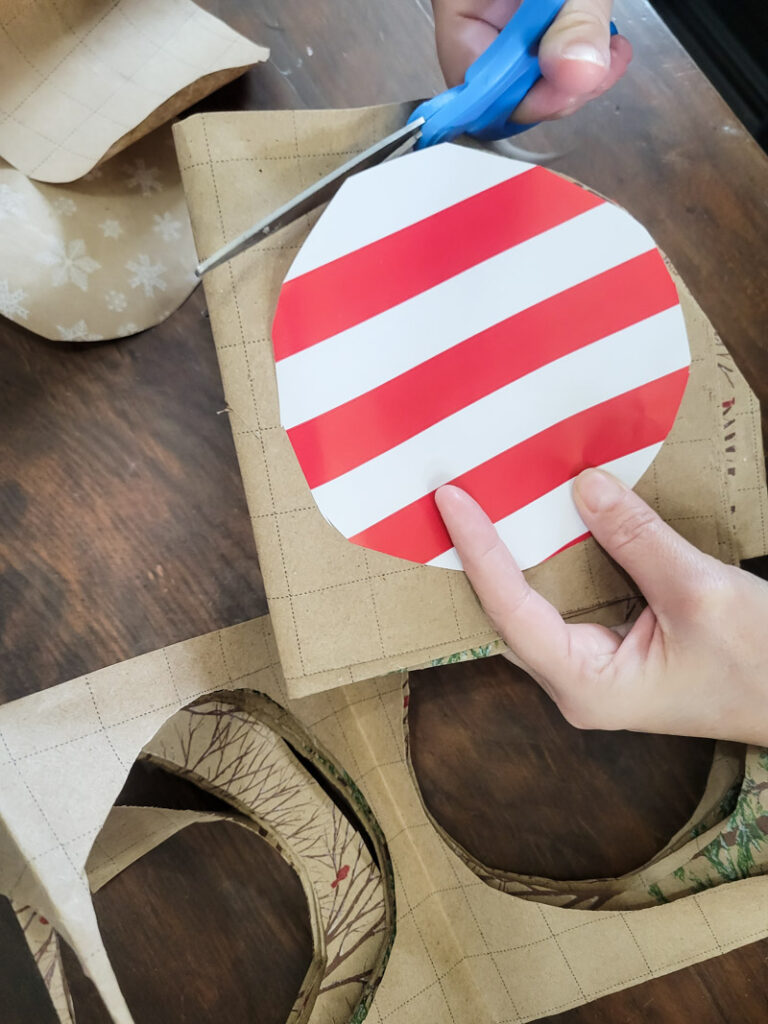
After you’ve cut all your circles out, it’s time to put them on the wire. I recommend stacking the pieces in the pattern you want before putting it on the wire. It just makes it easier when you go to put them all on! And honestly, it doesn’t have to be in an exact pattern, you can randomize it if you want– it’s your garland after all! I also think it’s important to note that you could (and I did) face the wrapping paper opposite ways as you go, if it’s double sided with different patterns on each side, or even if one side is blank– it just breaks up the monotony a bit!
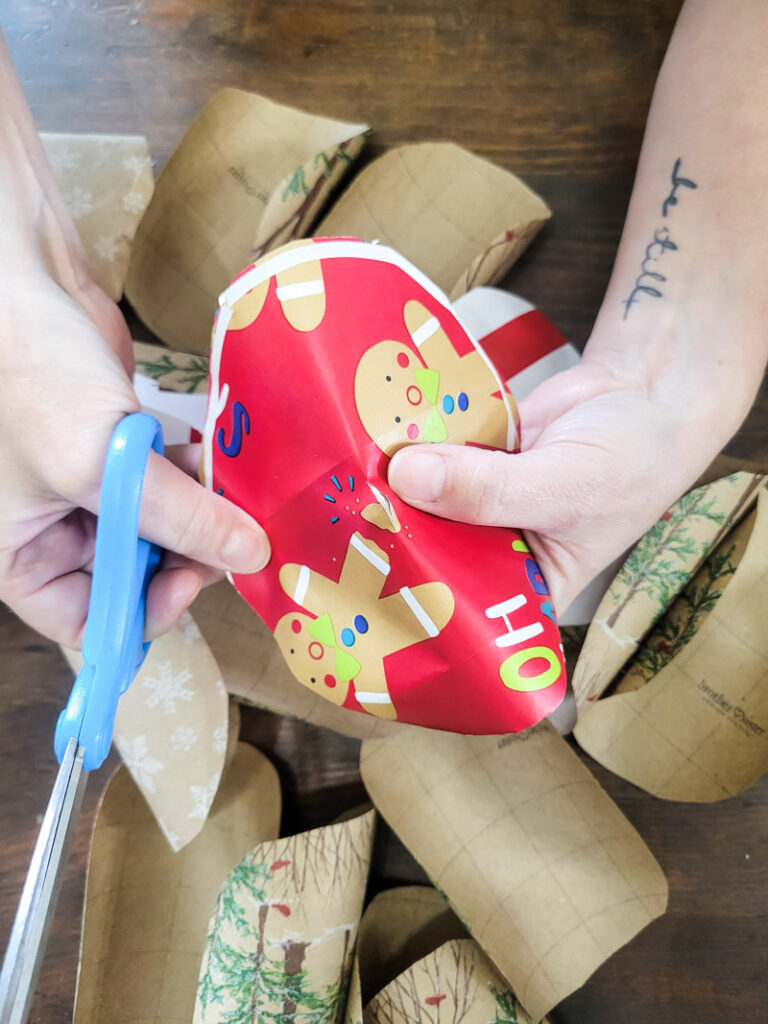
Once the circles are stacked in their desired pattern or sequence, it’s time to cut a hole in the center and get it ready to go on the wire! To do this, simply fold the circles in half, and make a tiny cut with your scissors!
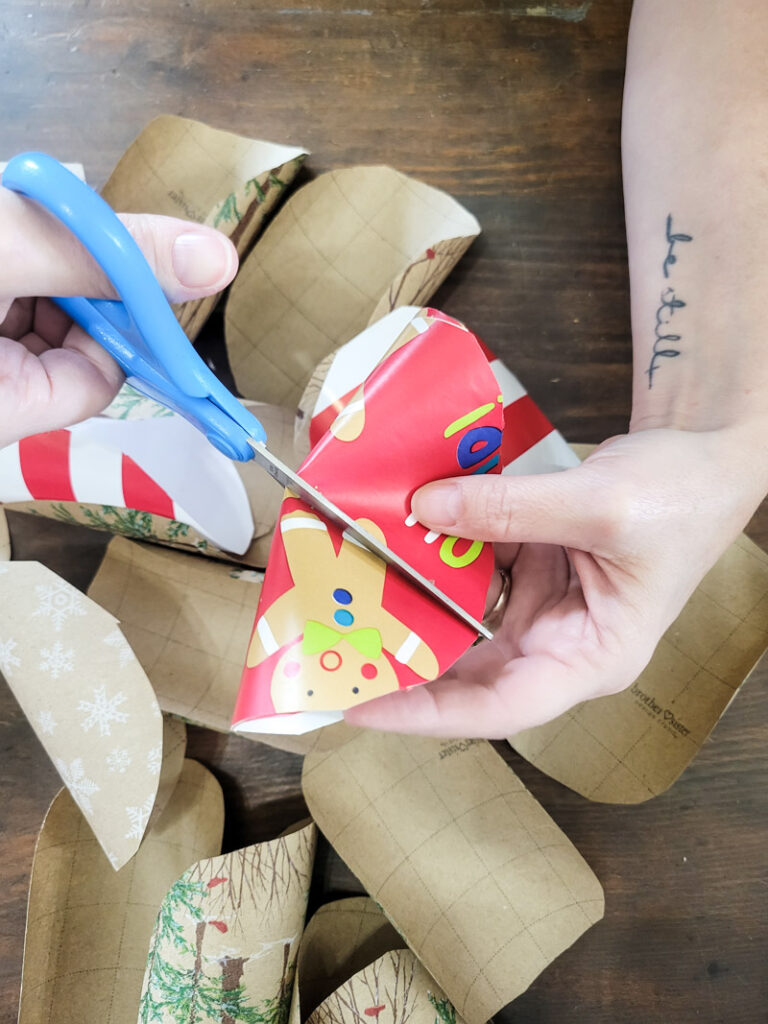
You can see in the photo below that the cut doesn’t have to be big at all, just enough to slide on the wire! And I recommend you crinkle the wrapping paper– it helps the circles to not stick to each other when on the wire, and really just looks better in my opinion!
Now that we’re essentially ready to put the wrapping paper circles on the wire, we’re going to prep the wire by simply tying a loop at the end. This will serve to catch the circles so they don’t fall off while you stack, and will later be how you hang this garland!

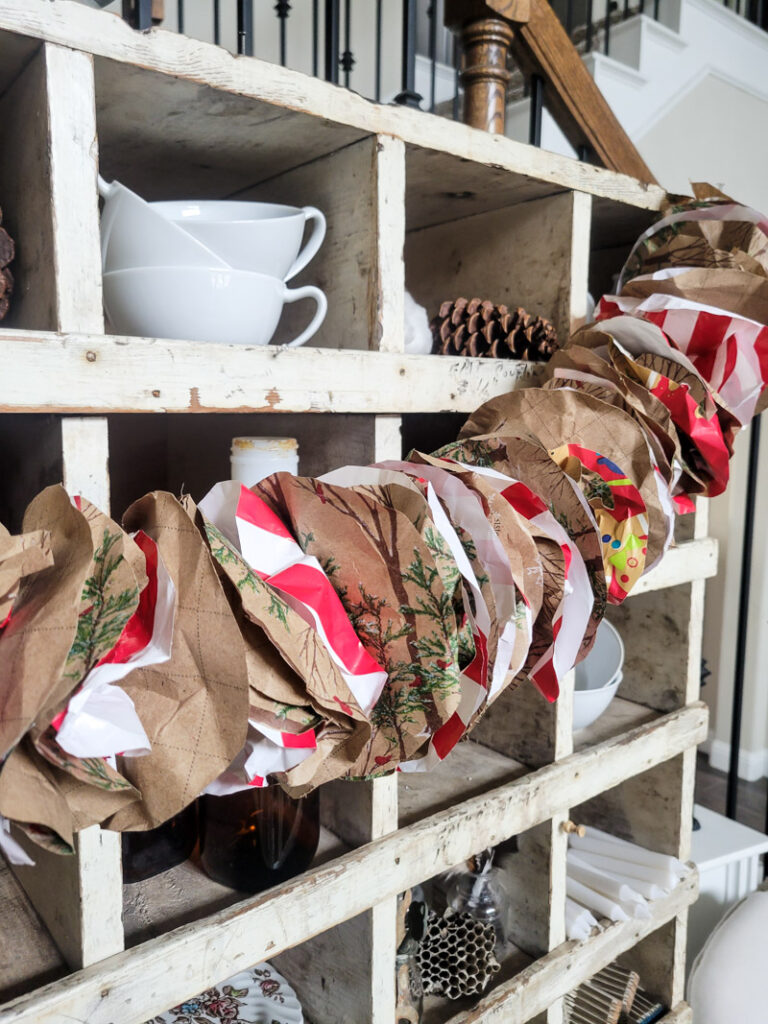
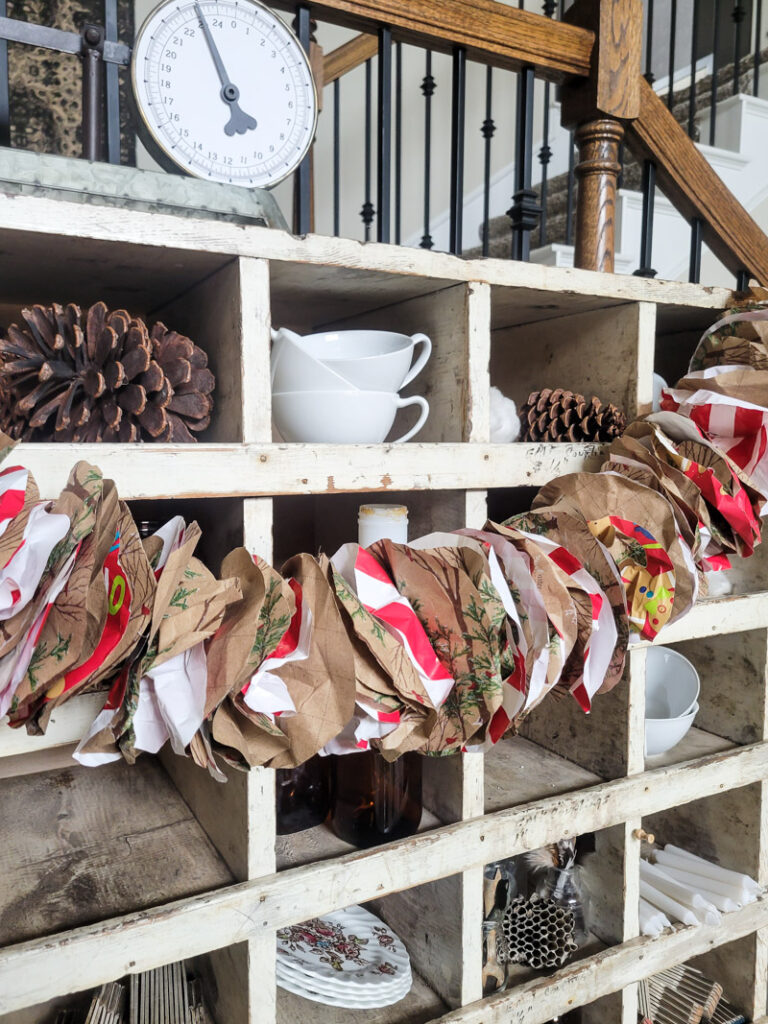
And you’ve now made it to the easiest part! It’s time to start sliding the wrapping paper circles onto the wire! Once you’ve reached the end, tie the same loop again at the other end, and you’re done!
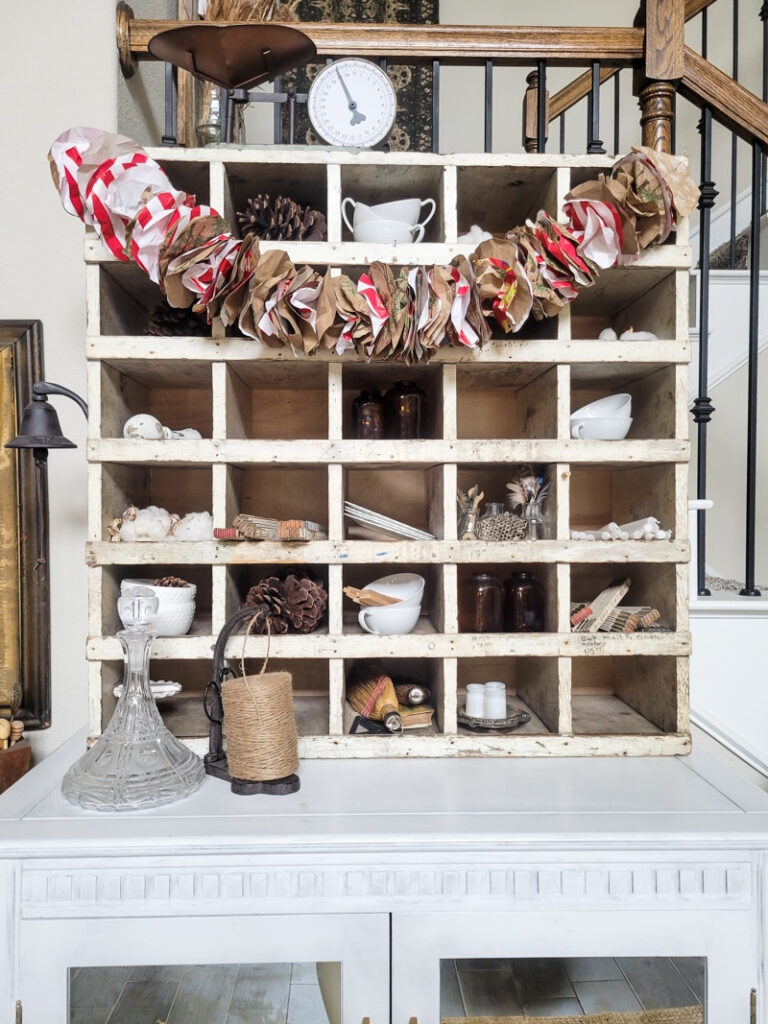
Easy peasy!!! I love that we were able to use the wrapping paper in a meaningful way, and it’s something we can use year after year!
And it’s quite precious if you ask me!!
I love bringing new life to old things, giving them a new purpose or a different look, and I hope you loved this too! If you are interested in seeing more paper crafts, join the paper & a prayer waitlist right HERE!
I save mine for the next year
well – you can use any kind of paper! newspaper, book pages, etc!