DIY Paper Utensil Holders for Easter

This post may contain affiliate links.

I’m always down for an easy, fun DIY– especially when it comes to the holidays and it’s only going to be used for a short time! Why waste money on expensive decor you’re only going to see for one month of the year, if that! And for utensil holders, they are on the table, usually around people eating, and in my case… kids! So, you can probably see why I opted for DIY Paper Utensil Holders for Easter this year! This way, I won’t be upset at the end of the season when they get tossed– no harm, no foul! Let me show you how it’s done, friend! Use a lunch sack to create the cutest DIY utensil holders for Easter! This is the perfect craft to do with your kids, and use them all season before trashing them-- guilt free! #kidcraft #easterdiy #easyeastercraft

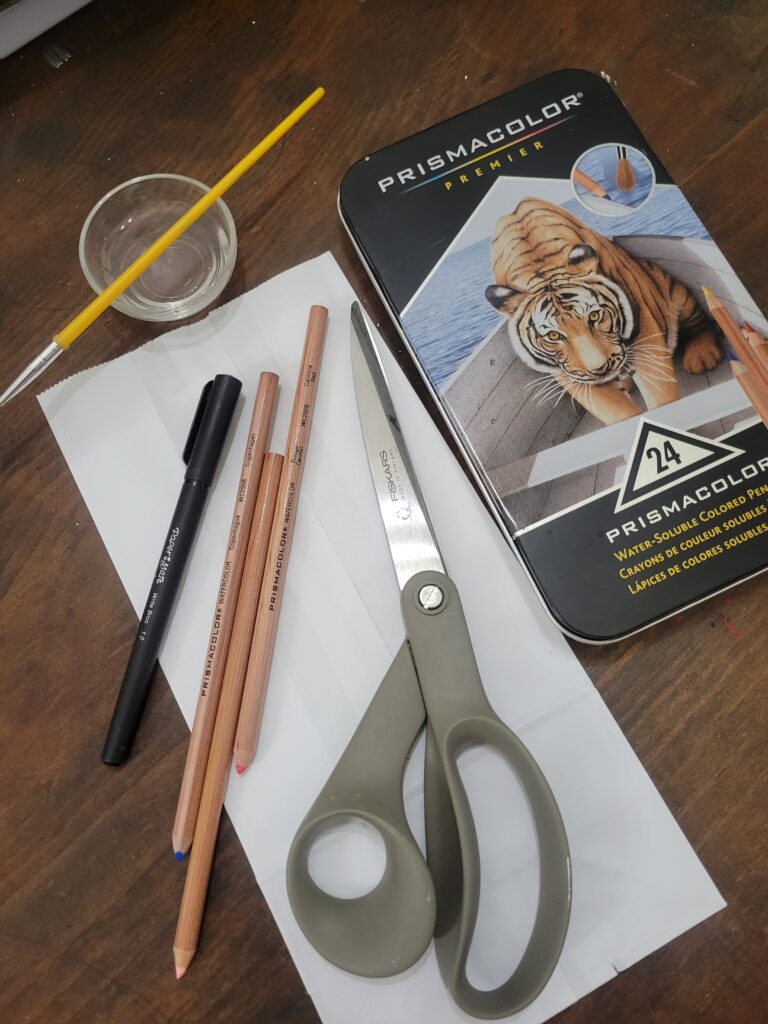
what you’ll need for your diy paper utensil holders

  • lunch sack 
    • You can also use paper instead, and simply fold 1/3 upwards (hamburger), and then fold the paper over again backwards, but hotdog, or vertical, this time. Essentially, you just want to create a little pocket to put the utensils, the same way a paper bag would. I may even trim the paper down on the side some, just so it’s not so wide!
  • scissors
  • whatever you want to use to decorate your utensil holder… I used watercolor pencils, water, a paintbrush, and a pen. 

time to assemble

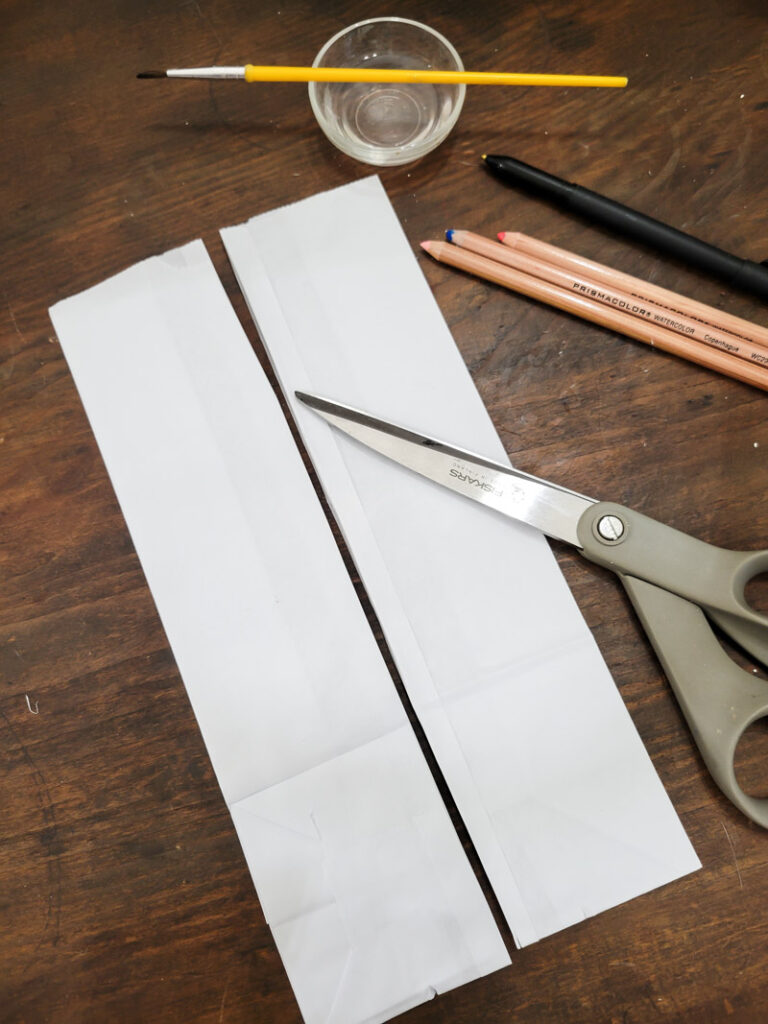
  1. Cut the lunch sack in half vertically or “hotdog,” if you will (if you have kids, you totally get this)!Use a lunch sack to create the cutest DIY utensil holders for Easter! This is the perfect craft to do with your kids, and use them all season before trashing them-- guilt free! #kidcraft #easterdiy #easyeastercraft
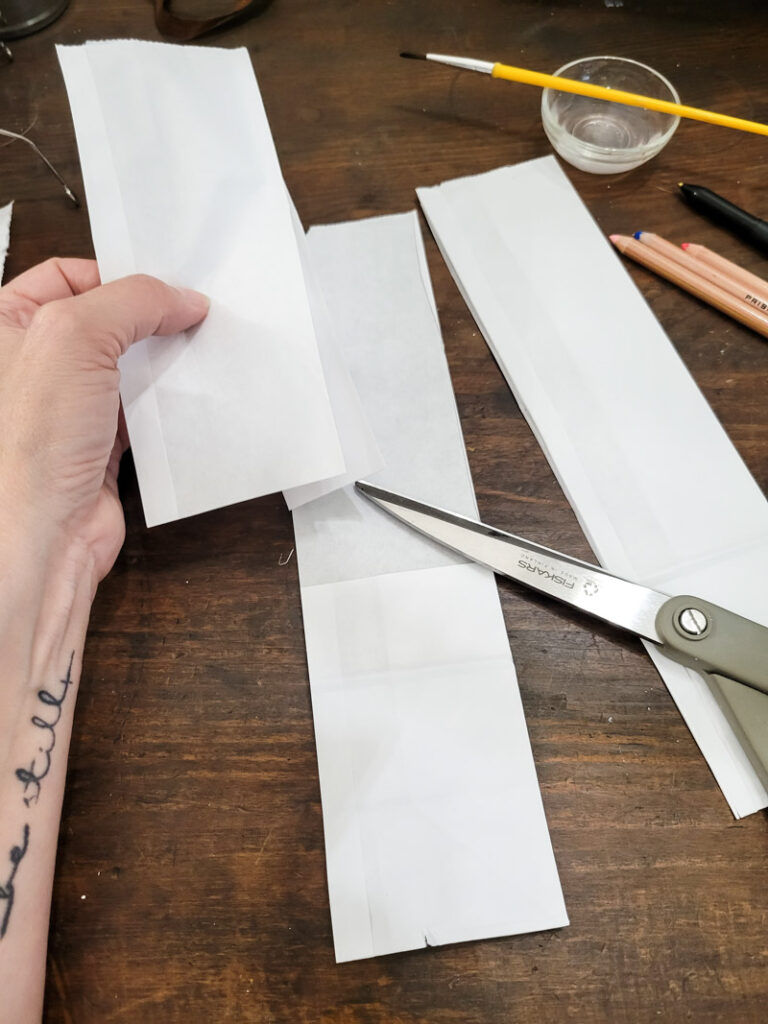
  2. Then cut the top half of the top flap off (hamburger style). See the picture below if you’re confused– it’ll make sense!Use a lunch sack to create the cutest DIY utensil holders for Easter! This is the perfect craft to do with your kids, and use them all season before trashing them-- guilt free! #kidcraft #easterdiy #easyeastercraft
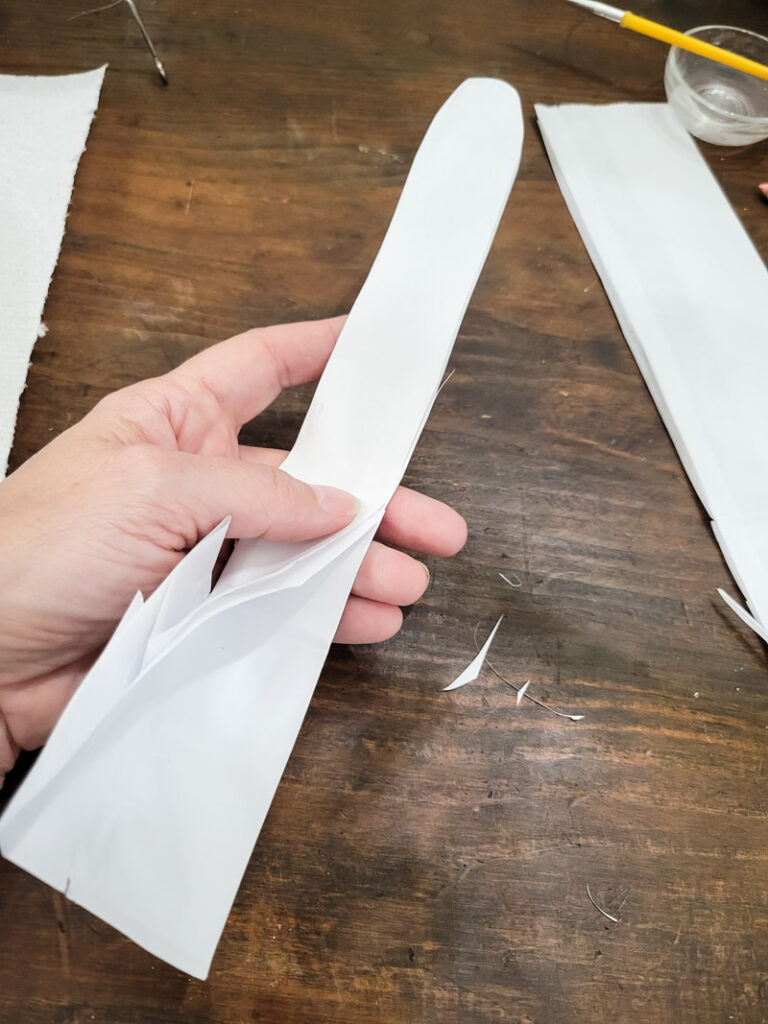
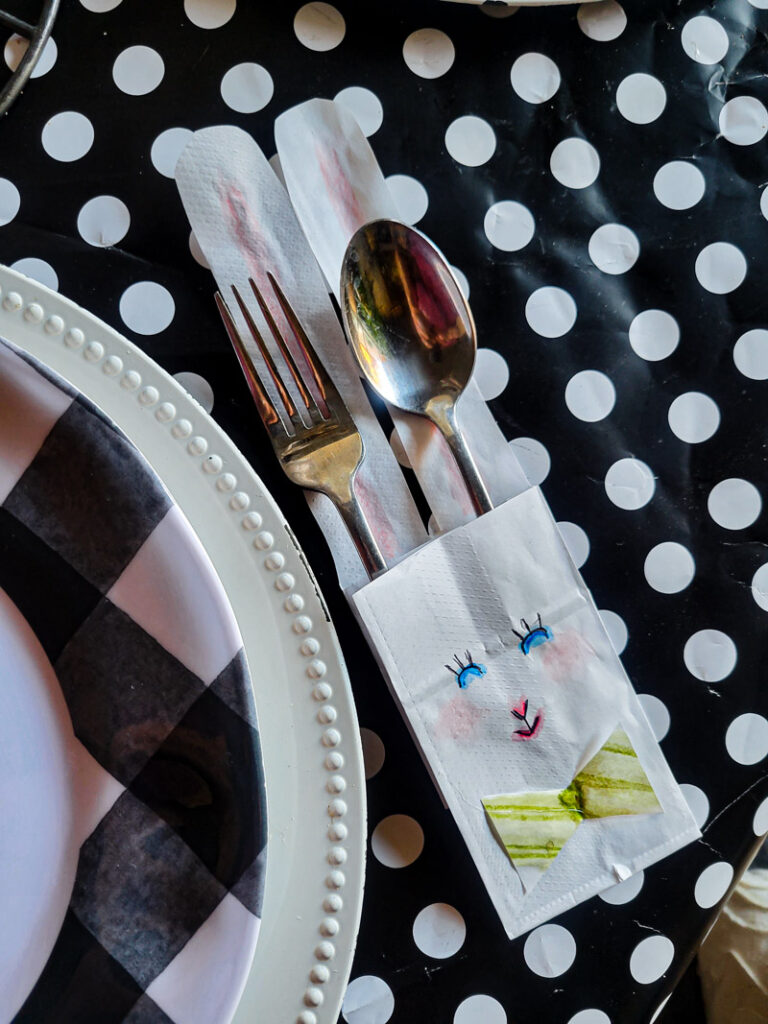
  3. Now that bottom flap (that you didn’t cut) is going to be the ears. This is just a fun little DIY, so don’t stress too much about them being perfect, just cut them into bunny ears the best you can! If you fold the bag in half vertically again, you can cut them both at the same time and they will at least be symmetrical! Use a lunch sack to create the cutest DIY utensil holders for Easter! This is the perfect craft to do with your kids, and use them all season before trashing them-- guilt free! #kidcraft #easterdiy #easyeastercraftUse a lunch sack to create the cutest DIY utensil holders for Easter! This is the perfect craft to do with your kids, and use them all season before trashing them-- guilt free! #kidcraft #easterdiy #easyeastercraft
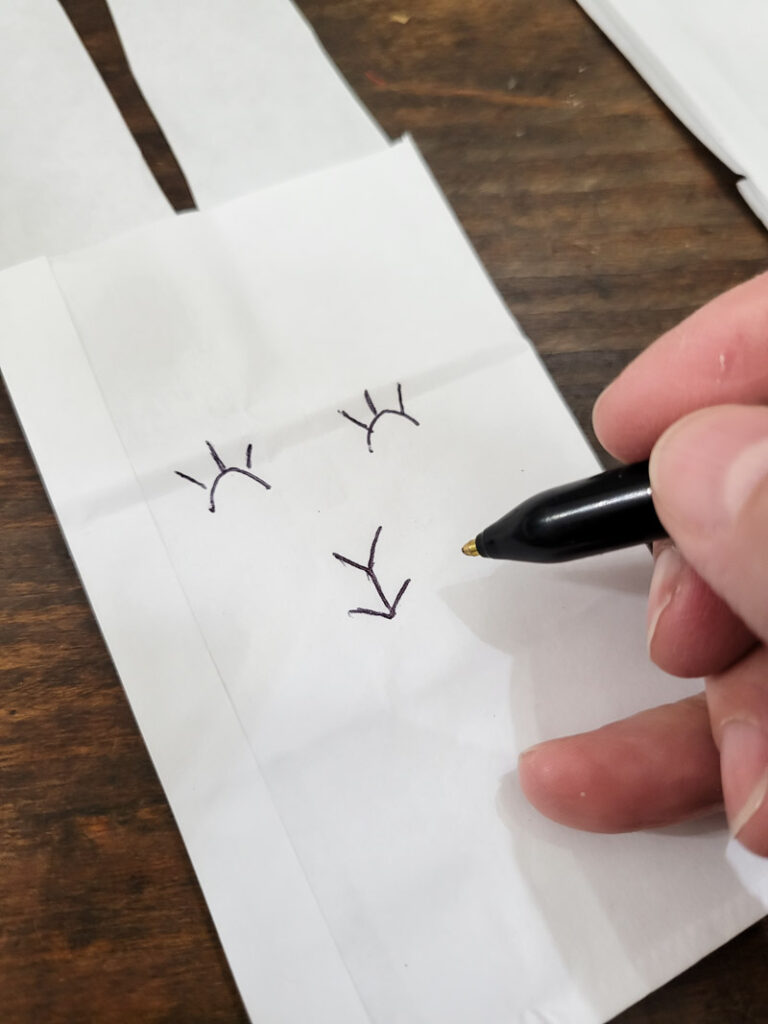
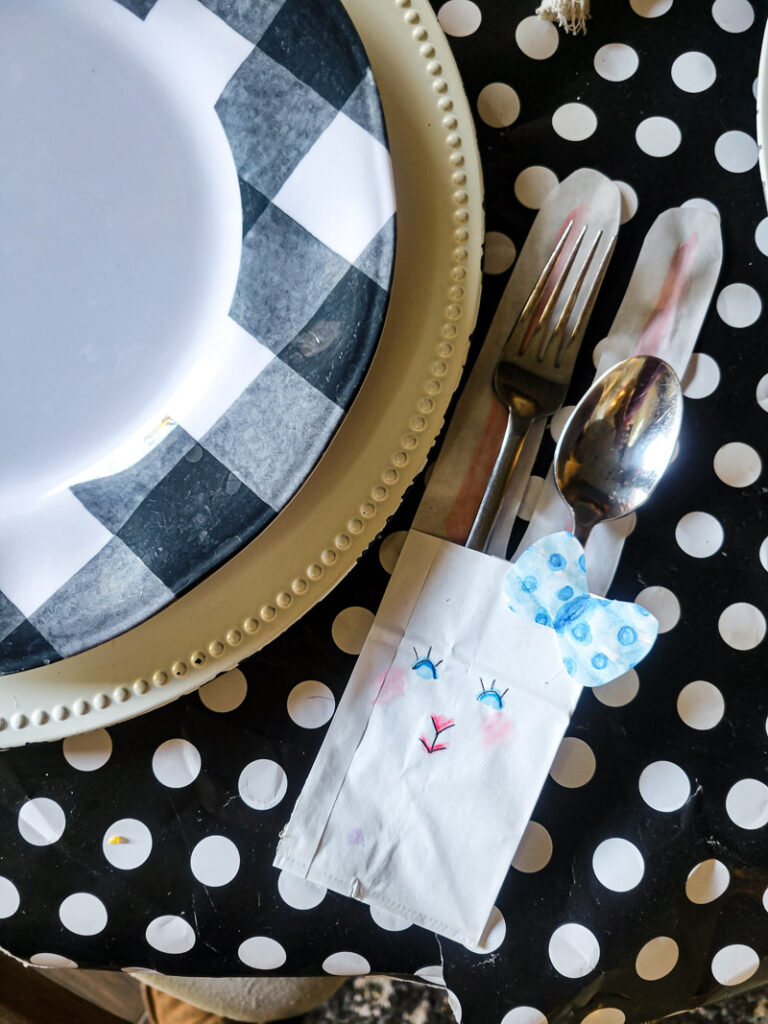
  4. Now decorate your bunny! I just used a pen to outline the face.Use a lunch sack to create the cutest DIY utensil holders for Easter! This is the perfect craft to do with your kids, and use them all season before trashing them-- guilt free! #kidcraft #easterdiy #easyeastercraft
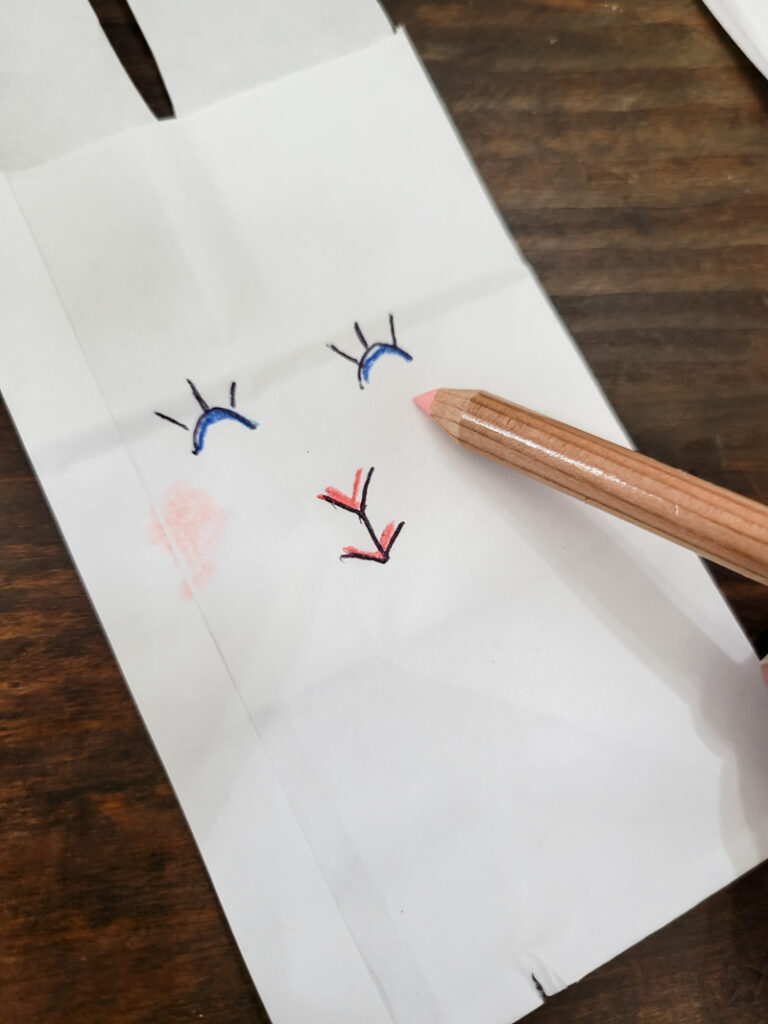
  5. And then used the watercolor pencils to add some color! Use a lunch sack to create the cutest DIY utensil holders for Easter! This is the perfect craft to do with your kids, and use them all season before trashing them-- guilt free! #kidcraft #easterdiy #easyeastercraft
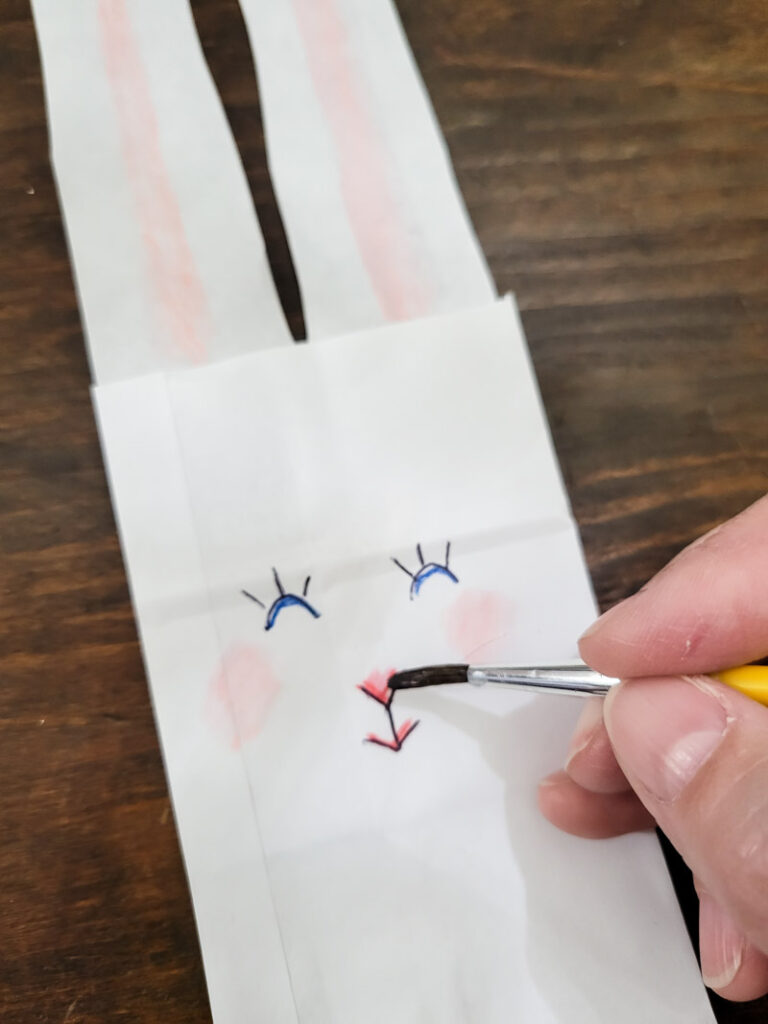
  6. After filling in color with the pencils, I used water to execute the watercolor look I was going for!

Use a lunch sack to create the cutest DIY utensil holders for Easter! This is the perfect craft to do with your kids, and use them all season before trashing them-- guilt free! #kidcraft #easterdiy #easyeastercraft

Use a lunch sack to create the cutest DIY utensil holders for Easter! This is the perfect craft to do with your kids, and use them all season before trashing them-- guilt free! #kidcraft #easterdiy #easyeastercraft

           7. Totally optional– you can glue on little accessories like a bowtie or a hair bow! Just cut out the bow shape and decorate however you want!

Use a lunch sack to create the cutest DIY utensil holders for Easter! This is the perfect craft to do with your kids, and use them all season before trashing them-- guilt free! #kidcraft #easterdiy #easyeastercraft

Use a lunch sack to create the cutest DIY utensil holders for Easter! This is the perfect craft to do with your kids, and use them all season before trashing them-- guilt free! #kidcraft #easterdiy #easyeastercraft

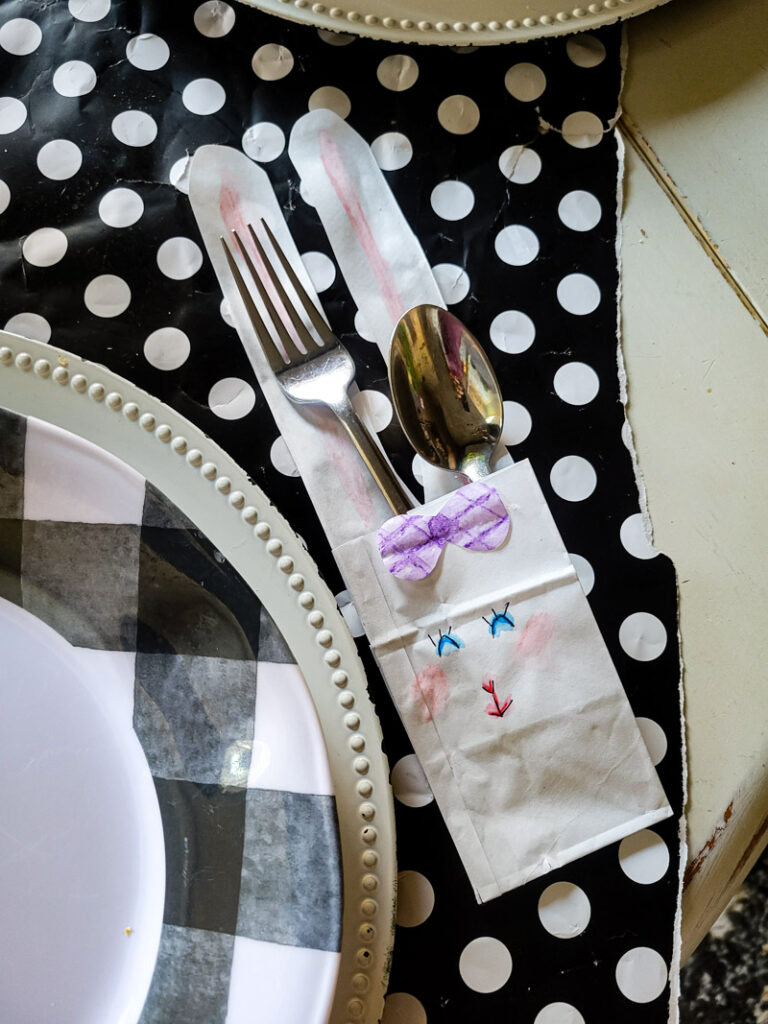
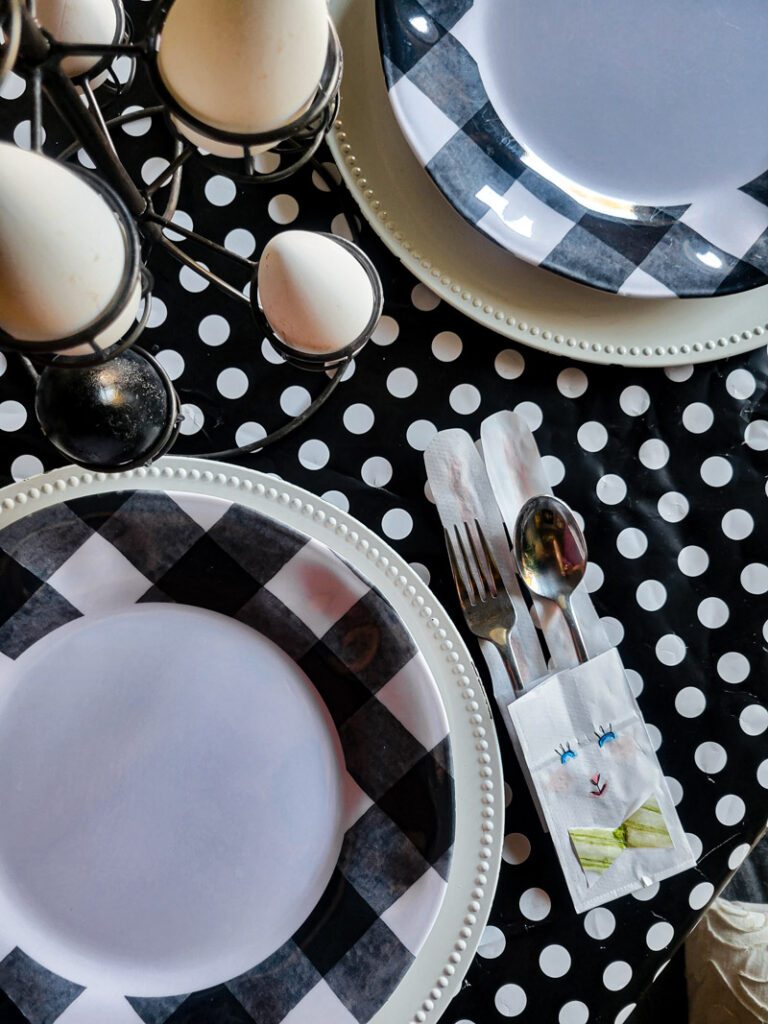
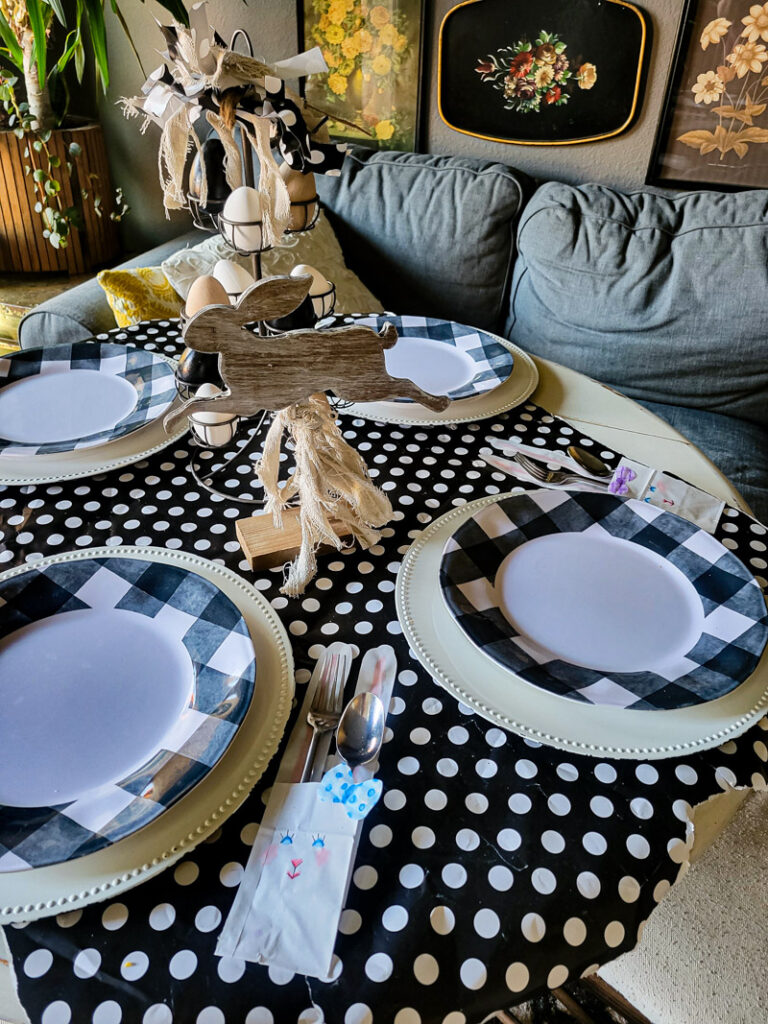
These DIY paper utensil holders are SO easy, and honestly just fun! They are a GREAT craft to do with younger kids, and once they’ve been destroyed, you can toss ’em– guilt free! 

Use a lunch sack to create the cutest DIY utensil holders for Easter! This is the perfect craft to do with your kids, and use them all season before trashing them-- guilt free! #kidcraft #easterdiy #easyeastercraft

Now go grab some lunch sacks (or paper) and whip these cuties together in just a couple minutes! 

Use a lunch sack to create the cutest DIY utensil holders for Easter! This is the perfect craft to do with your kids, and use them all season before trashing them-- guilt free! #kidcraft #easterdiy #easyeastercraft

Use a lunch sack to create the cutest DIY utensil holders for Easter! This is the perfect craft to do with your kids, and use them all season before trashing them-- guilt free! #kidcraft #easterdiy #easyeastercraft

If you want to see more Easter DIYs, click HERE! 

Similar Posts

One Comment

Leave a Reply

Your email address will not be published. Required fields are marked *