How To Make A Enamel Pot Lid To DIY Farmhouse Tray
Enamel Pot Lid To Farmhouse Tray
Sometimes when you have a good thing going you just have to roll with it! This quick DIY farmhouse tray project is just a reinvention of a similar project I did a while back, but the idea is so great I have to keep it going! Do you have a single pot lid or single roasting pan and wonder what to do with a mismatched pot lid? HERE is your answer, and it is such a simple fix!
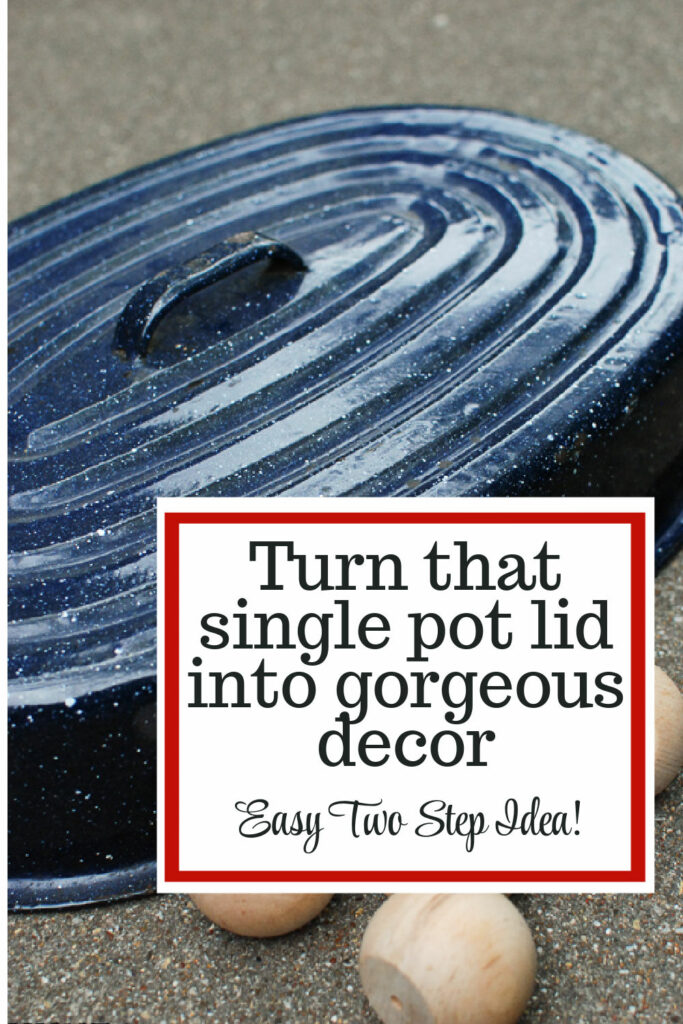
While I was thrifting in one of my favorite little towns, Junction, Texas I found this sad little enamel pot lid without it’s pot. For $1 I couldn’t pass it up. You guys should be catching on by now…if it costs $1 I usually scoop it! If you are new here WELCOME! I adore new friends. Be sure to say hi won’t you!?
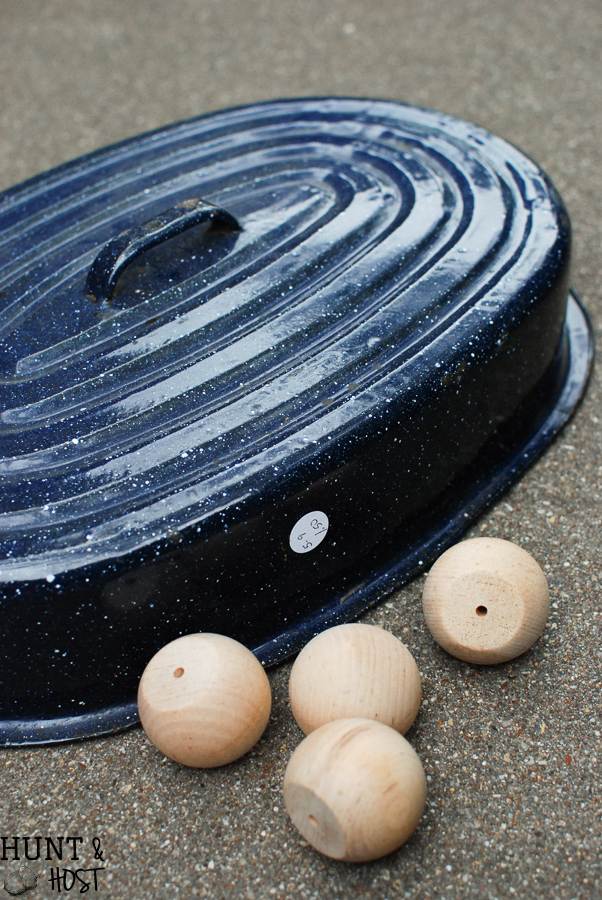
It was dented and rusty and blue, which is not a color I use a lot in my house, but if you do you could eliminate the first step!
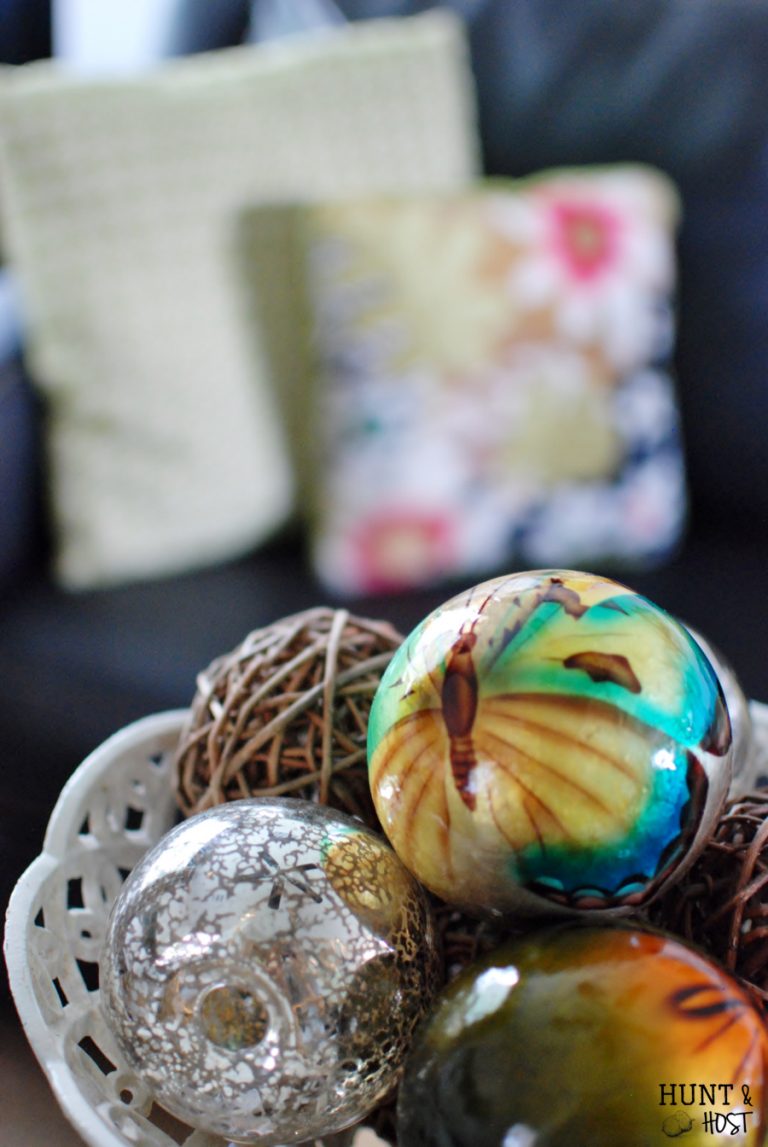
I took this little guys out for a fresh all over coat of high gloss black spray paint. (DIY for those décor spheres here!)

While the paint was drying I stained four wooden doll heads. I’m still working out of a plastic bag full of doll heads and wooden beads I got last year for a few bucks at a garage sale!

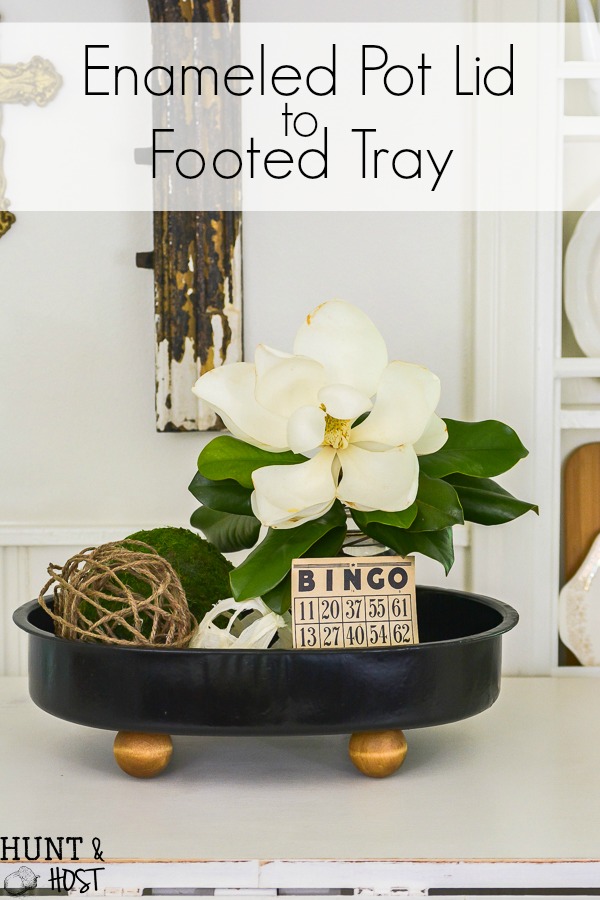
Once everything was dry I married the newly stained doll head “feet” to the bottom of my spray painted enamel lid for the fasted DIY farmhouse tray you’ve ever seen!
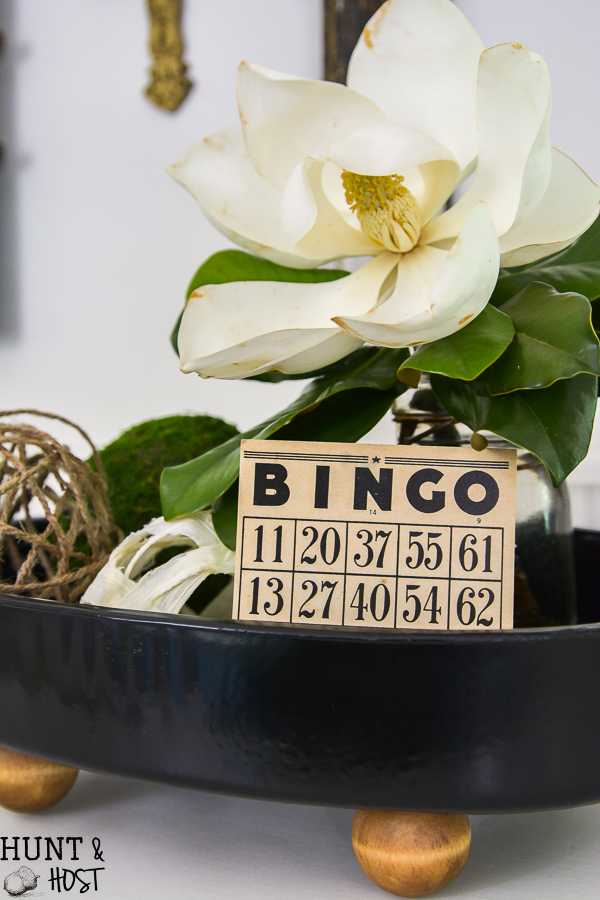
My favorite glues for projects like this are either this or this (affiliate links). You can see it’s little handle sticking out if you get at the right angle 🙂

Used as a centerpiece, inside or out this handy little decorating tray is large, versatile and stylish. So what do you think?
Any oldies in your kitchen cupboard that could stand to have some new feet? How would you use this tray?
I’d love it if you’d share this DIY on your favorite social media, thanks friend! ANNNDDD…if you like this idea, stick around because I have a TON more, you can browse them here!!
Let me know what you dig out from the depths of your cabinets!
[mv_create key=”30″ thumbnail=”https://kimpepperblog.com/wp-content/uploads/2017/05/footed-pot-lid-tray-trash-to-treasure-6.jpg” title=”How To Make A Enamel Pot Lid To DIY Farmhouse Tray” type=”diy”]


Love it! And I just acquired some old metal TV trays. Going to have to Pintrest them for ideas. Have you ever transformed one? Thinking prayer board or footed tray. Suggestions?
both of those ideas sound cute! With them being metal, you can use magnets on them too, make them a chalkboard, hang pictures or notes, tons of possibility!
I love it! I’ve one that I don’t even on Thanksgiving. Now I will. AWESOME!!! Will send pics when I’m done.
Please send I=pictures – I’d love to see it, such a simple project you will love!
Can I use e600 for my glue
yes of course!
What kind of glue did you use to attach the feet?
I used E6000
Good morning Kim, just the cutest idea to add ‘legs’ so no worry for the handle. Perfect! Blessings and smiles, Emilou
thanks It’s a cute and easy makeover – my favorite!
Brilliant! An amazing transformation! I hope you’ll come and link at the Fabulous party again!
It’s always over here:
http://ourholidayjourney.blogspot.com/
Thank you for the invite Sherry – hope the party is fun!
Love it Kim I follow you love watching you you have a great blog and also love watching you and your friend in Waco in the shops happy Crafting ♥️
thanks Wendy – we had a great time, so thankful you are here with us!
Very creative way to use the lid!!! I happen to have both pieces to my roaster but will share this idea with others!! Thanks for sharing. Blessings
thanks for sharing and if you come across a mismatched one now you have an idea to work with!
i love it,you are truly a wonder.Have a great weekend.
Thanks Marlene, I am all about easy!
What a great idea Kim! I went junking yesterday and saw an enamel lid just like this one. I picked it up and put it down . Wish I had brought it home now! You are so creative.I have many china lids that lost their bowls that I have hung on my wall. They are so pretty I couldn’t resist their beauty ( ; Thank you for sharing your gift.
blessings , donna
I bet that lid display is gorgeous…what a wonderful idea!!!
I see so many make-overs of thrift store items. Sometimes they get to be pretty predictable. I have to say I did not see this one coming! What a fabulous and creative idea. Now I just have to find a pot lid …..
That is a super compliment, because you are so right about the predictability! happy hunting!
How clever. I wouldn’t have thought of that. It reminded me of a recent trip to the mega thrift store. I found the top half of a lamb cake pan and bought it. When I went back the second time, I found the back side.
what a lucky find and I bet that topper was cute even without the bottom!
So very clever.
thank you 🙂
What a cute idea!
thanks, I think it would be great on a patio table with some potted plants in it, that’s my next move!
Your farmhouse tray post is being featured on #OMHGFF this week.
And besides being Featured, it has been Pinned and Tweeted! 🙂
Have a great weekend! 🙂
You are SO sweet Karren – thank you a bunch!!!
Oh my gosh, soooo clever and adorable! Love it!
Thanks Colleen! It’s so easy to copy too!!
What a cute tray , and so easy to make. I’m the same way, if it’s a dollar I will buy the item. Or even a couple dollars maybe. But won’t hardly go over that unless it’s something really good. The hubby calls me cheap ????
The hubby and I both love to go thrifting. I am going to have to look up the town Junction, and if it’s not to far from us maybe we can go check out the stores there sometime.
I am cheap too, but I like to call it fiscally responsible, lol!!! Junction is a small west texas town, but we love visiting!
That’s such a brilliant idea Kim. I often find potless lids at our local hospice, but never thought about doing something like this. Guess I have to go back and dig them all out of the pile 😉
Super cute! I love that it is 100% upcycled and repurposed!
Thanks, it is so fun to use what you have on hand!
Very very clever!! My first thought was “I have the perfect lid!!” My second thought was “that would be perfect to serve rolls or buns or chips in” Of course I would want to line the lid with pretty napkins or maybe a towel… This would work for old bread pans… so very country… love it!!
yes, yes and yes, such great uses for this tray!
I think one could use the bottom too! I am hoping I didn’t get rid of all of my old roasters during one of my purges.
lol, I hate when I kick myself after a purge! Hope you find one and YES the bottom would work too, great idea
Just saw this and immediately ran out to my ‘hoard’ and grabbed my roaster lid. I’ve got the balls and also the E6000. All I need to do now is stain the little ‘feet’ and glue to the lid. It will sit right above my sink!
Ima happy gal! Thanks so much
Well, it should take you all of five minutes 😉 nothing better than an easy DIY! happy junkin friend!
I just did this with an old beat up square cake pan using left over chalk paint and antique wax on the legs. I am using it for spices, salt, pepper, stuff I use a lot by the stove. I will be on the look out for the lid like yours, love it!!!
yes! I have a cake pan one by my stove, it’s the project that inspired this one! Hope you find a lid soon!
Such a creative idea! I am sharing this on Facebook! People need to know about this!
thanks chloe, I always appreciate a share…and a simple project!
Excellent use of roast pan lid..would hold many spools of thread in my sewing room and great for make-up stash or fill with Styrofoam and use for pens, pencils, scissors, ruler, foam brushes upside-down ..stick handles into the Styrofoam for clear view of tools for crafting. Amazing uses. thanks for that idea…
I love your ideas…bring on more…I go thrift shopping at least once a week, amazing what one finds. Creative minds are a gift, and obviously you use your gift very well.
Heather N Nates / Canada..
I had my husband make a tray out of my mother’s old porcelain roaster lid. I got the idea from here.
I just finished some Mason jar crates but I’m gonna try your idea I’m a thrift shopper alcaholc for my craft a dollar and under!
What a creative idea! Love the centerpiece you created.
thank you ,I love an easy fix!
Oh my goodness – so cute, quick and easy! I’m always finding lids with no pots. I’m definitely going to copy this idea – thanks so much for sharing!
yes – and they are cheap! love an easy idea!
Kim that is adorable! You have officially jump started my crafting. I love doing it but haven’t in a while. I’m doing it every day now. Thanks! Bring it on girl!!!
that is awesome! it is like therapy right!? Have fun friend!
Thank you Kim for this awesome upcycle. A couple of years ago my well used roaster pan finally gave out, had a hole in the bottom. I could not bring myself to toss it, so I stashed the pan and lid in my craft room closet. I am going to dig it out and make two trays. Not sure what color I will paint them, but I am excited to give it a try.
yayy – I am so happy to give you a fun idea to try! have a great time with it!
Such a cute and thrifty repurposing project! Did you need to do any sanding before painting?
I didn’t, but you definitely could, it wouldn’t hurt!
Love to repurposed items and make them unique and all your own. Awesome idea with lonely lid!