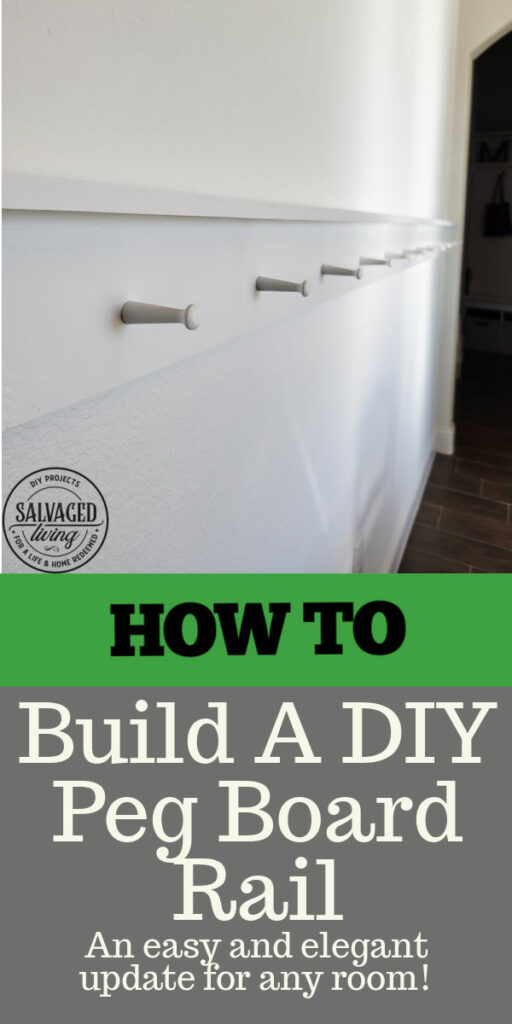
How to Build a Pegboard Rail
If you need to know how to build a pegboard rail, you have come to the right spot! This is one of the best additions to my home and it is SO EASY to recreate! Honestly, I’ve added this trim addition in a few rooms and will definitely be using it in other spots.
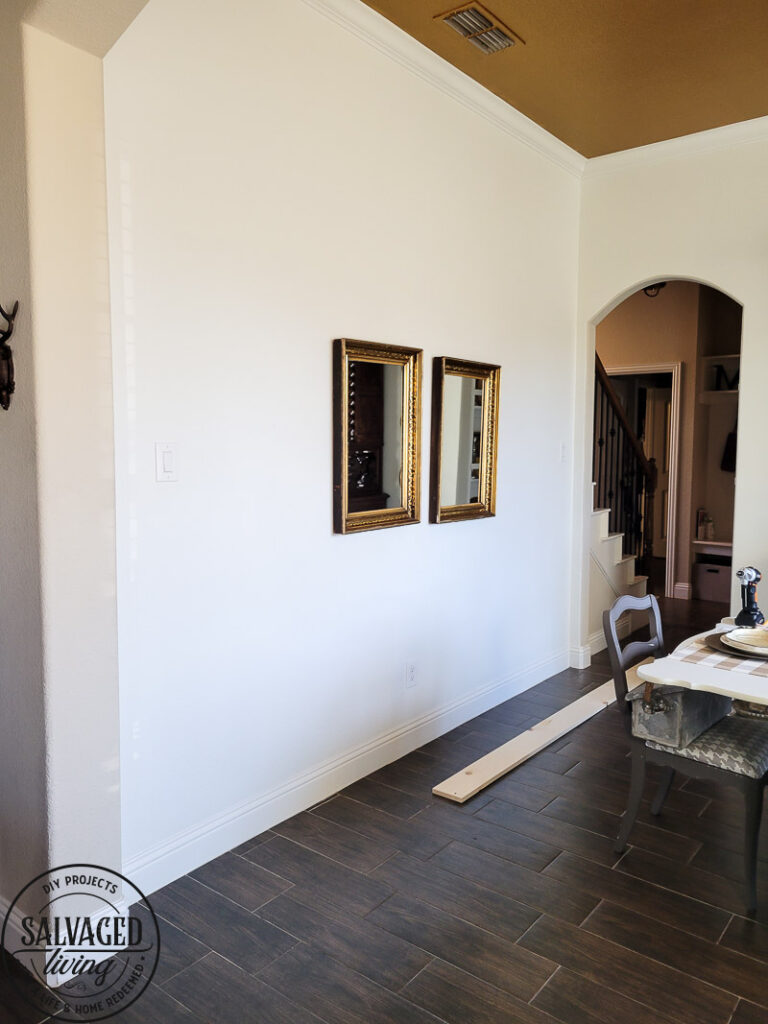
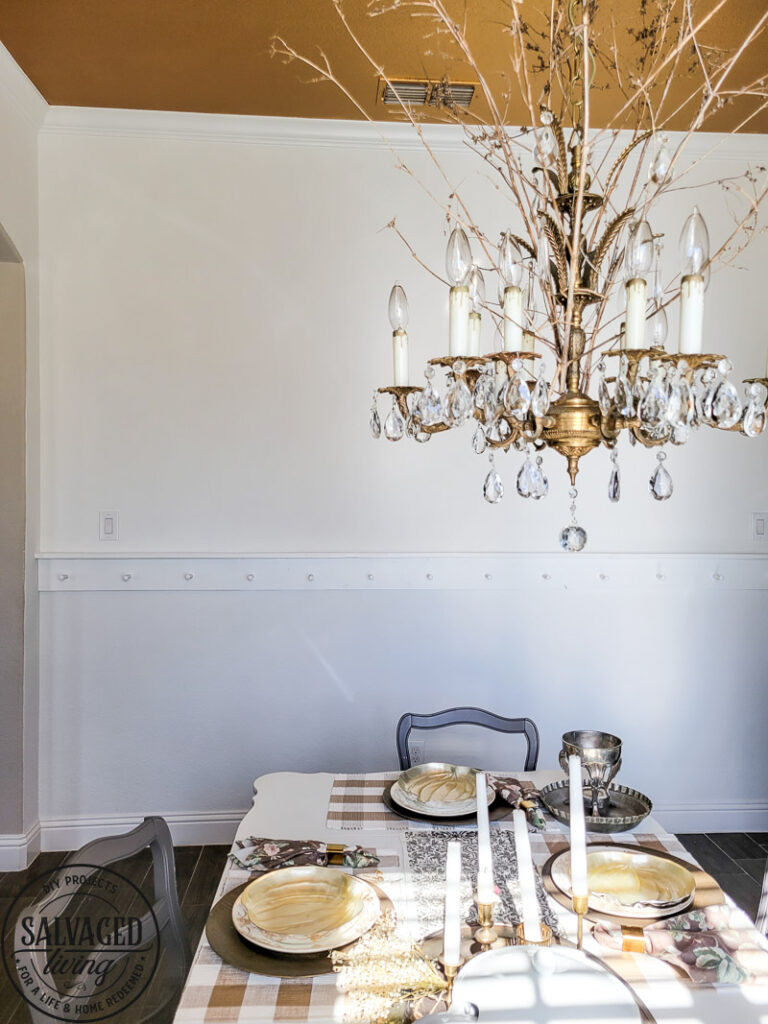
The first place I added the pegboard rail was in the dining room (see it dressed for Christmas here!). It was a GAME CHANGER for this giant blank wall. This spot went from boring to quickly becoming one of my favorite features in the house. The best part about this DIY project is the price and simplicity. It might take a chunk of time, but it is a home improvement project that can be done in a day for sure. That is my favorite kind of project – my attention span is tiny.
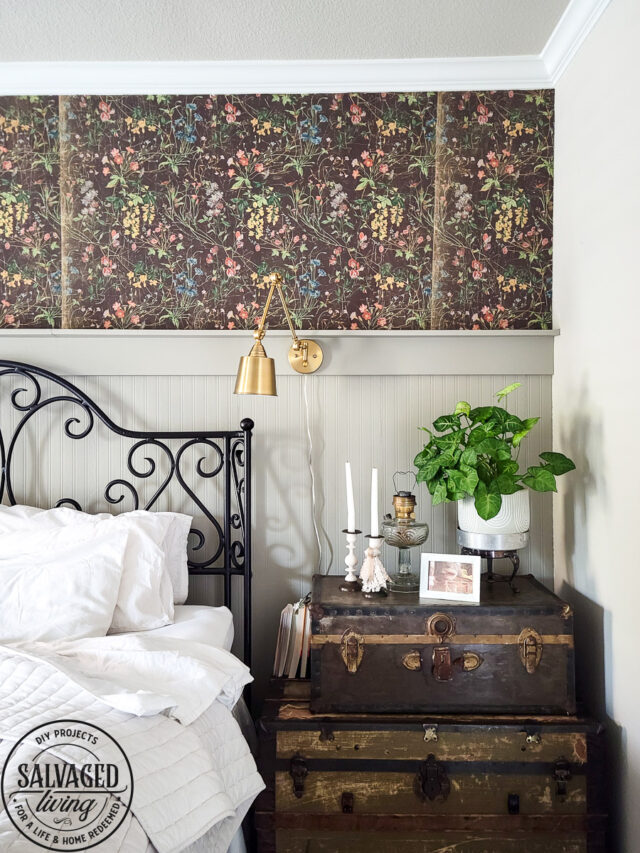
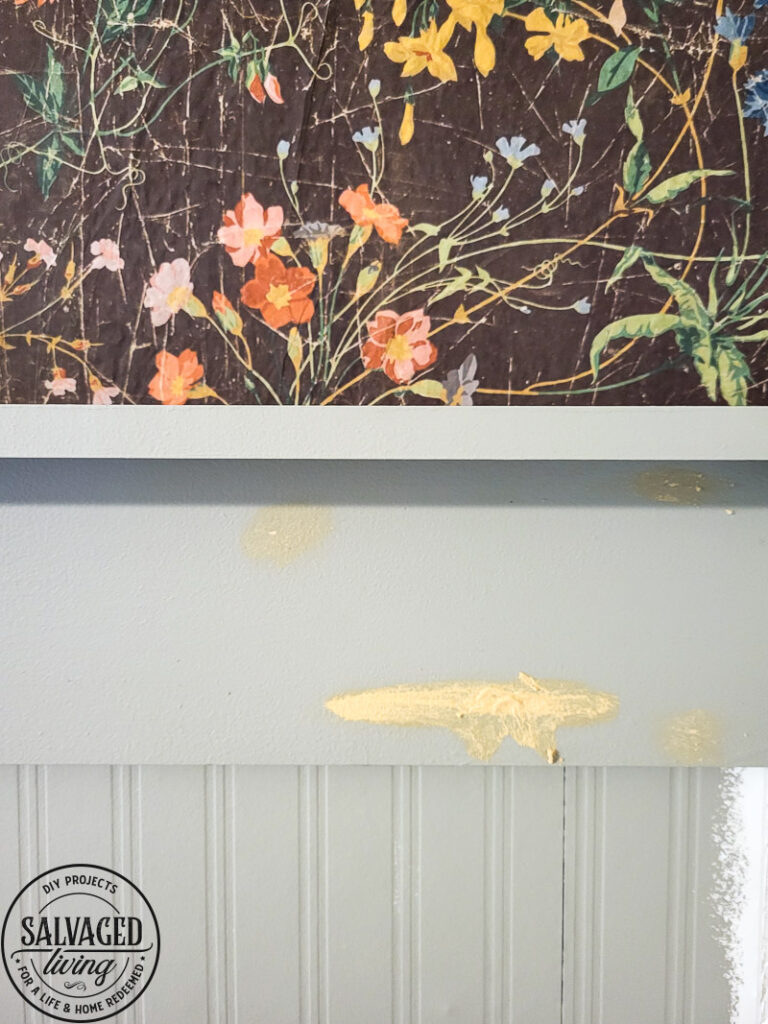
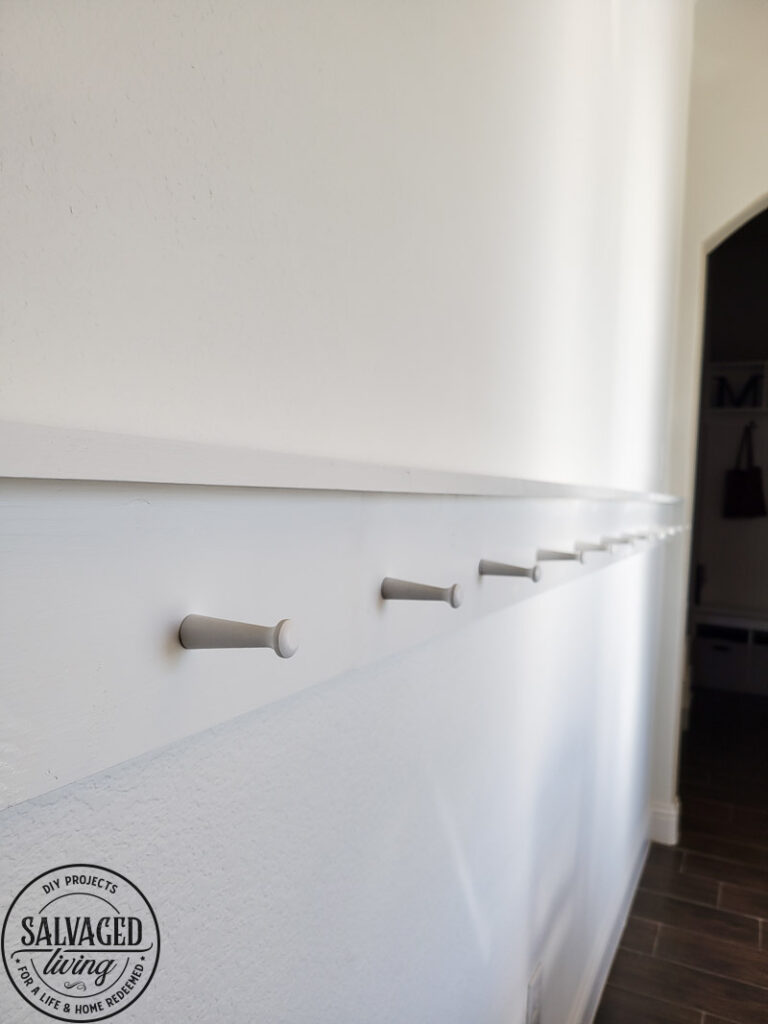
I loved the idea so much that I used the same concept in my bedroom to separate the beadboard wallpaper from the floral wallpaper. It makes for a great transition piece, with or without the peg addition. Either way, they are so fun to decorate and upgrade a room. Here are my tips and instructions, keep scrolling for a supply list of the exact products I used! Tour the complete bedroom with the board rail here.
How to DIY Build a Pegboard Rail
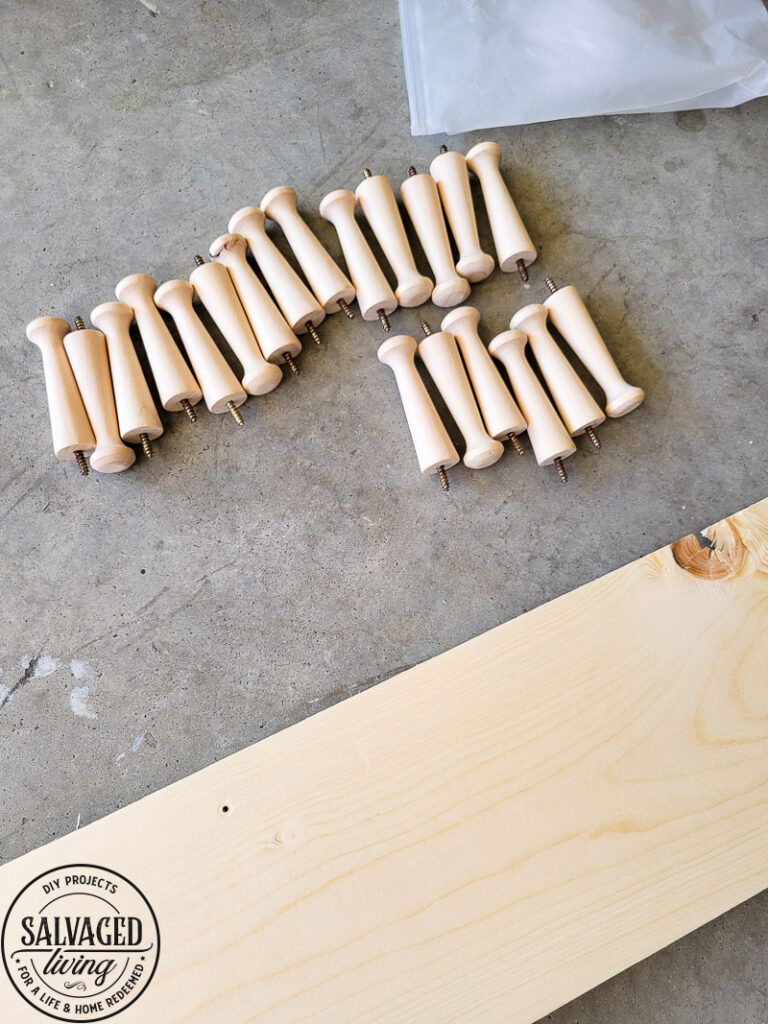
- You can use varying wood widths on this project, pick something that fits the scale of your room. I used wood that was 4″x1″ for the base piece on the wall and a 3″x1″ for the shelf part.

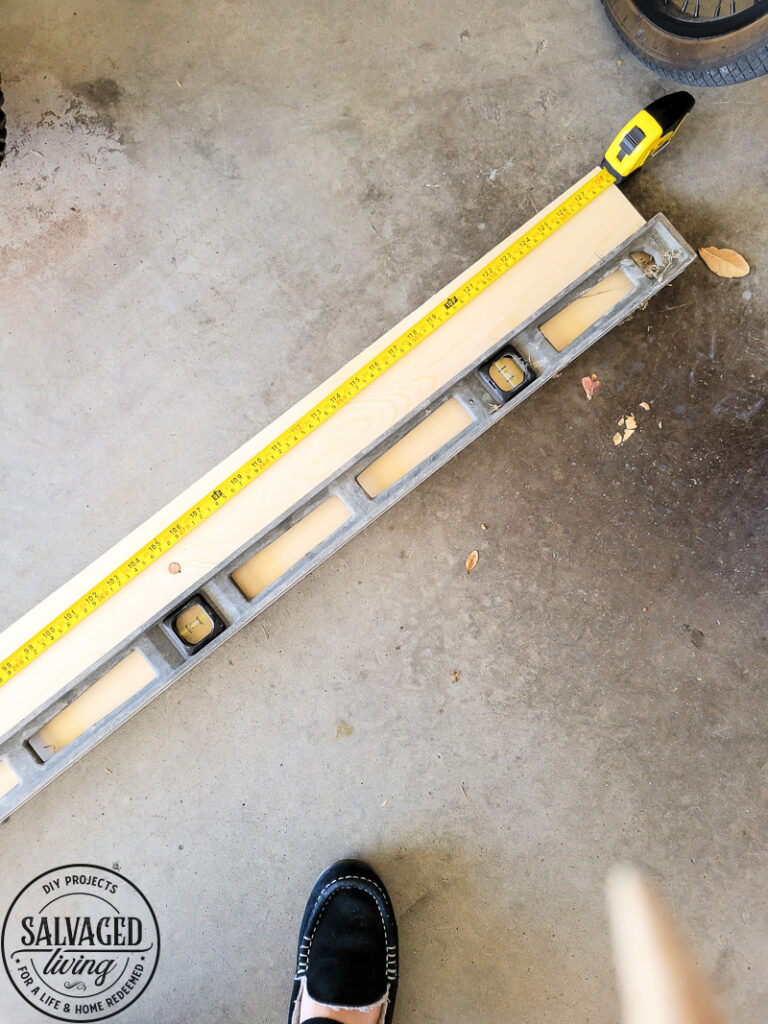
- Measure the length of the wall you need to dress. I buy my wood a little longer than needed so I can cut clean edges and make it fit exactly.
- Draw a plum line on the wall, exactly at the desired height of your peg rail.
- If you need more than one length of wood to fill the space like I did, cut and measure each length of wood one at a time. Find where the first pieces ends, then measure for the next one, and so on.
- Do the same with the shelf piece.
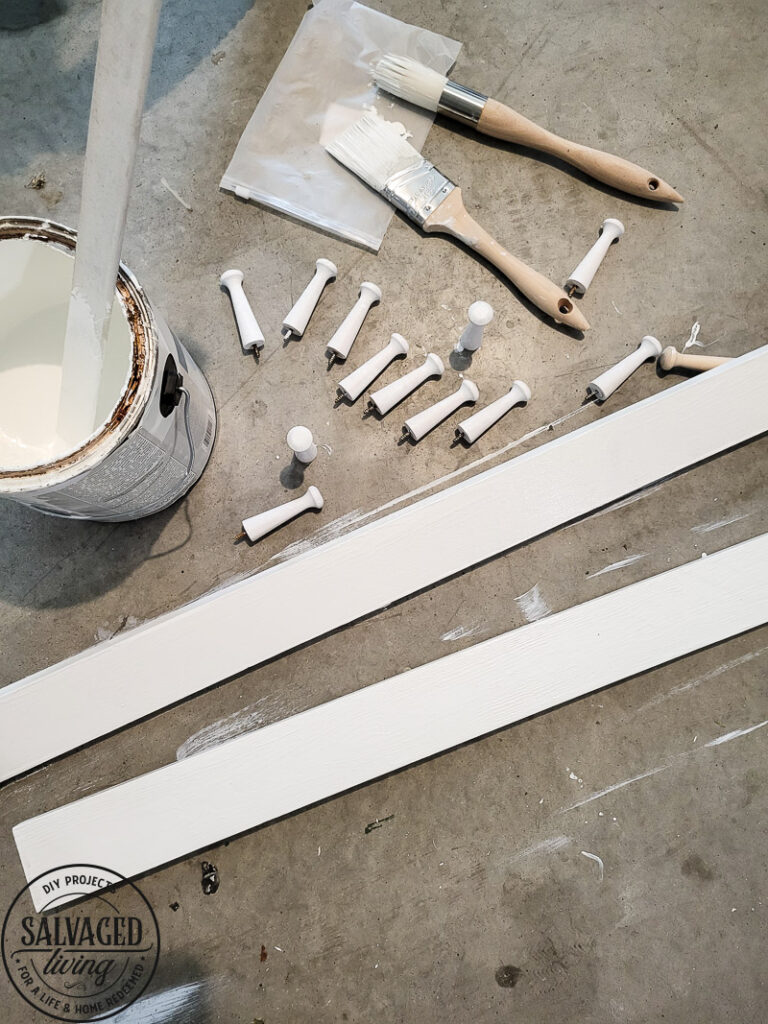
- I prefer to paint or stain the wood BEFORE I mount it to the wall. It will need a little touch up, but I find this to be faster and easier. I also paint the pegs before install.
- If you are using the pegs and not just a shelf ledge, make sure you line your boards up in the exact order they will go on the wall. Use a long level and a tape measure to equally measure out how many pegs you want to add to your rail. Make sure you hold your level straight and mark off each peg spot with a pencil.
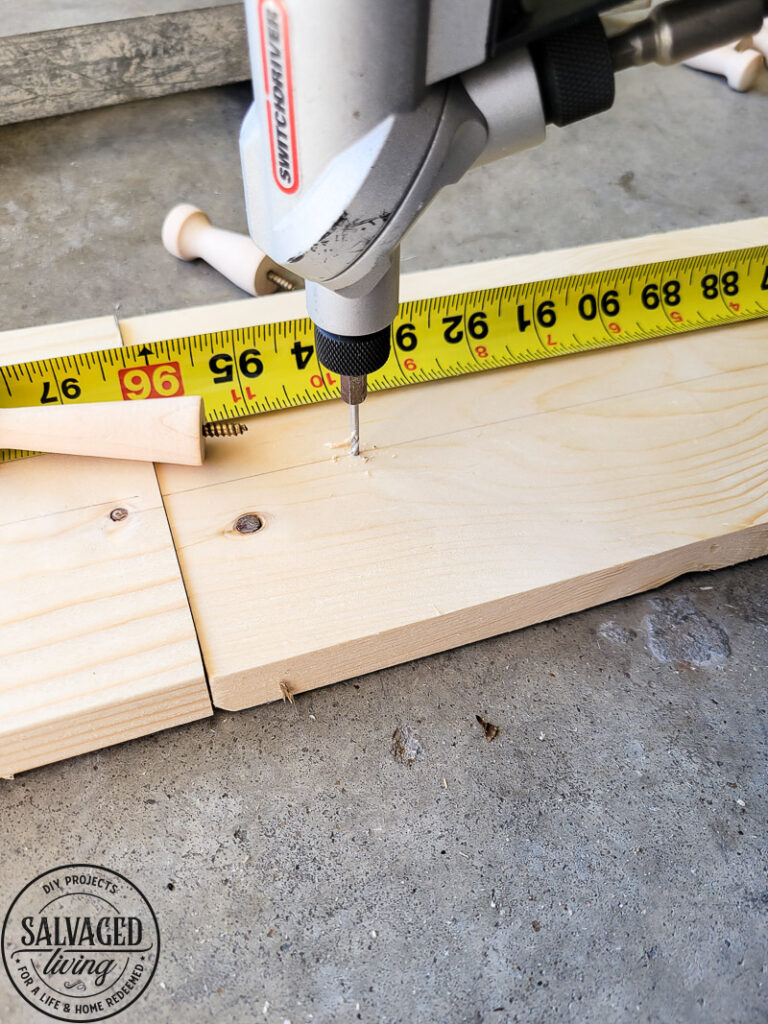
- The pegs I used screw in, so there is no drilling required. BUT – I did use a small drill to start the hole. It really helps the screw in peg to go in a lot easier! This is also helpful to get those pegs in the exact right spot.
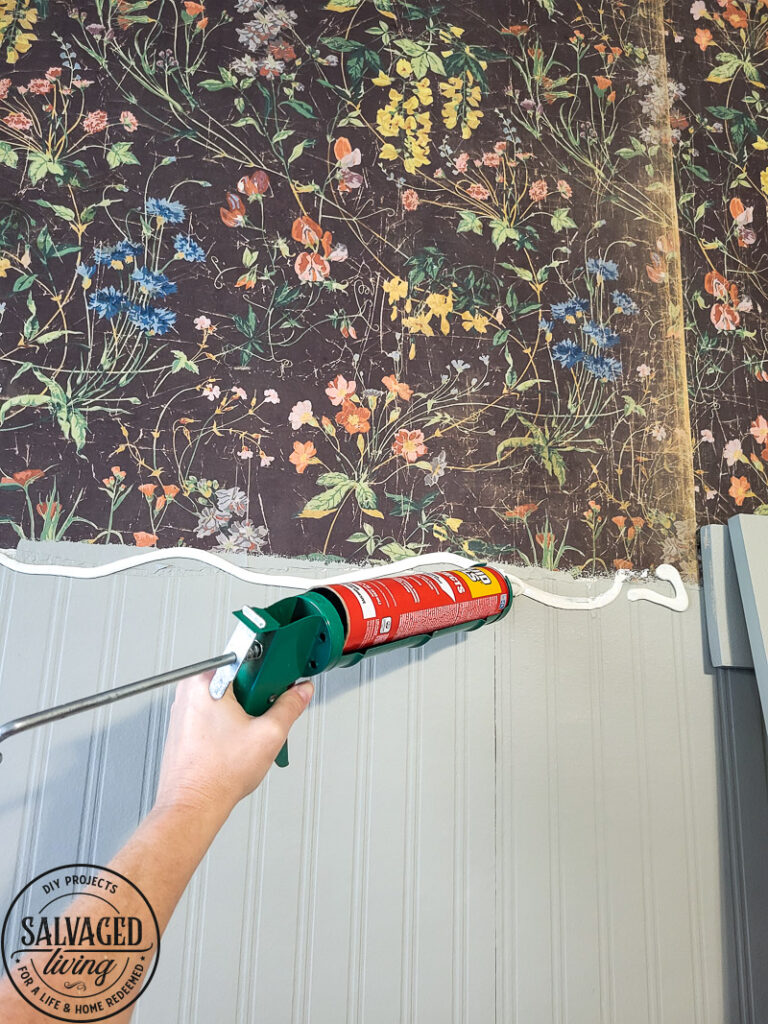
- To attached the base board to the wall, start with a liquid adhesive suitable for drywall and wood. Spread the adhesive under the plum line you drew on the wall earlier. This will help the board stay and be able to hold some weight for decorating.
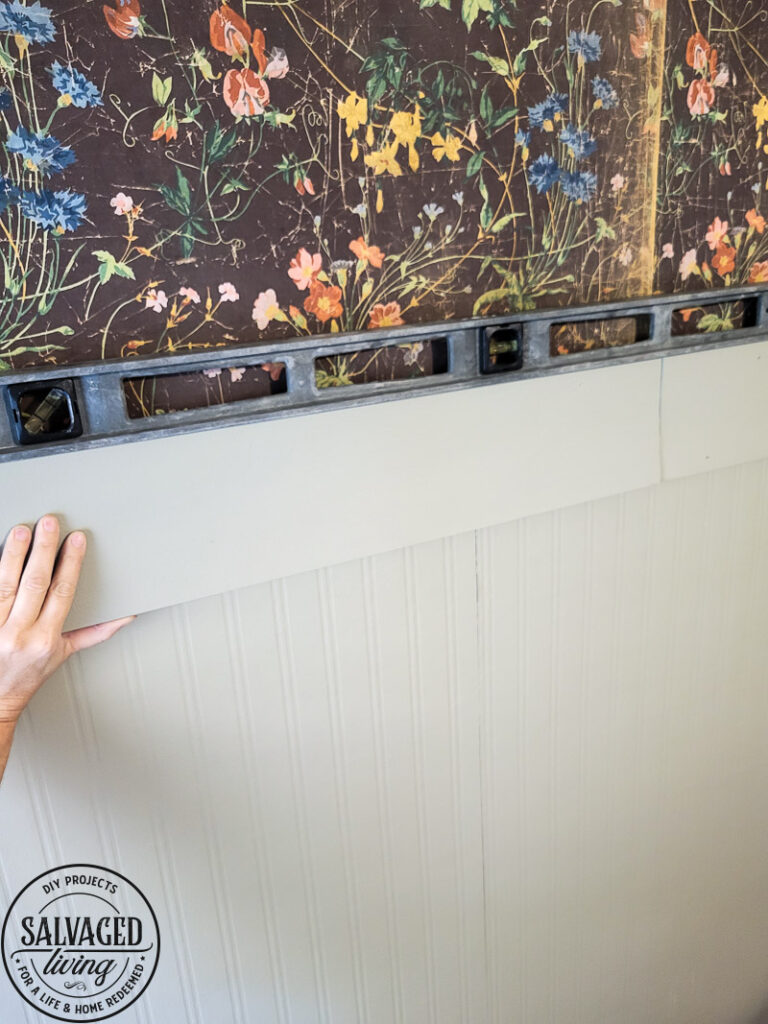
- Get your finish nail gun, or hammer and nails ready. Then mount the base board onto the adhesive and line it up with your plum line. Use a long level to make sure you are mounting it level.
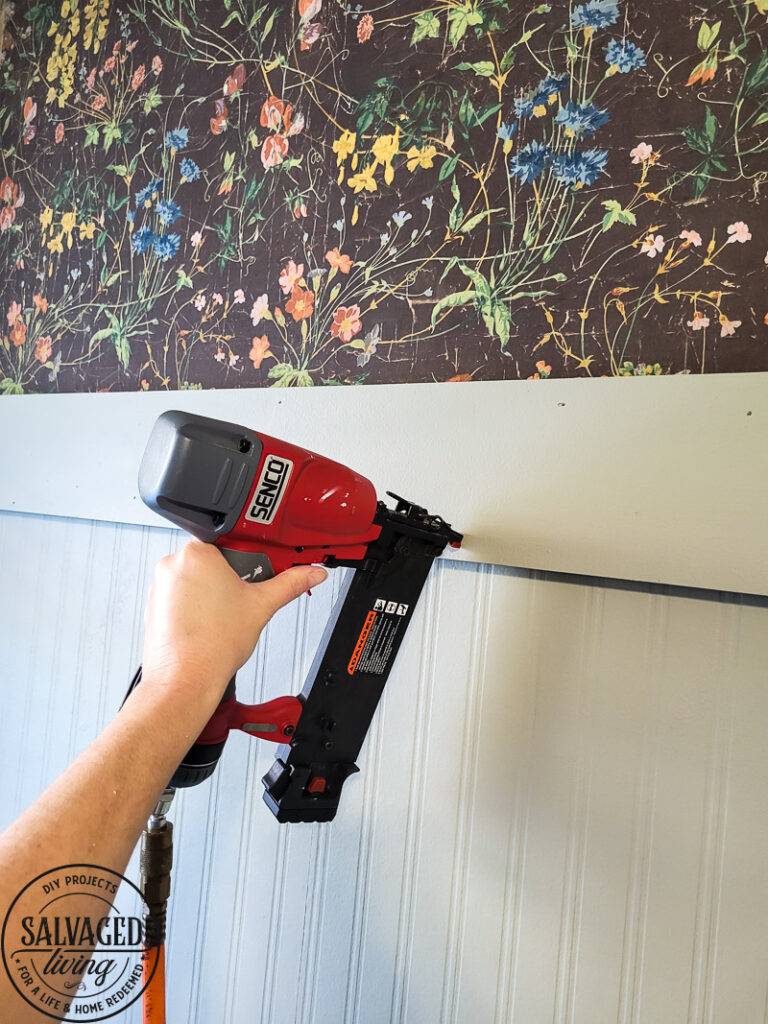
- With your finish nail gun attach the board to the wall. Shoot the nails at a slight downward angle to help them grip into the wall.
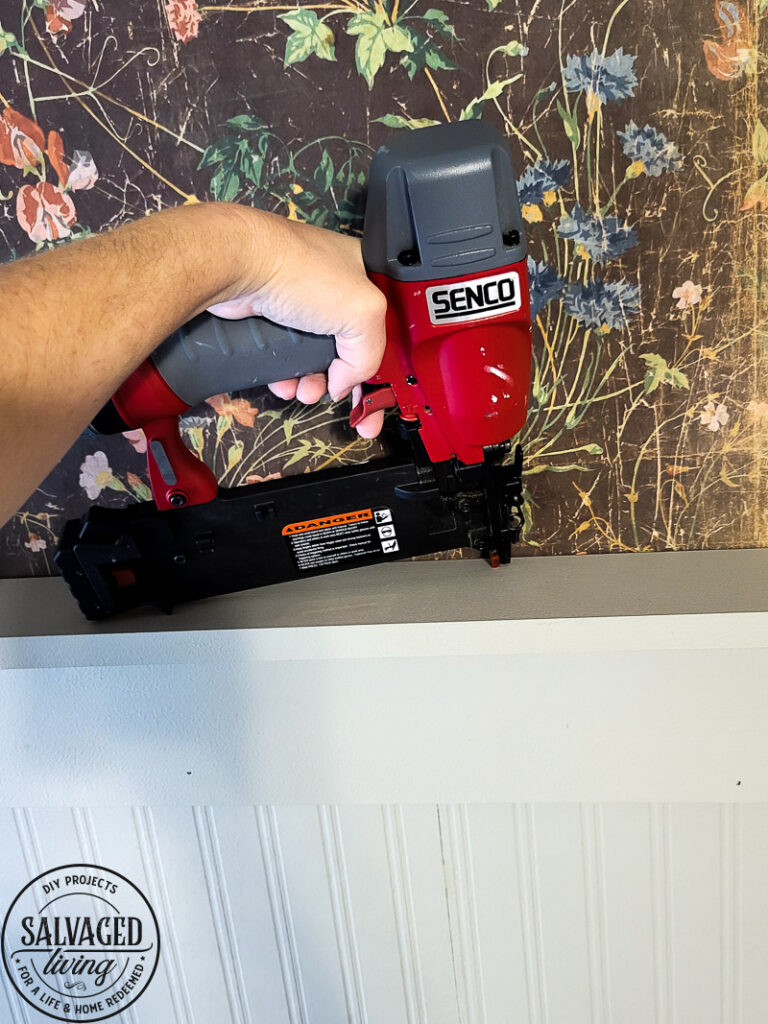
- Next top the base piece with the shelf piece. You can use some adhesive here if you want, I did not. Using the nail gun, attach from the top of the shelf piece into the side of the base piece.
- Fill any nail holes with wood filler, allow to dry and sand down.
- Caulk the cracks between the wood and the wall, as well as the base and shelf piece. This gives you a professional, built in look. I fell like this is a must do step in the process!
- Touch up the paint over the filled holes and any other areas disturbed during install.
- Stand back and enjoy your handy work!

DIY Peg Rail Supply List
- Adhesive
- Caulk
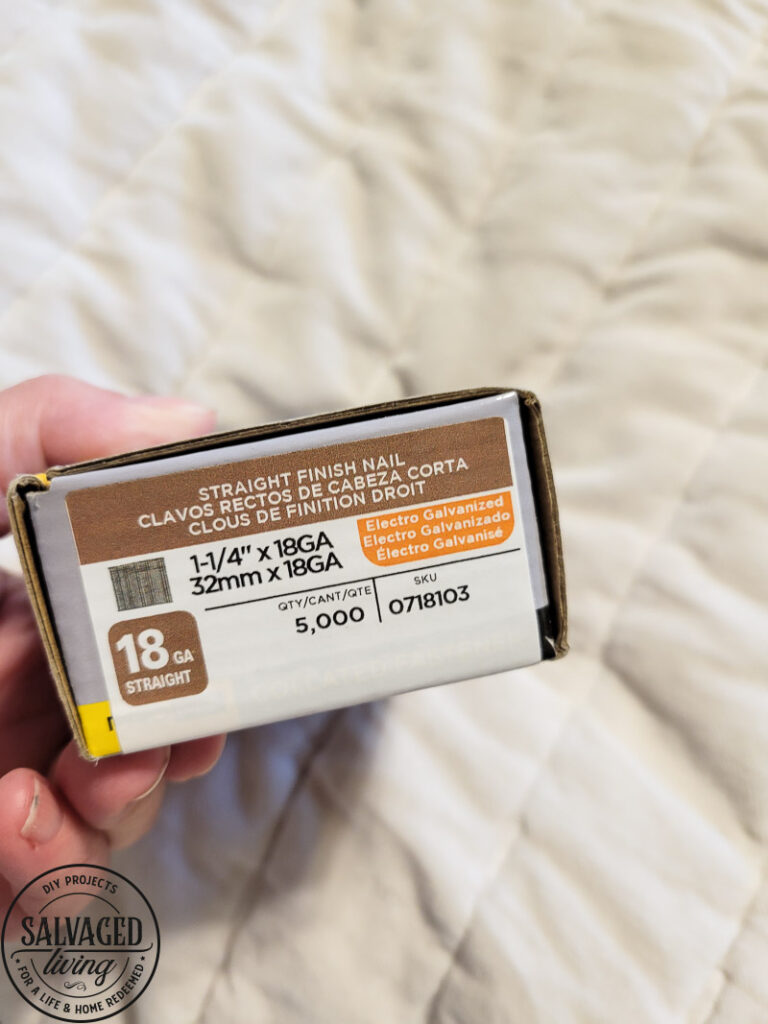
- Nail Gun with finishing nails
- Pegs
- Chop Saw
- Paint or stain
- Level – use a long level for an accurate reading
- Wood Filler
I’ve shared picture from both of the rooms I used this rail trim in so you can see the difference with or without the pegs. It really is an economical way to add interest to a room. Let me know if you have any questions! I’d love to see how yours turns out.