Rustic Winter Tablescape: Log Candlesticks
Decorating between Christmas and Spring is a tough one. Today I’m sharing an easy rustic winter tablescape that we’ve had up since New Year’s. I have to confess that when I post on the blog I REALLY hope that y’all are going to LOVE everything I put into the blogosphere, but even if you hate this idea it’s fine by me. My daughter already gave it the best compliment I could have asked for. 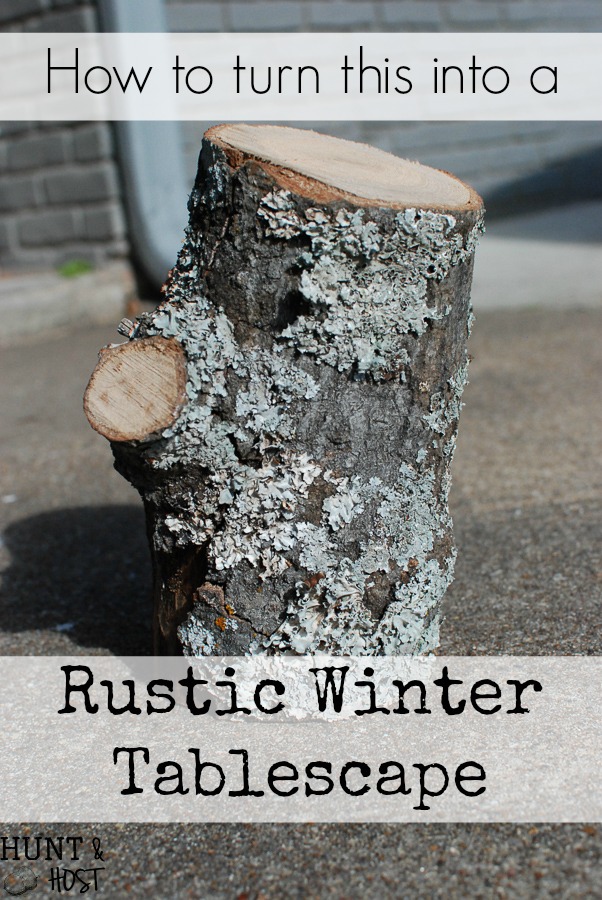
I may have mentioned my family hangs out at our deer lease as much as we can in November and December. It is a beautiful, quiet place far away from screens and life. We all adore the freedom of the wide open spaces, together time and of course sitting by the fire every night. As my husband and I chopped and gathered (he chopped, I gathered) firewood I had him cut a few extra pieces for me to bring home, knowing they would be perfect for a wintery table. 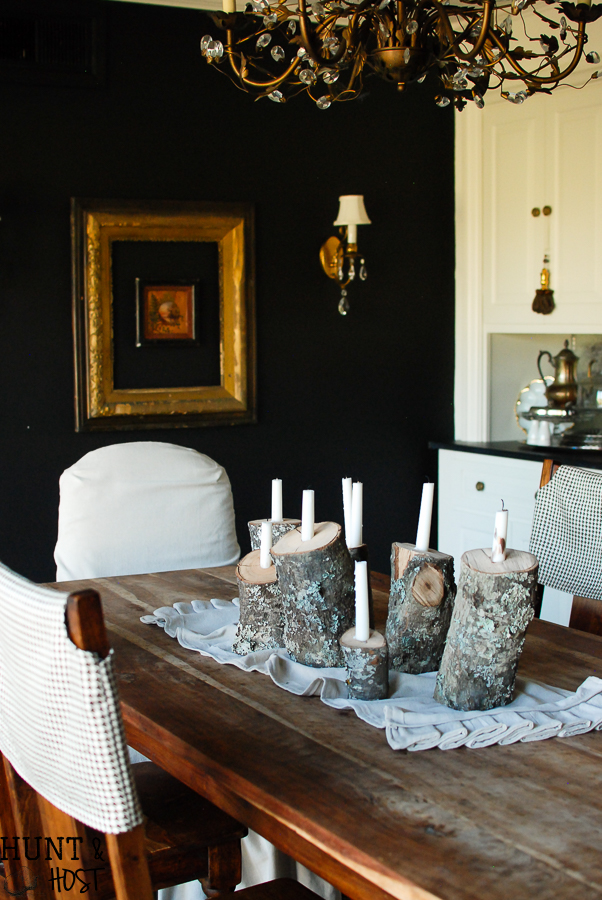
Christmas decorations shoved their way back into the attic and left the dining room table naked as a baby. I wondered if it was even worth the effort to decorate for winter. As if to read my mind, my daughter pulled up her chair and over a plate of spaghetti said, “it looks so empty in here.” What!? Quickly I asked her what she meant and she explained how she loves the table decorations I do. My heart melted. Our homes and the way they speak to our family do matter. I hope my kids look back and remember family meals around a decorated, seasonally inspired table. The decorations don’t really matter, but serving my people with the creativity and love God uniquely gifted me with does. 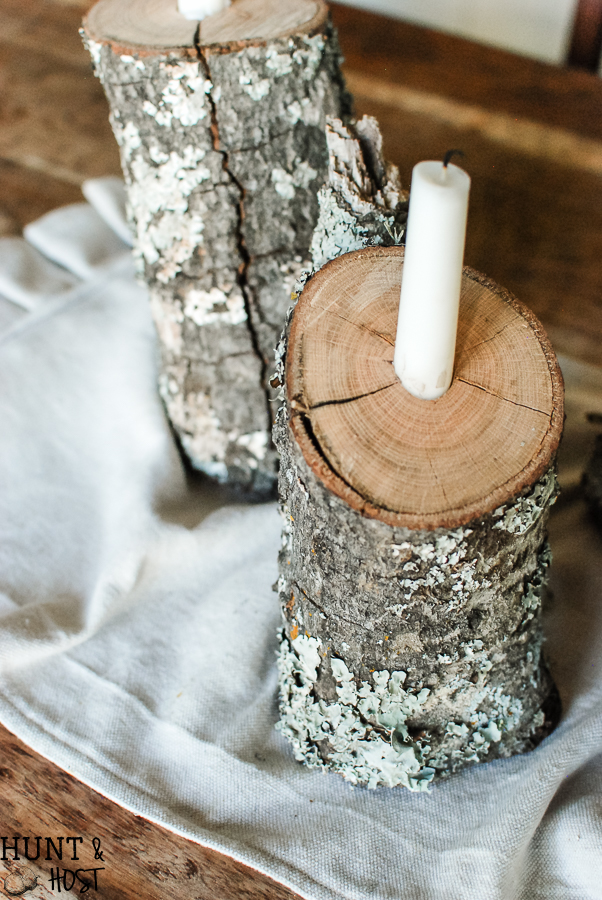
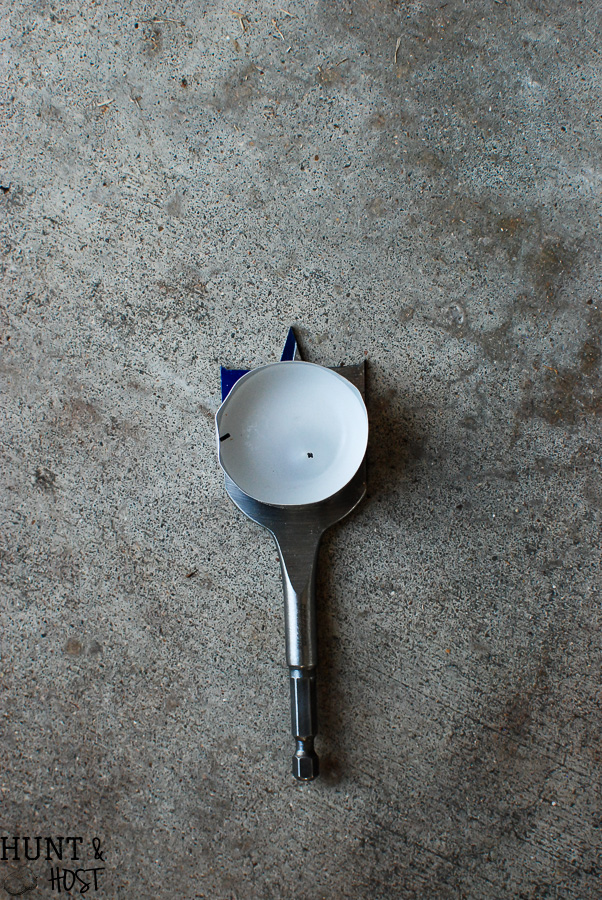
You can bet that hot off my daughter’s words I got out my drill and went to town on my freshly chopped logs. A drill is my favorite tool, there are so many things you can do with it and they are so easy to use. For this project you will need a drill with a paddle bit attached. In the picture below you can see how to determine the right size paddle bit to drill your hole. A typical candlestick takes a 13/16 inch paddle, but measure against the candles you are going to use first. 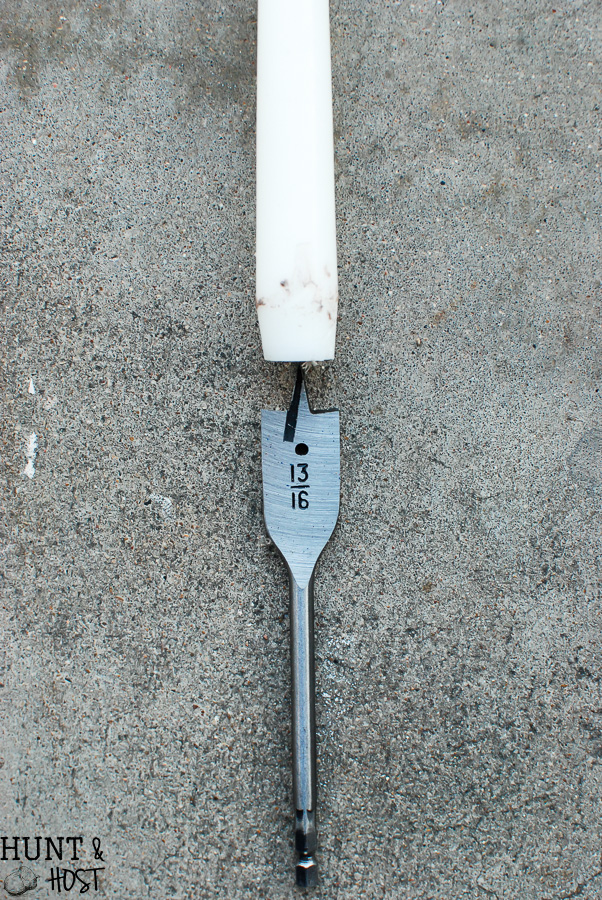
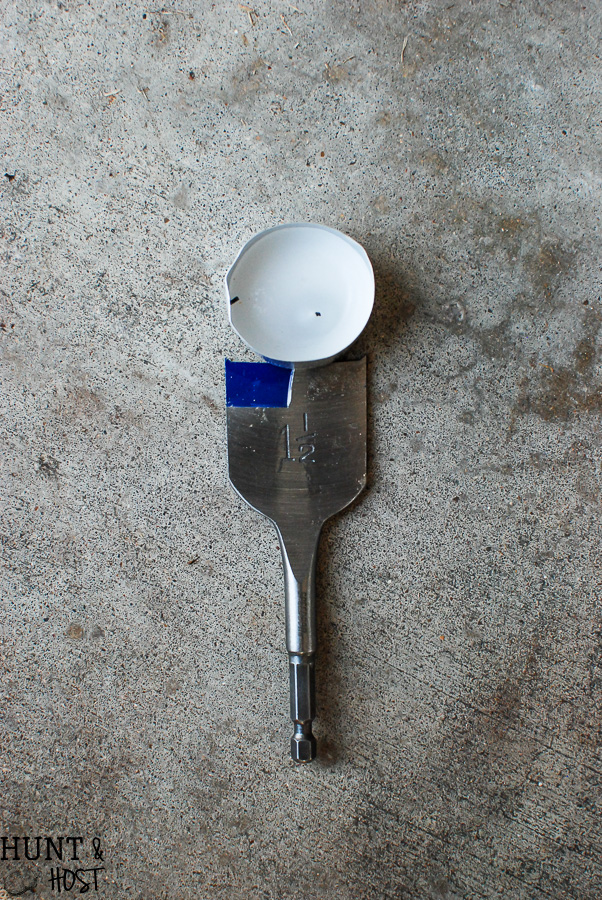
If you wanted to make a hole for a tea light candle you would measure the same way, likely needing a 1 1/2 inch bit.
Supply List:
affiliate links, which means should you purchase an item I might make a small commission. Thank you!
Cut logs or branches
 Hold the log steady and drill as straight up and down as possible. I like the fact that all the logs are wonky and unique, it adds interest and texture to the table.
When adding the candlesticks melt the bottom of the candle a little and while the wax is hot press it firmly in the hole. This helps the candles stay put and stand straight.  Remember that in décor the rule of numbers apply to make an eye pleasing display. You can display one, two or three items at a time. If you add additional items always have an odd number for the best look. I used seven logs for my table, even though there are eight candles the bulk is an odd number.
 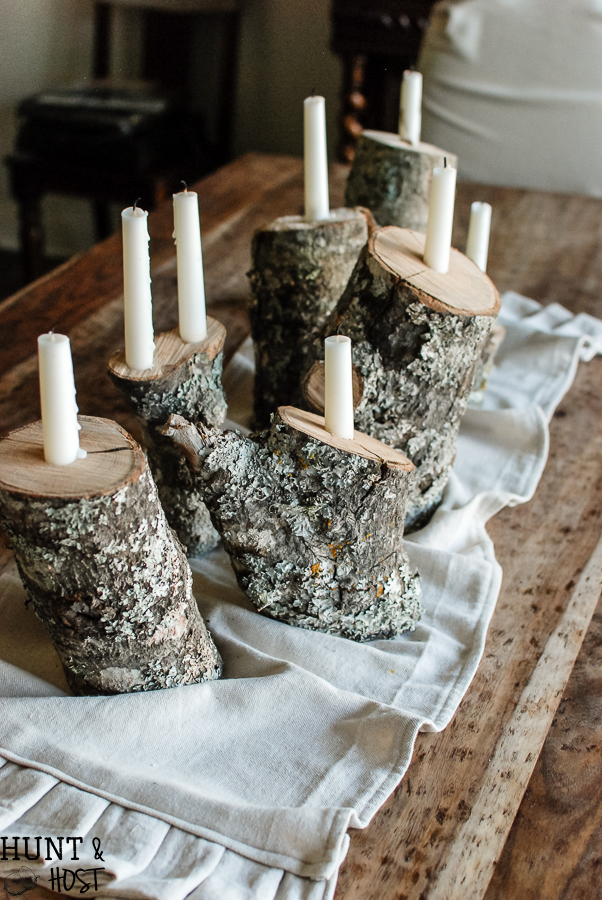 This display would be stunning on a mantel or sofa table, especially if you added some live greenery or pinecones to make an even more elaborate winter scene. I am happy to report that my daughter thought this table was beautiful and we have eaten by candlelight all month long, the candles are melted down to the nubs now. 🙂 As you know please use caution with candles and wood and never leave them unattended!
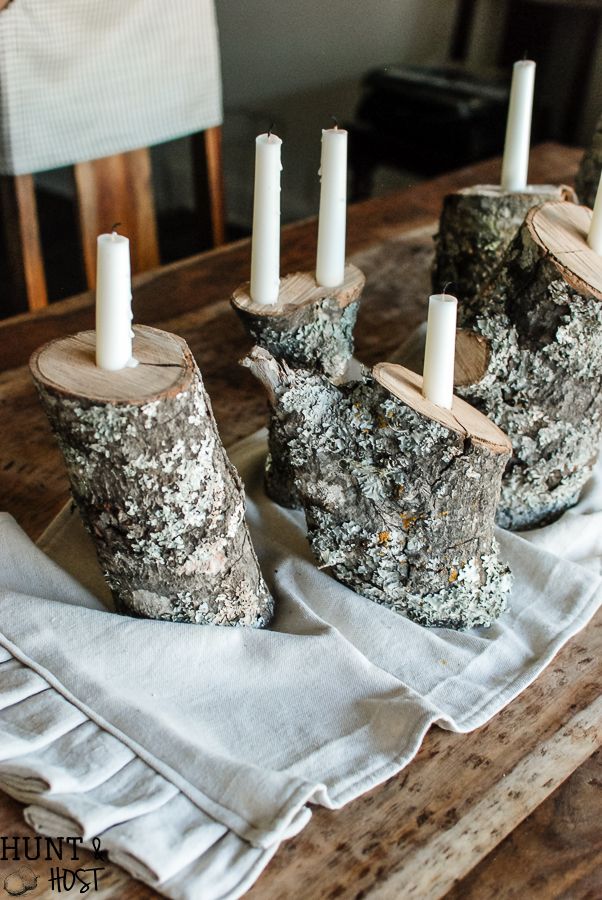
Don’t feel like you have to set the table every day, make a centerpiece that will last for weeks, leave it up and savor it. Is this something you would try at home? I’d love to know. Thanks for coming over today, I’ve enjoyed having you!


Love this! The simplicity is beautiful and the more knarled the wood, the better. ❤️
I agree, gnarly is good!
Love this idea as we have just moved into our dream mountain house. I’m going to try this for sure. I do have a question, do you have instructions on your chair back covers as seen in one of your pictures? I’d love to try those, too. Great ideas, thanks for your posts.
Congratulations on your home, what fun! Hope you have a great time making it yours. The chair covers are posted here: https://www.huntandhost.net/dont-want-paint-dining-room-chairs-dont-love/ let me know if you have any questions!
Good morning Kim, so glad you are back!! I missed YOU! Love your idea and us girls got to stick together with our drills! Thank you for such clear explanations! Blessings and smiles, Emilou ????
Thank you so much! and yes, we have to stick together, power tools are fun!!!
These are really great and I love the growth on them, is it Moss, anyway I love them.
Thanks Marlene, they are covered in moss and lichen so they are very earthy and natural. So glad you like them too!
Love nature brought indoors….perfect.
It’s my favorite!
These are great. i think I already commented here and invited you to link at The Fabulous Party.
I came by because your Bible Verse card post was in my email but there wasn’t a place to comment.
I wanted to ask you to link the Bible Verse post at the party. I hope you’ll come over to the new Fabulous Party. We are celebrating Spring and Easter. Your post is perfect to share! The party is over here:
http://ourholidayjourney.blogspot.com/2017/02/fabulous-welcome-spring-link-party.html
Enjoy your week!
Thanks so much for sharing Sherry! I appreciate you stopping by and the invite!
Oooo… I love these. They’d look great in a fireplace that’s unused, or out on a patio
that would be a great idea for these!!!