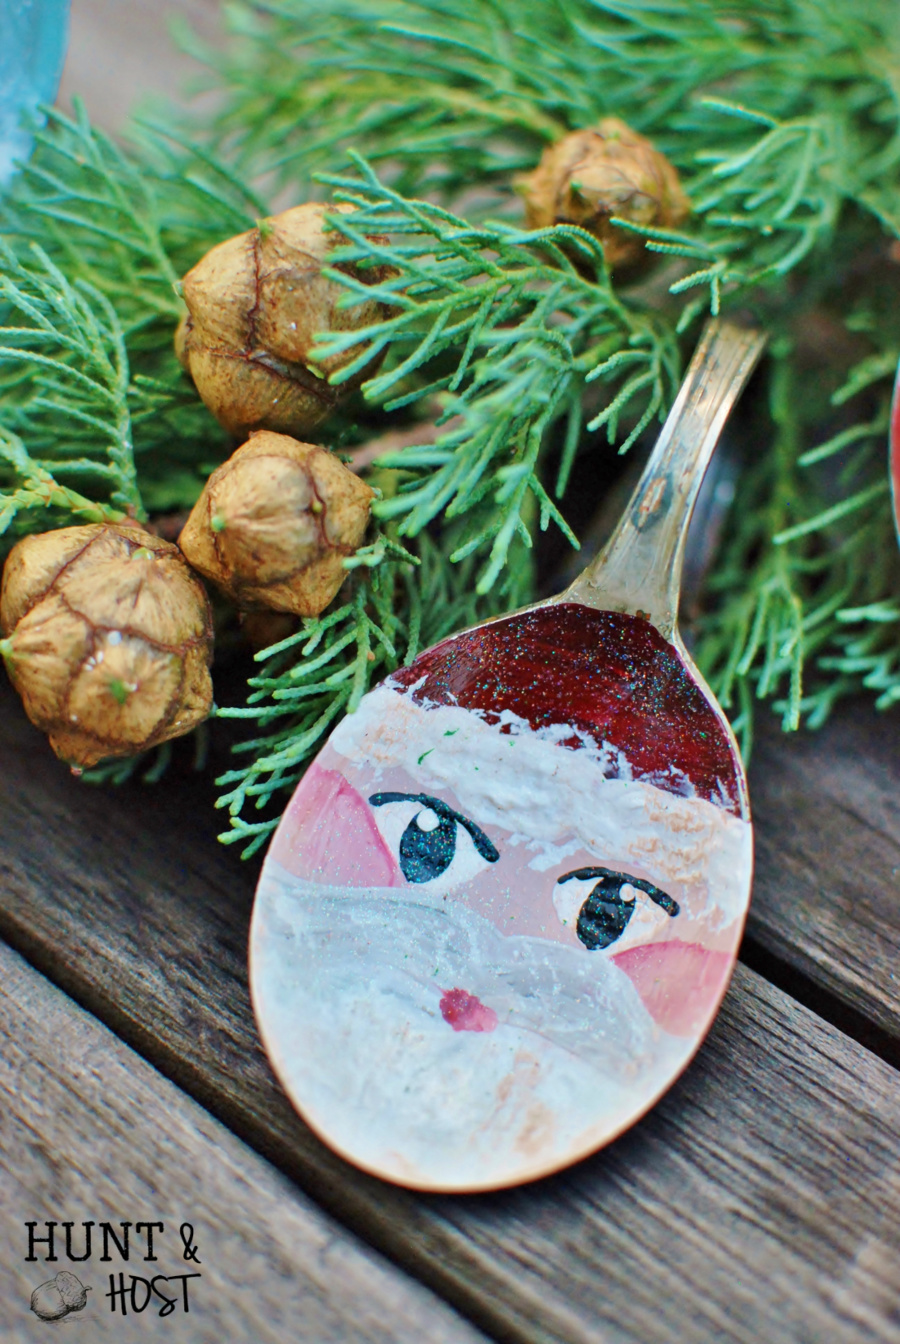
Silver Spoon Santa
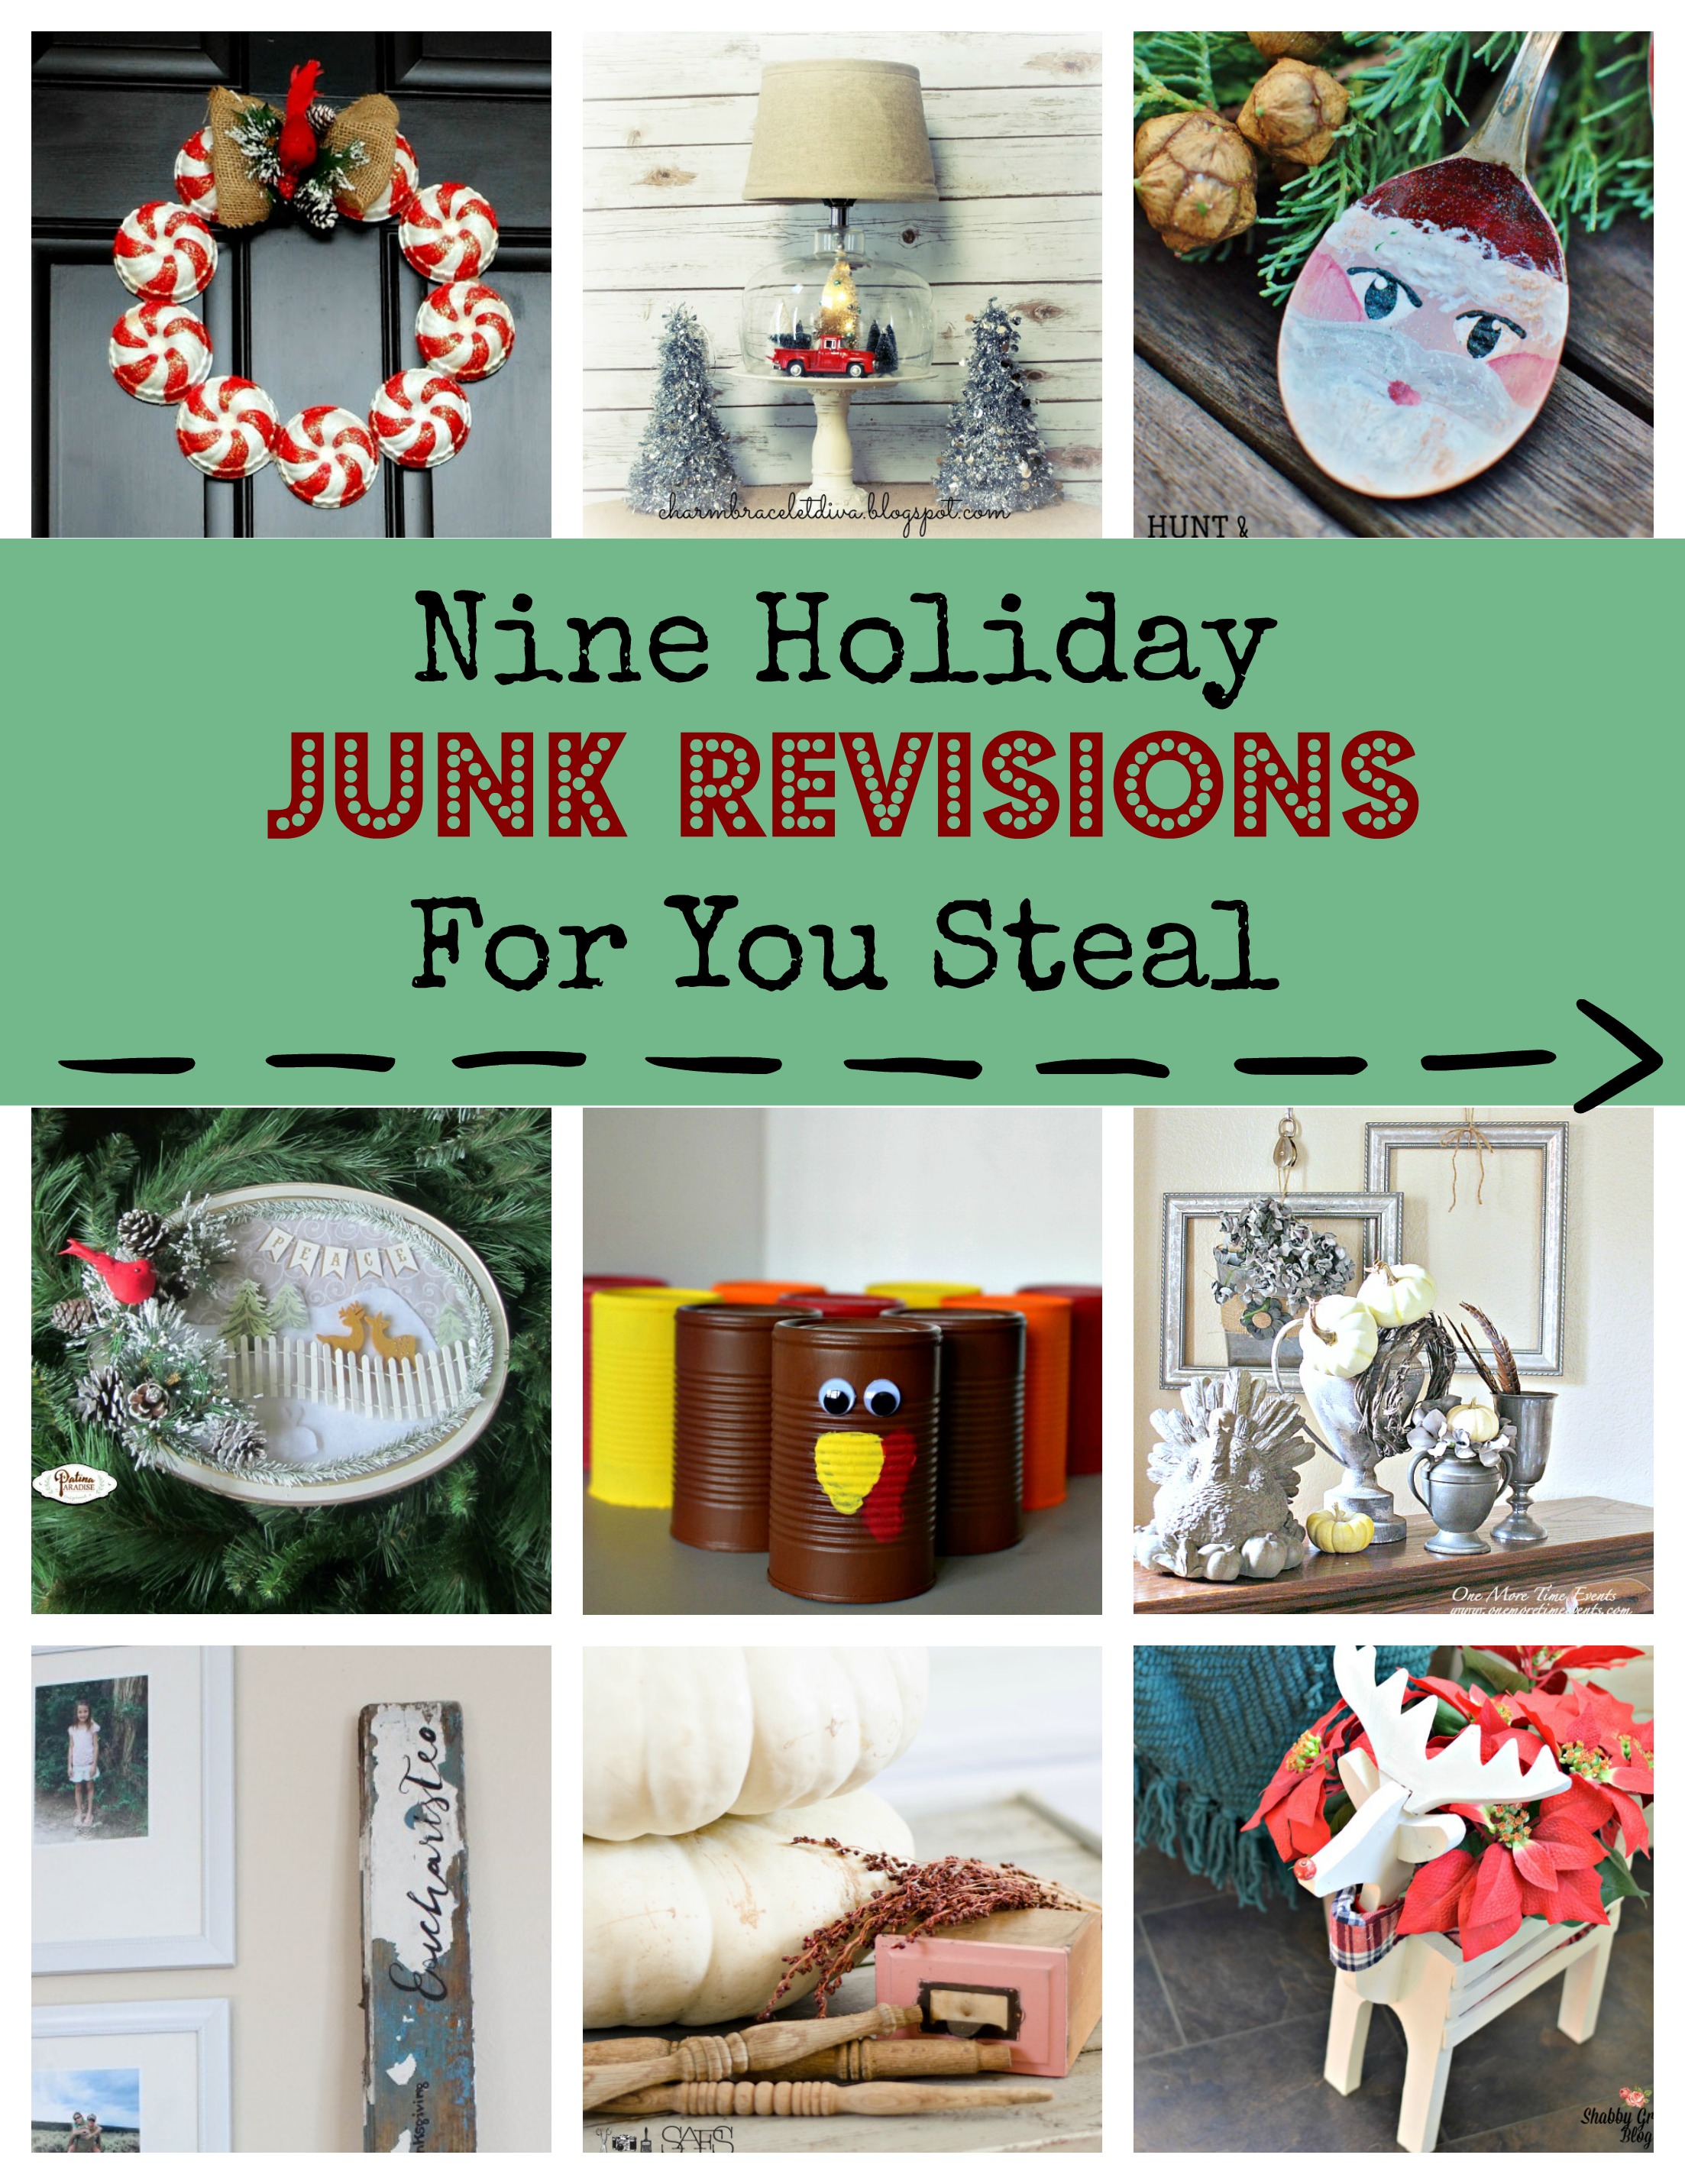
Today I’m teaming up with my junk lovin’ ladies. #JunkRevisionChallenge This month’s theme was loose…take junk and let it inspire you for something Thanksgiving, Christmas or winter. Last month was Fall. Check out the links below to see what my friends went with. I choose Christmas and a silver spoon Santa.
I think this project might inspire you to get your crafty self going for Christmas or any other holiday! You could use this idea for a wide array of inspiration.
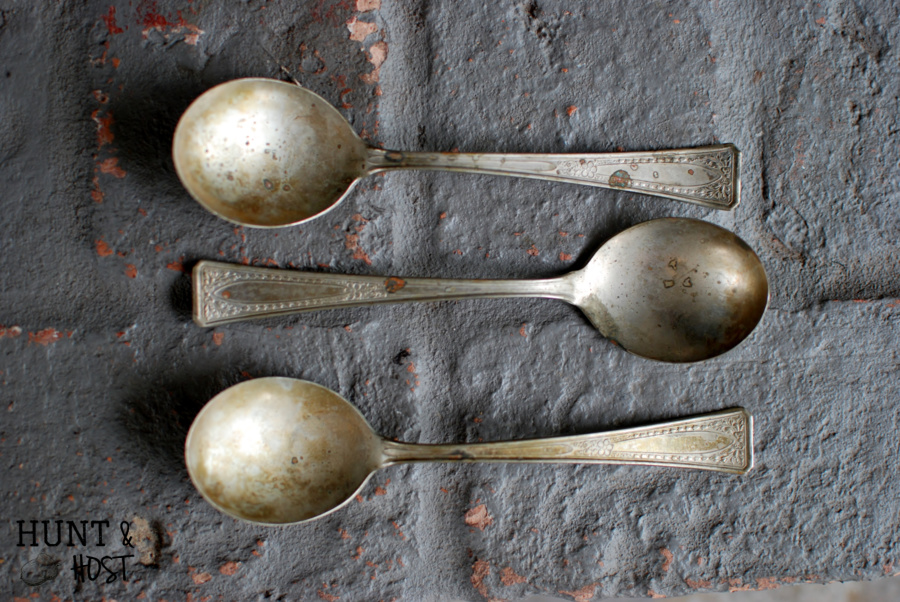
Do you have any mismatched flatware laying around? I bought these at a garage sale a while back. The older the better.
 I know flatware jewelry is popular right now, but these flatware decorations have been part o my Christmas for years now. Originally, I bought a Santa spoon in an antique shop. I loved it so much it inspired me to branch out into other ideas. I wanted to show you them all, but they are buried in my attic. I tried, but couldn’t find them!
Here are some step by step painting tips to help you make the prettiest silver spoon Christmas decorations. These spoon make thoughtful gifts, unique ornaments or beautiful coffee table trinkets. 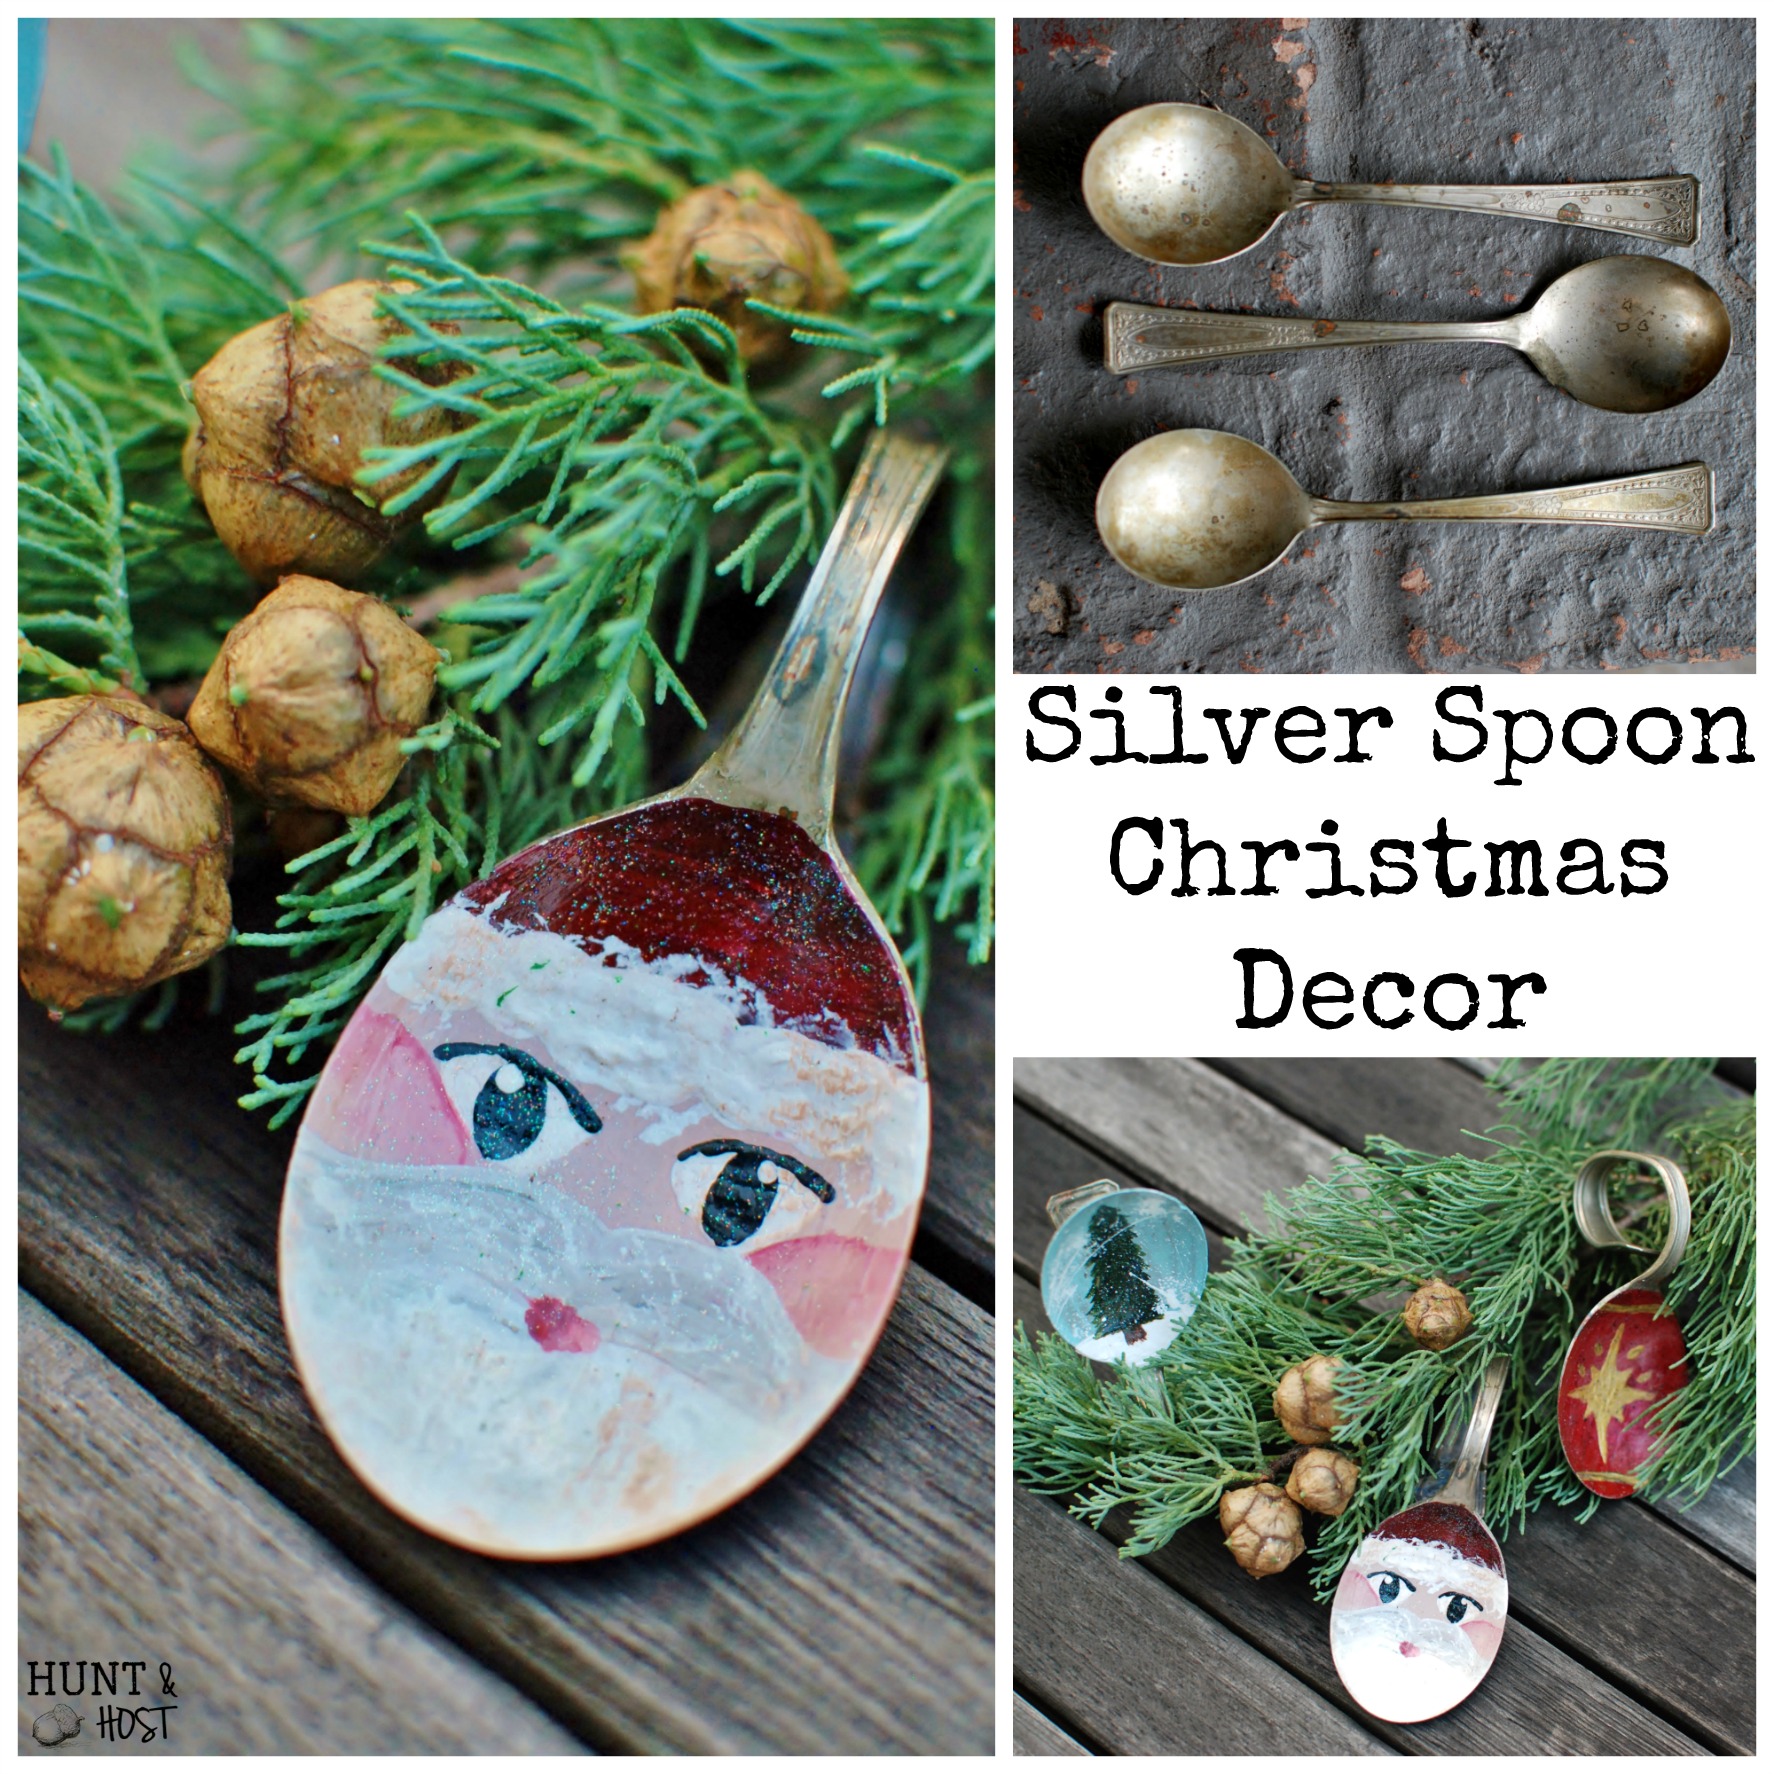 Start by bending your spoon handle. It can be hard, you may have to incorporate help. I use pliers and a hard surface to bend the handle where I want. You will want to bend differently depending on if it is standing up, like the tree, or laying down like the Santa. The tree will need a flat space, so a more square bend will work.
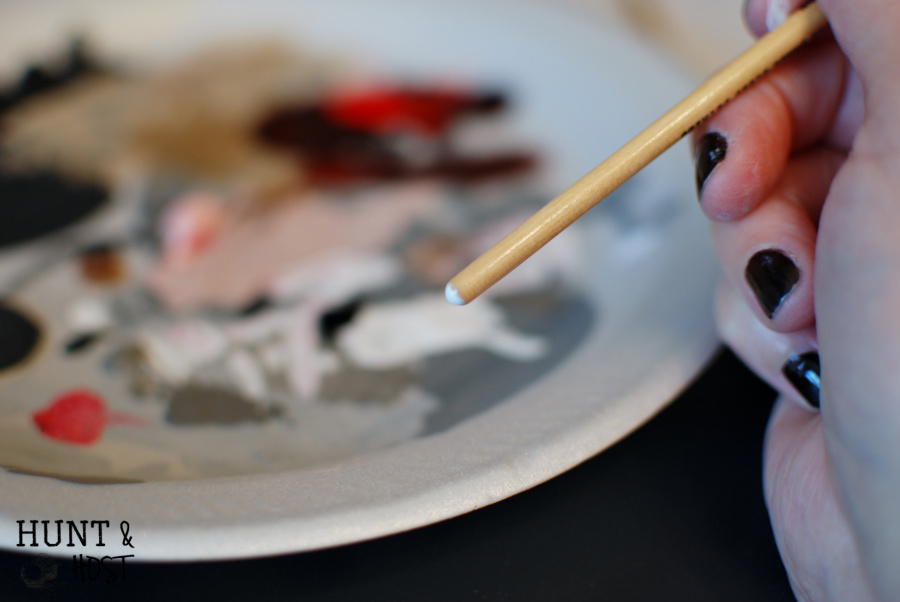
 Get your colors and brushes ready. I used about four different size/type brushes for this project. I will tell you as I go…
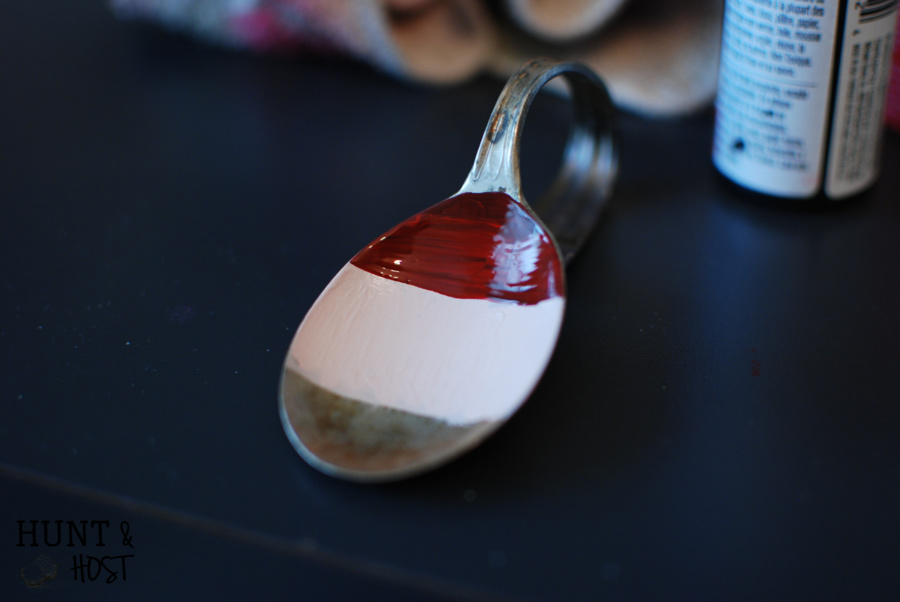
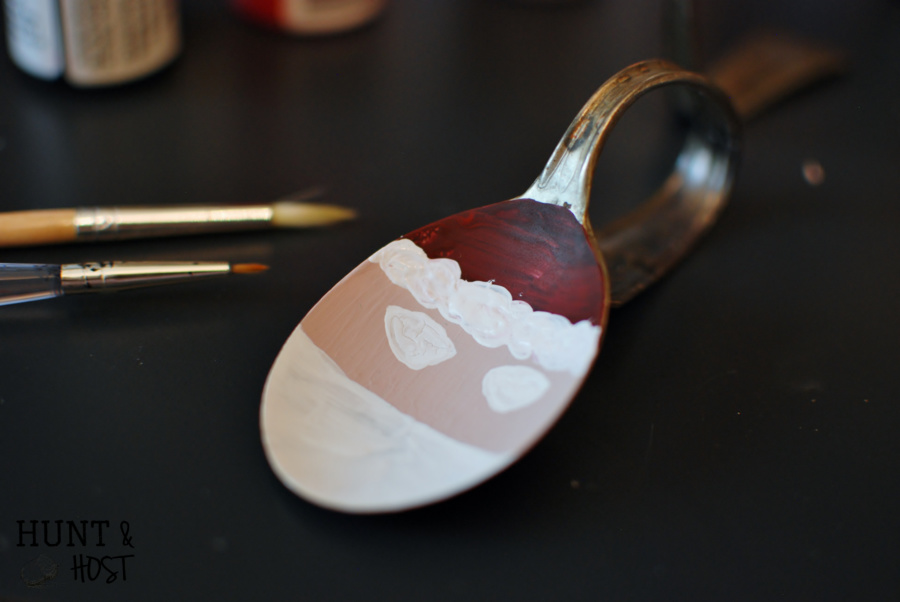
Paint your Santa skin first.
Tip: You can use a hair dryer to help speed up the process. You will need each step to dry before you start the next. When using a hair dryer be sure not to get the air flowing to fast on the paint – it will move your paint!
 Next I painted the hat. I like a more muted red so it looks older. You can use a 1/4″ brush when spreading these larger, less detailed parts.
 Paint the eyes, beard and hair fluff. I use a small brush, like the one in the first picture when doing details like the eyes. Right now we are just getting the base layers on.
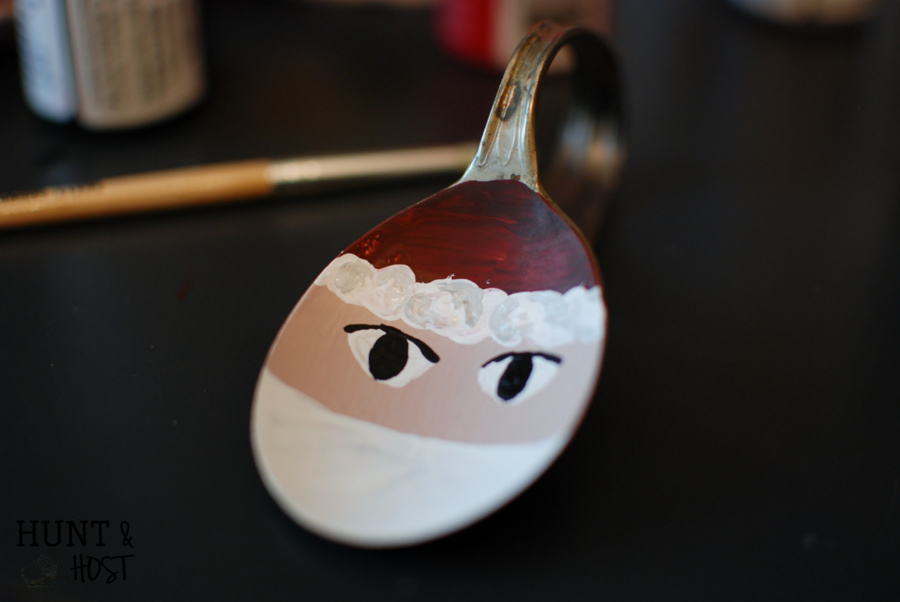
 Using your small brush fill in the black of the eyes and the top eyeline.
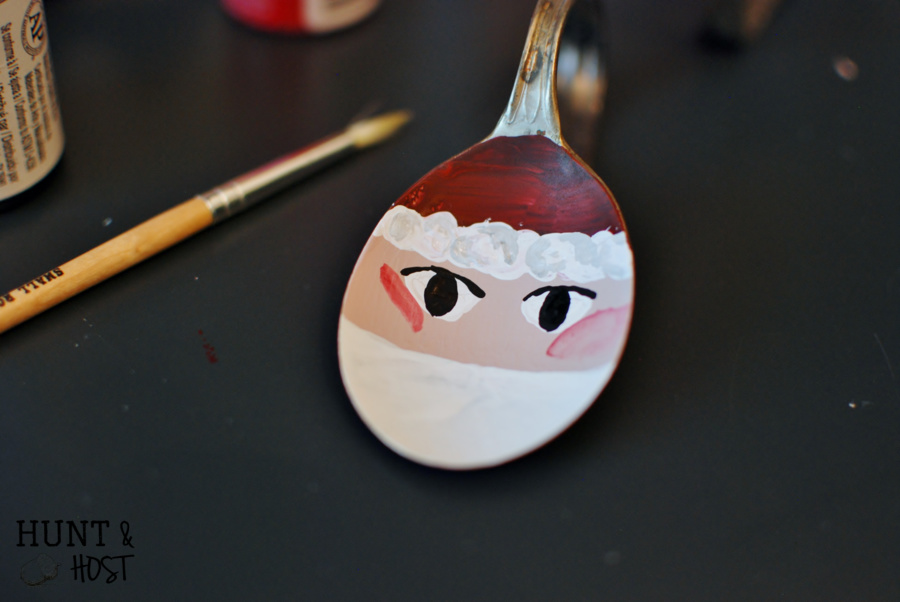
 Nest use a 1/4″ brush that is damp and get the edge of it in the red/pink paint. Paint a crescent right up to the eye. Do one at a time. While it is still wet, clean the brush and leave it slightly wet. Use the water to spread the cheek color. Repeat other side.
 Using the same brush load it with white paint and then dab in the gray slightly. Paint and arching mustache up the eye area and overlapping the cheeks. Fill out the mustache with this same white/gray paint.
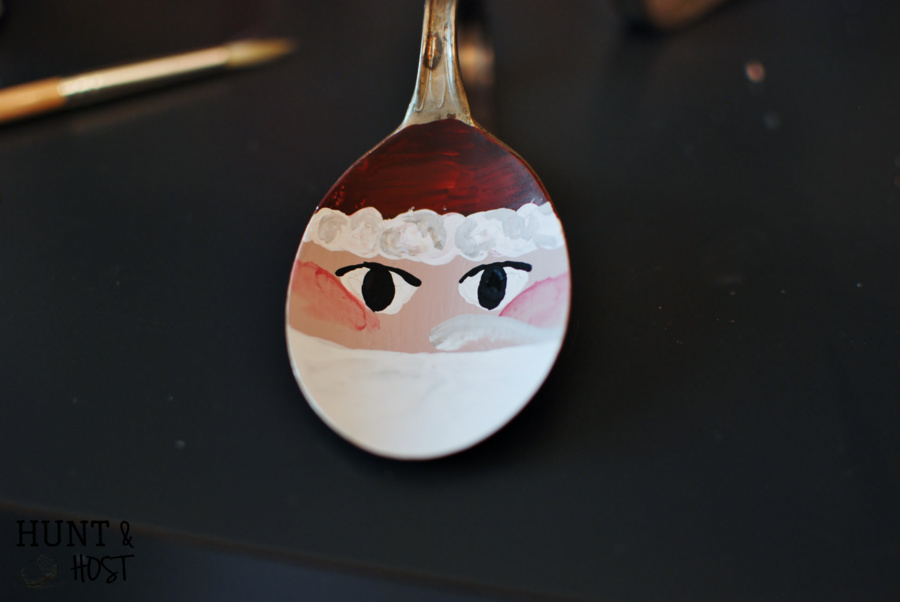 Add a little twinkle in his eye. I use the tip of a brush dipped in white for a crisp dot of paint.
 Finally I tweak him to my liking with extra white to build up the fluff on his hat and beard. I use a glitter and high gloss overcoat with just a touch of brown swiped through to give it a hint of age. The shimmer is hard to see in pictures, but looks really nice in person. A glossy finish is nice because acrylic paint dries flat.
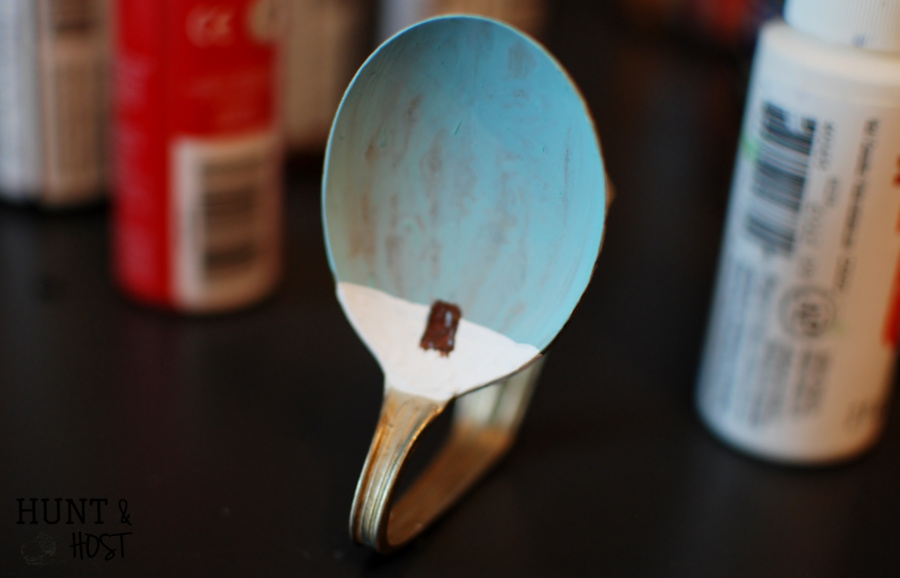
For the winter tree I layered as follows:
A light washed blue base with white snow and brown tree trunk.
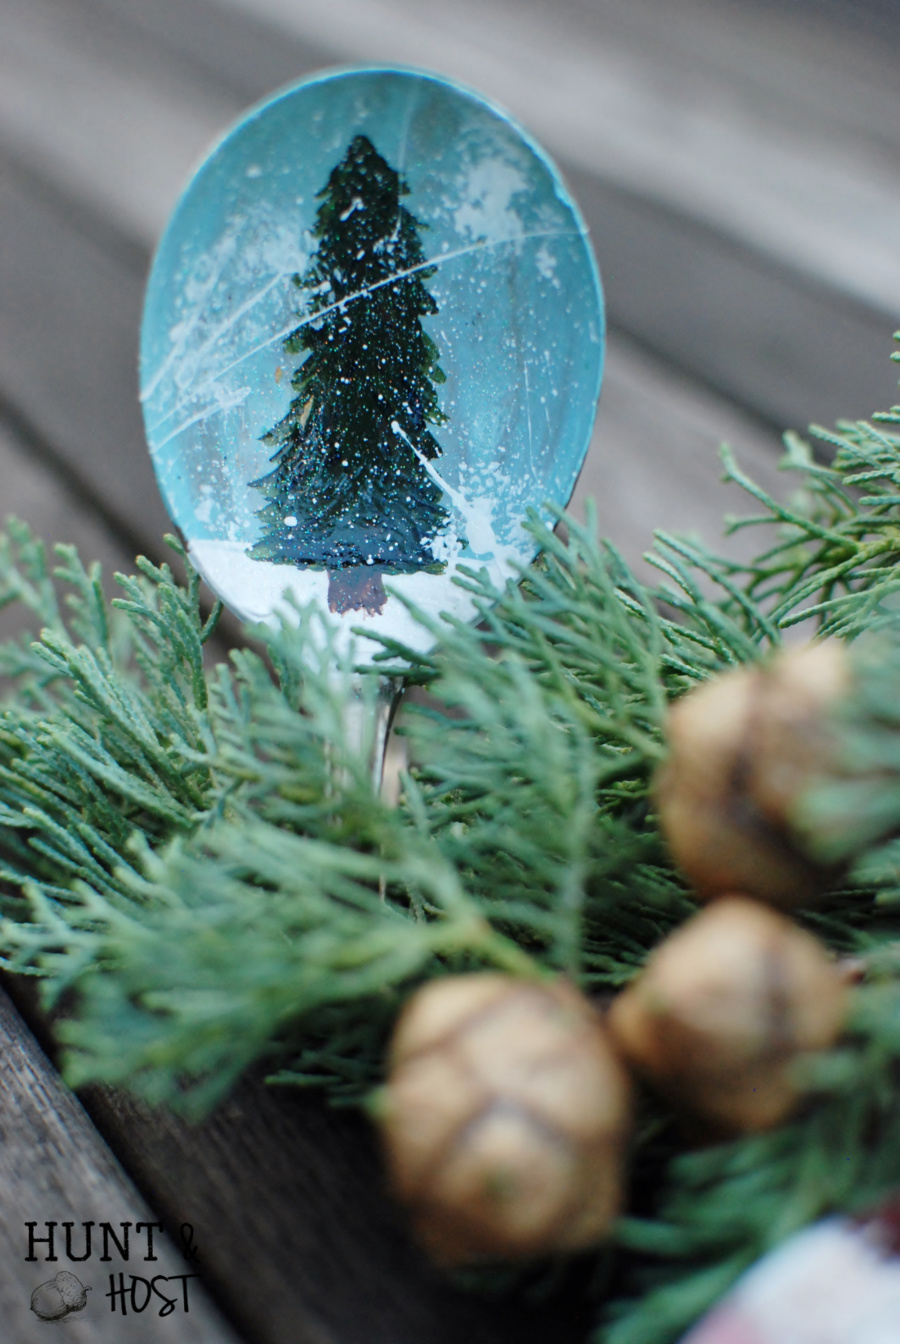
 For the tree, a Forest green with hints of brown and black for depth.
 My favorite part is making the “snow”. I use one of my kid’s cheap black plastic bristle brushes and fan it with my finger. It gets messy and will splatter, so it’s best to practice first.
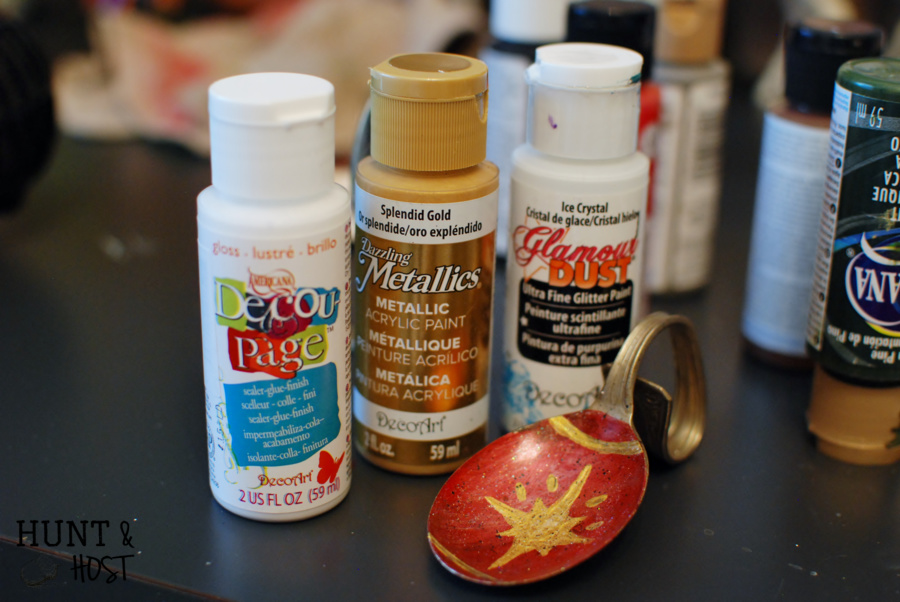
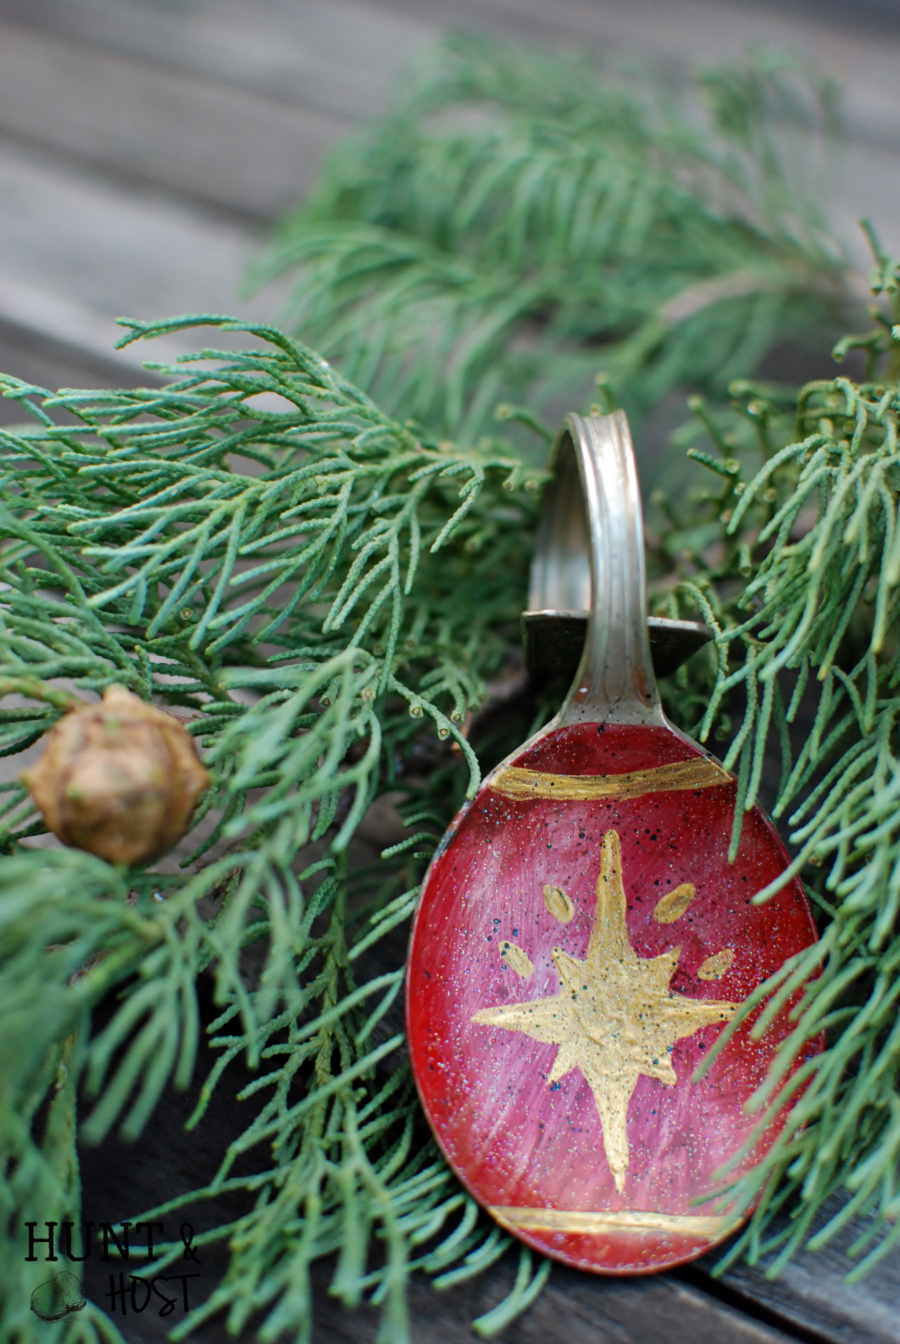
 For the third spoon I went off my daughter’s inspiration. She thought it would make a perfect ornament, I couldn’t agree more. I wanted it to look like the old mirrored glass cutout ornaments. Using a washed out coat of red, the silver shined though slightly. With shimmery gold I free handed a star and rings. Black flecks were added for an aged look and it was completed with the same glitter and gloss coat as the others.
 So, next time you are tempted to throw out mismatched flatware, or pass up a great garage sale deal…DON”T. Have a paint party and make gifts or treasures for your Christmas season!
Don’t forget to see what my junk genius friends came up with below:

[inlinkz_linkup id=577081 mode=1]

You did such a great job on these. I bet they all look adorable on your tree…what a great idea!
thanks! I wish I could find the ones in my attic to share…maybe when Christmas comes down !!
These are really cute – I think our tree could use one or two or three or…. Thank you for the great painting tutorial. Cathy
They can be sprinkled all over the house! Make a dozen or so!
This is really adorable! And, what a unique gift. Your paint job is amazing! Love the steps, I’ll need it!
They are good gifts, inexpensive, but special!
Very clever and original! Never seen them anywhere!
Thanks – I did not come uo with the original years ago, but have definitely evolved the idea into my spin on it!
You turn things I never imagined into something I never imagined…if that makes sense!
lol…too funny!
So stinking cute! I seriously doubt I am capable but I may have to try!
You can totally do this!
Craft night at Kim’s house?! 🙂
Bring it on!
These are so cute!! Love them!
Thanks Laura Jo – miss you friend!
Super cute and fun! Great tutorial 🙂
thank you friend!
So cute! I’m pretty sure I’m going to have to try this.
yay – let me know how it turns out!
You are such a talented artist/painter! Sadly, I’m not. A painter, that is. Your Santa is adorable, but I think I love that evergreen even more! xoKathleen
Thank you – and you are quite a gifted lady yourself! The tree is super easy to make!!! I love it too.
How cute are these?! I didn’t know whether to pin this spoon craft under Christmas or Cool ideas!!! Love these spoons turned decorations!!
I know – I have since been thinking about what else I could make with these!!
I’ll bet you could attach them to a wreath, or make chimes ,use on presents with someone’s name, oh the possibilities!
These are adorable and you make it look so easy! Love them as ornaments…I have boxes of old silverware sitting around. Thanks for sharing at vintage Inspiration Party.
Adorable! You are so creative. Now I need to go find a few old spoons. :):)
I bet it won’t take long to have a load of them 🙂
Such a fun and creative idea! I love the tree the best!
Isn’t the snow fun? EASY to make the tree!
These are just so cute! Thank you for sharing them @Vintage Charm! Blessings, Cecilia
Thanks Cecilia!
These are totally adorable. VIsiting from Funky Junk party.
Thanks for stopping by and so glad you liked the project
I love these! And I just so happen to have a bunch of old spoons. Now I know what I’ll be doing this weekend!
fun project! So many possibilities
I absolutely love these! I’m pinning them so others can see all that creativity! All of them turned out just perfect for the holidays. Thanks for sharing with us at Dream. Create. Inspire. Link.
thanks for the pin – I really appreciate it. The spoons are a great Christmas addition!
These re-purposed spoons are adorable. Thank you so much for sharing not only your idea but your great tutorial as well with us at Vintage Charm. Hope to see you back this Thursday. sb
Thanks Sharon – easy Christmas craft!
Just wanted to let you know we are featuring your post at Vintage Charm #5 today.
Thank you sharon, what a special surprise today!!!
This is sucha cute idea! I love the rustic vibe 🙂
Thanks – They are the perfect simple addition for Christmas!
Hi, Kim – I absolutely love these, what a genius way to repurpose old spoons. I have seen all kinds of ideas for them, but this is new to me. Love all three of your adorable designs, but the tree is my fave. thanks for the great tute!
I have a few spoons laying around!! I think I’ll make some gifts! Would love to have you share at the Pleasures of the NW’s DIY party!
I have a few spoons laying around! Think I’ll be making some gifts! Would love to have you share at the Pleasures of the NW’s DIY party!
Is there a speical kind of paint that’s best to use?
I just use acrylic craft paint!
What a unique and adorable project! Congrats – you are one of our Featured Guests at this week’s Inspire Me Monday Party at Create With Joy – Week 255!
YAY! Thank you so much for the feature! So many good projects, I am feeling honored!
Oh my goodness what an adorable idea, I would love to have you drop by and share on my Friday Features Linkup. http://ohmyheartsiegirl.com/friday-feature-linky-party-42/
I also Pinned to share.
Have a wonderful Thanksgiving!!
Karren
SHaring there! Thanks for stopping by and sharing. I appreciate it so much