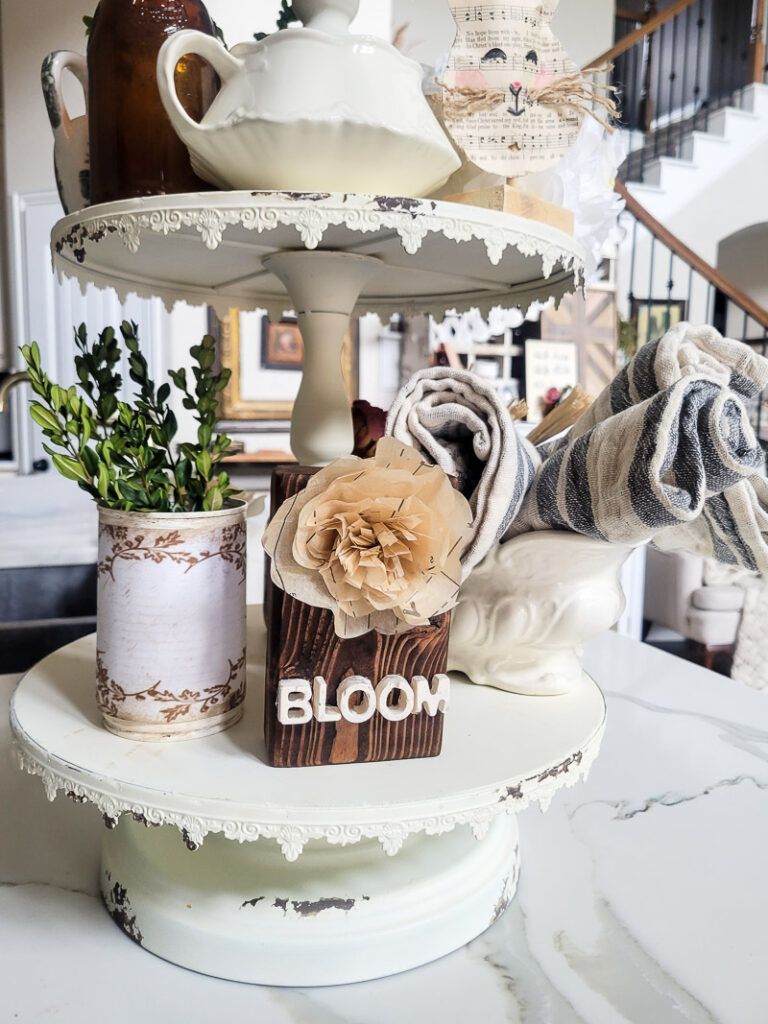
Spring Shelf-Sitter with Unique Lettering
I love a good shelf-sitter… they can go in a vignette, cake stand, bookshelf, anywhere honestly! That’s the beauty in them! And they are SO easy to make! You’ll see just what I mean when I show you how to make this Spring shelf-sitter with unique lettering.. it’s precious AND easy!
what you’ll need to make this spring shelf-sitter with unique lettering
- wooden block
- hot glue
- sewing patterns
- wood stain (depending on your preference)
- paint
- lettering mold (I added a link to one here, but I got mine at JoAnn)
let’s get started on this cute shelf sitter
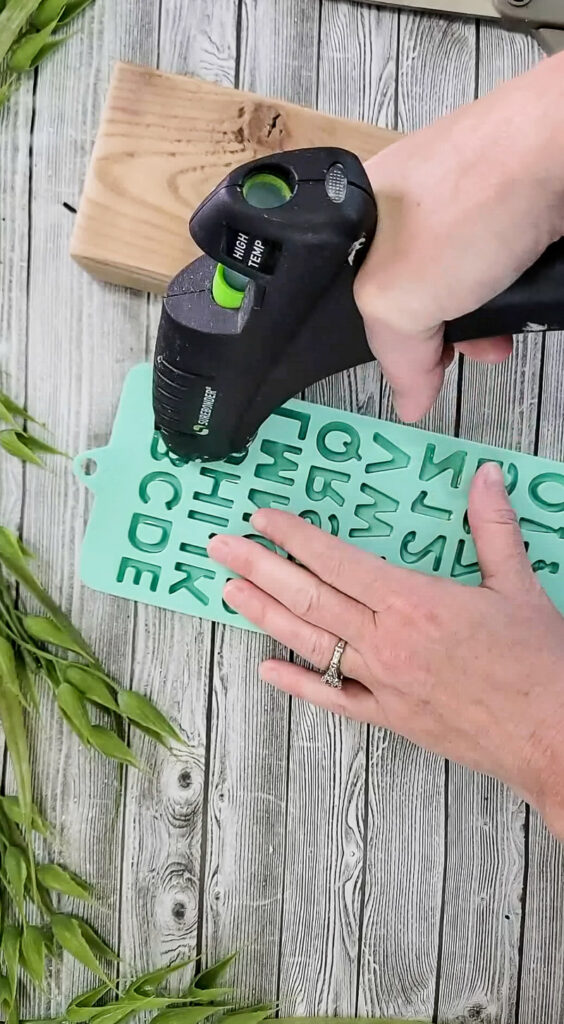
- Firstly, so they have time to set and dry, you’ll squirt hot glue into your mold. I wanted to do the word Bloom, but you can choose whatever you’d like! If you do this step first it gives them PLENTY of time to dry while you work on the other “stuff!”
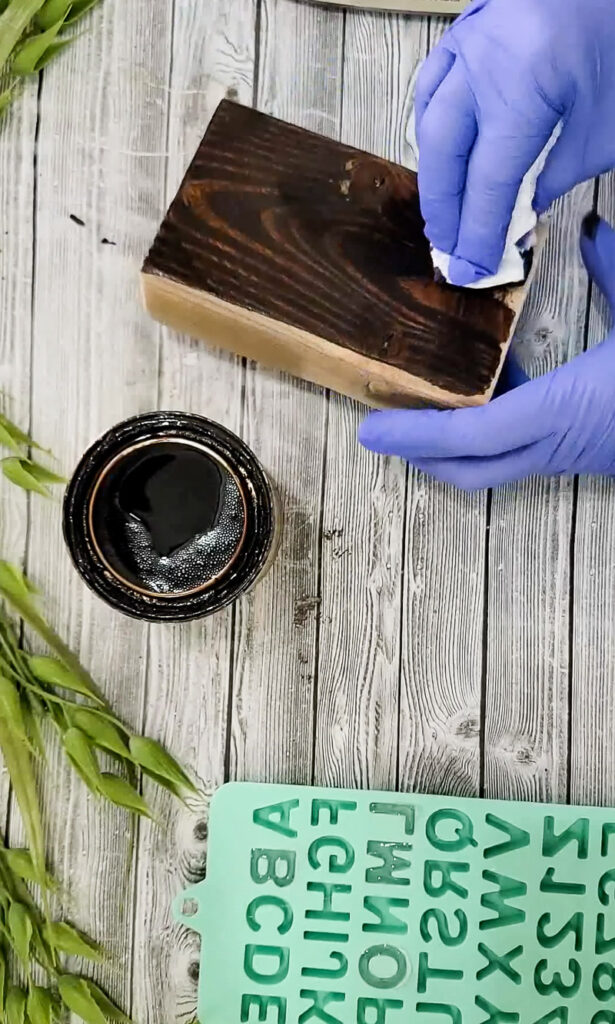
- Stain your wood block. This step is somewhat optional– if you’re okay with the look of your block, you can leave it alone, or even choose to paint it instead! Your call completely!

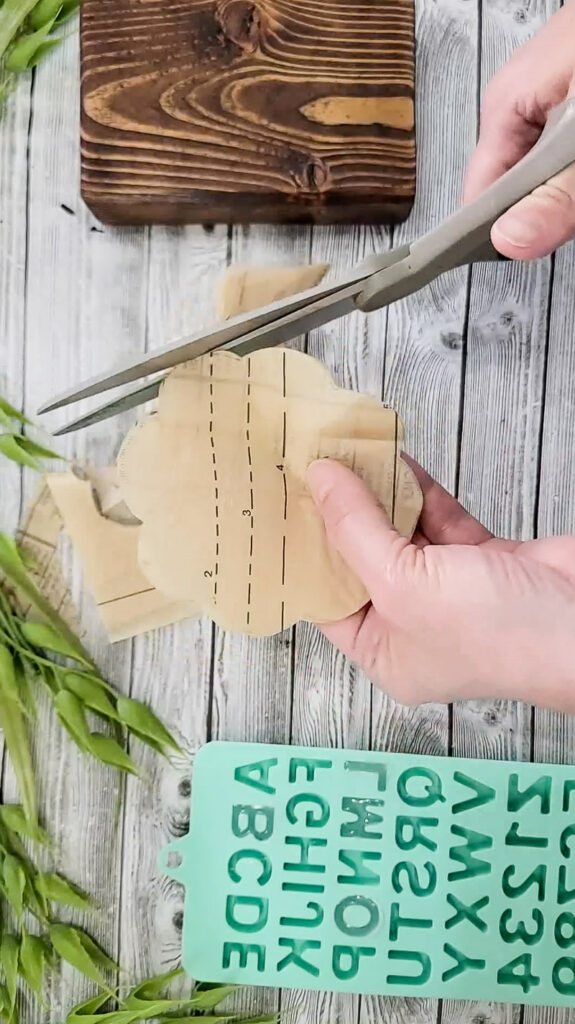
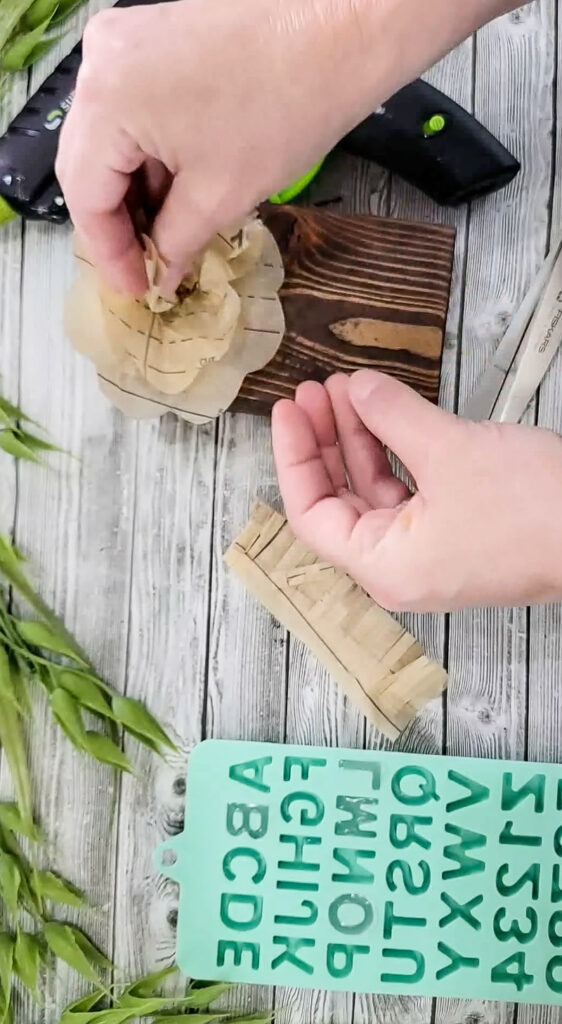
- Let your stain dry and begin to cut out a flower shape in your sewing pattern. You can use a stencil or freehand, but the way this will be used, it really doesn’t need to be perfect!

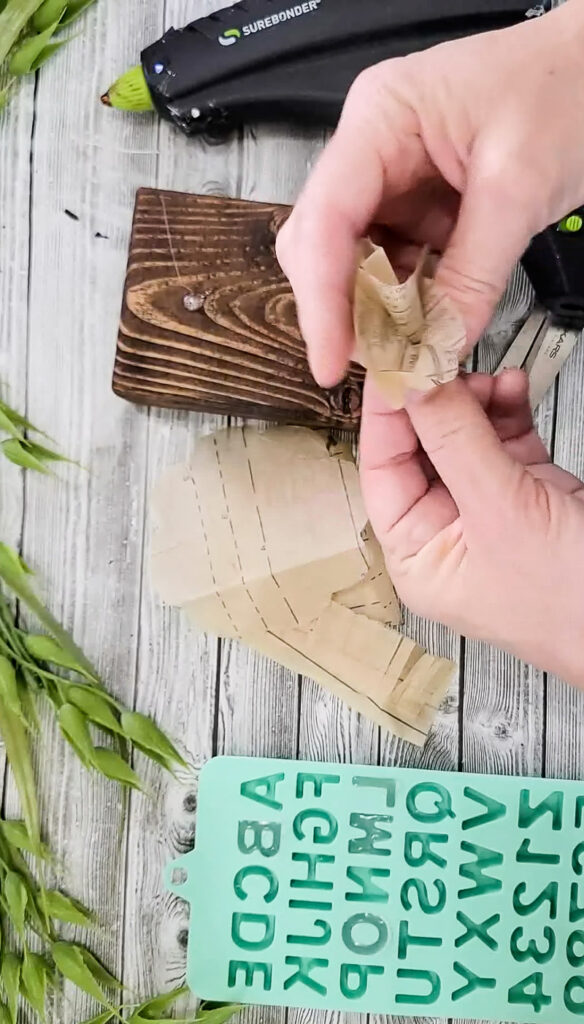
- Cut out a few of these flower shapes. Once you’re done cutting, grab the center and fluff the sides up. You’re going to hot glue the center down but you want the sides to stick up and be 3D!

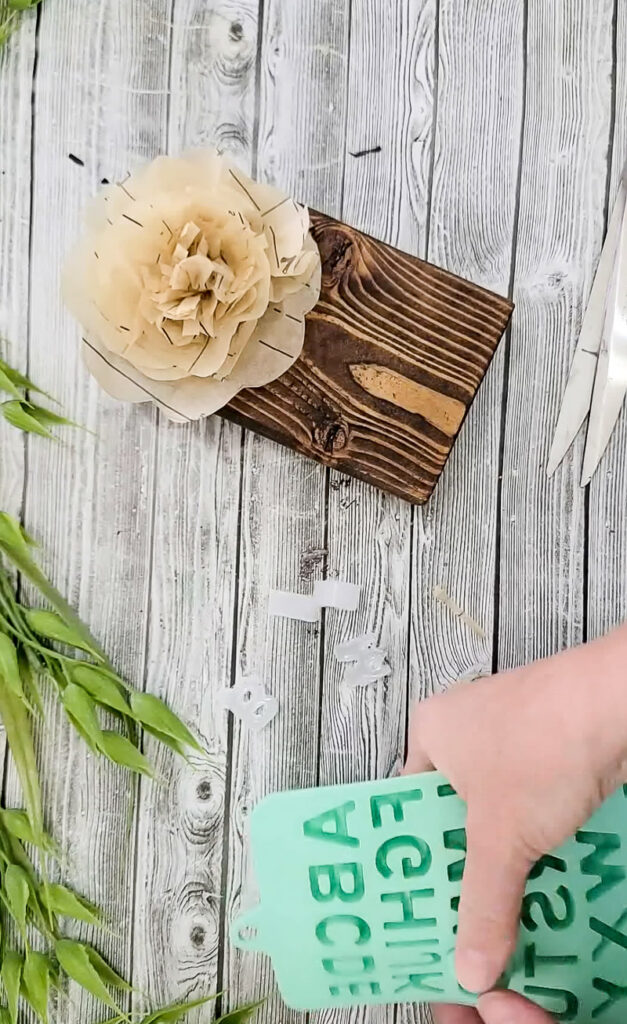
- Just continue to stack and glue flowers on top of each other until it looks full!

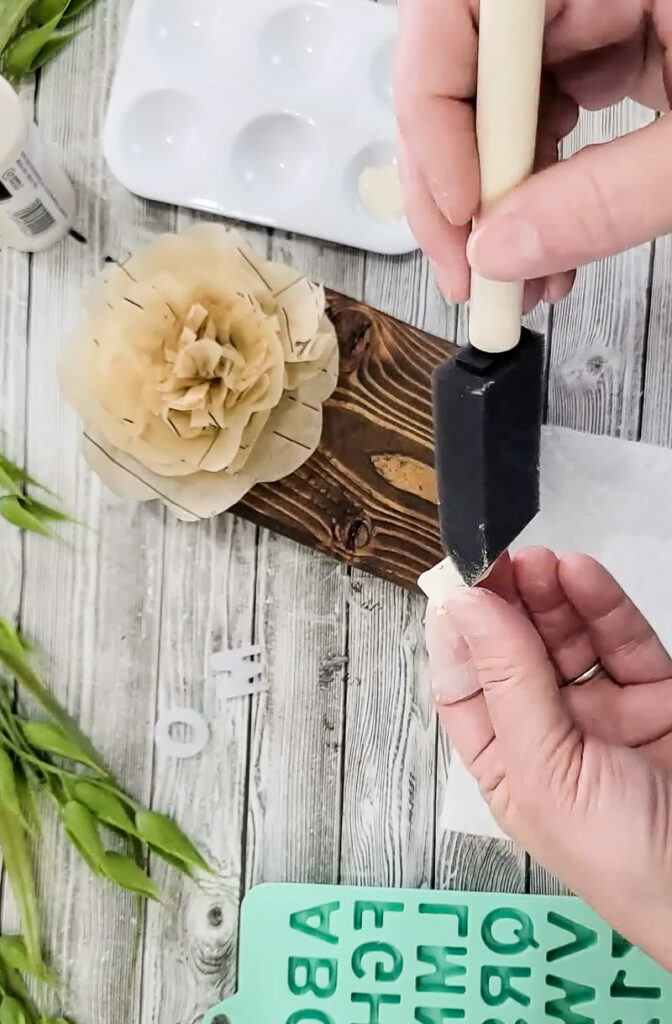
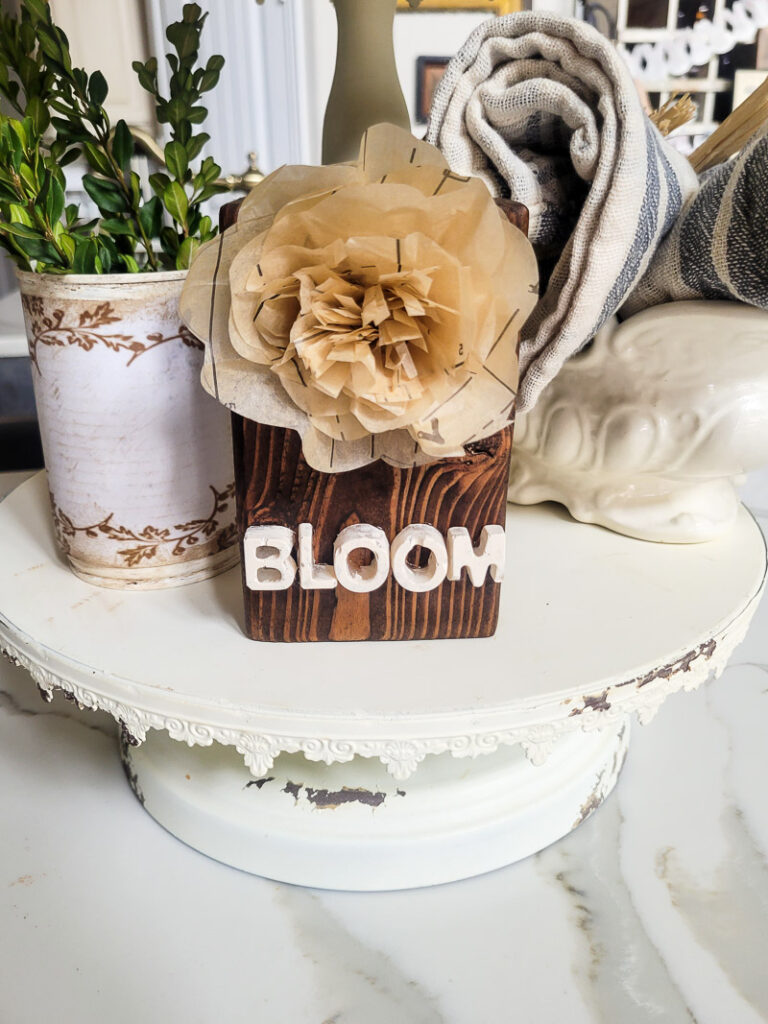
- At this point, your letters SHOULD be dry, so it’s time to pop them out! I painted mine an off-white color so they stood out against the stain on the wood block!


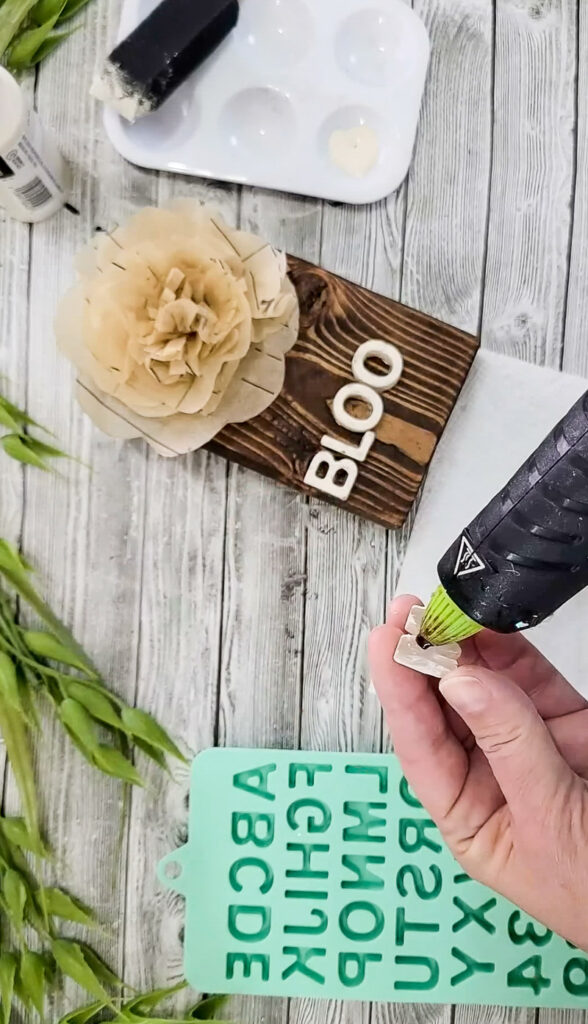
- Now, use hot glue to apply your hot glue letters!

And that’s pretty much it!! I absolutely LOVE this method to create lettering– it was the first time I’ve tried it and I can’t wait to do it again!
You truly can’t beat an easy craft like this one!!
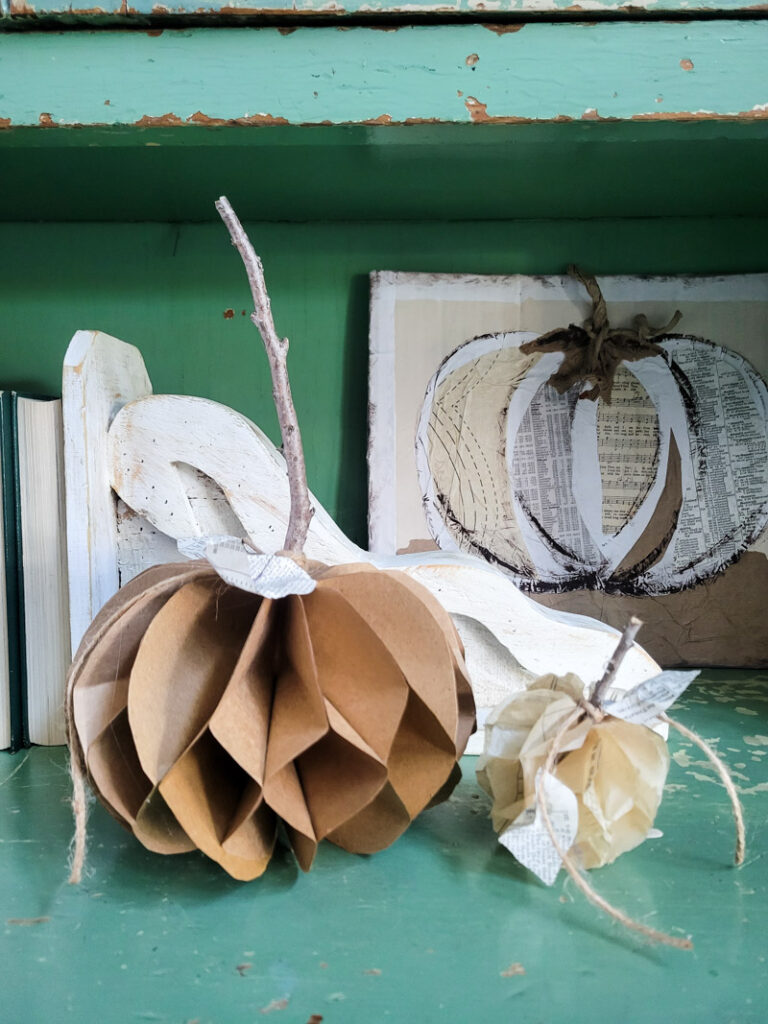
If you’d like to see more easy Spring crafts like this one, click HERE!
Do you put anything in the mold before you put in the glue? Like baking soda?
Your project turned out really cute!
thanks so much Mary – nothing added! just straight into the mold with the hot glue
Kim,
I really like this little shelf sitter. It is an easy craft to make with leftover wood, paper, etc. If one didn’t have any wooden letters, they could just write words on the wood with a paint marker, Sharpie, or paintbrush. This is so cute, and a neat craft for my senior residents at an assisted living facility. We like to keep them busy with crafts they can make with arthritic hands and slow movements.
Thanks for the tutorial that taught me how to make a shelf sitter.