Cardboard Gourd Decor DIY
Someone recently commented on my Instagram page and said I was the queen of cardboard… and truthfully, I’m ok with that title! I DO in fact love using cardboard in my DIYs and crafts because it’s so easy to manipulate into exactly what I want. And my daily Amazon purchases make sure I have excess cardboard, so it’s also a little recycling method I like to use (the planet can thank me later)! Today, I’m going to show you how to make cardboard gourd decor and you too might decide to become a cardboard queen!!
what you need
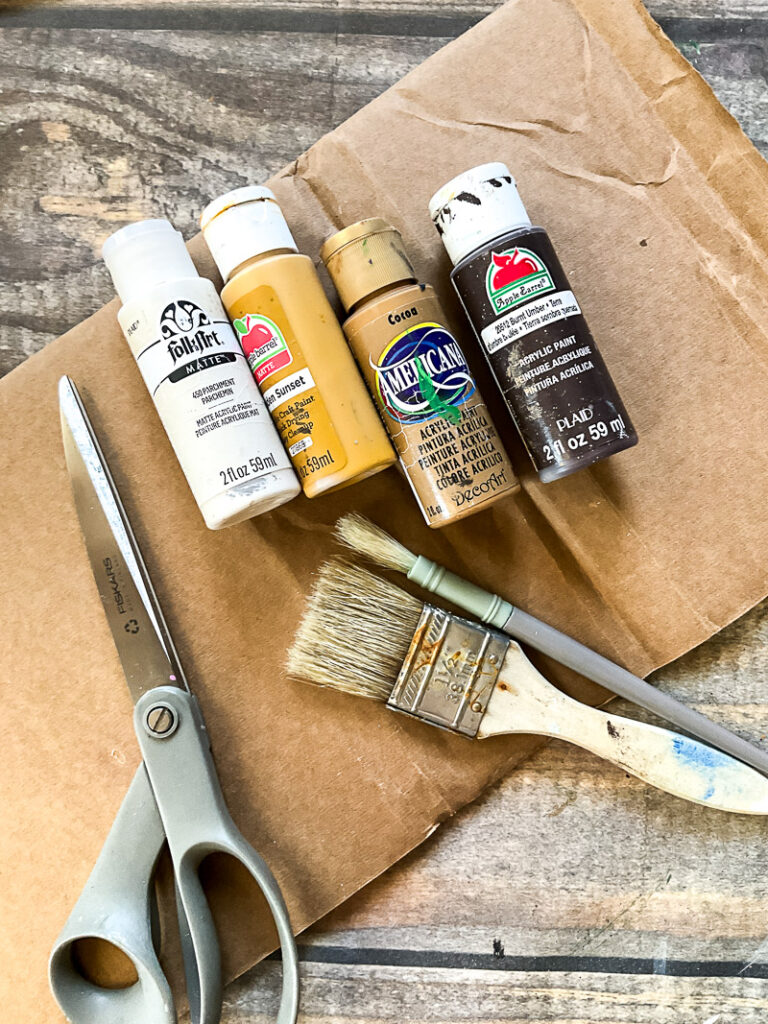
- cardboard
- Paint
- Folkart in Parchment or similar
- Apple Barrel in Golden Sunset or similar
- DecoArt Americana in Cocoa or similar
- Apple Barrel in Burnt Umber or similar
- Chip brush
- pencil
- scissors
- glue gun
how to make cardboard gourd decor
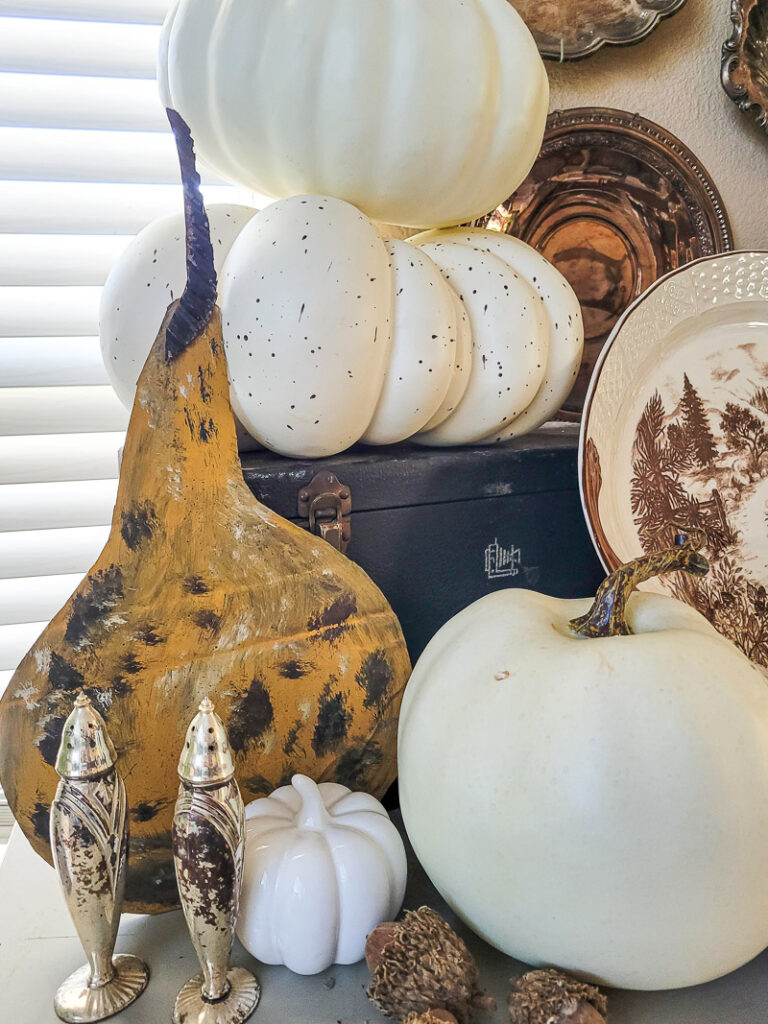
- Draw a rough outline of a gourd. You can copy my shape or google gourds and pick your favorite. I know this is generally the step that trips people up, but you LITERALLY can’t mess it up. Gourds are naturally a bit wonky and weird, so it’s ok if your outline is too! After getting the shape you want, cut it out! I made 2 different ones, but you can make however many you want!!
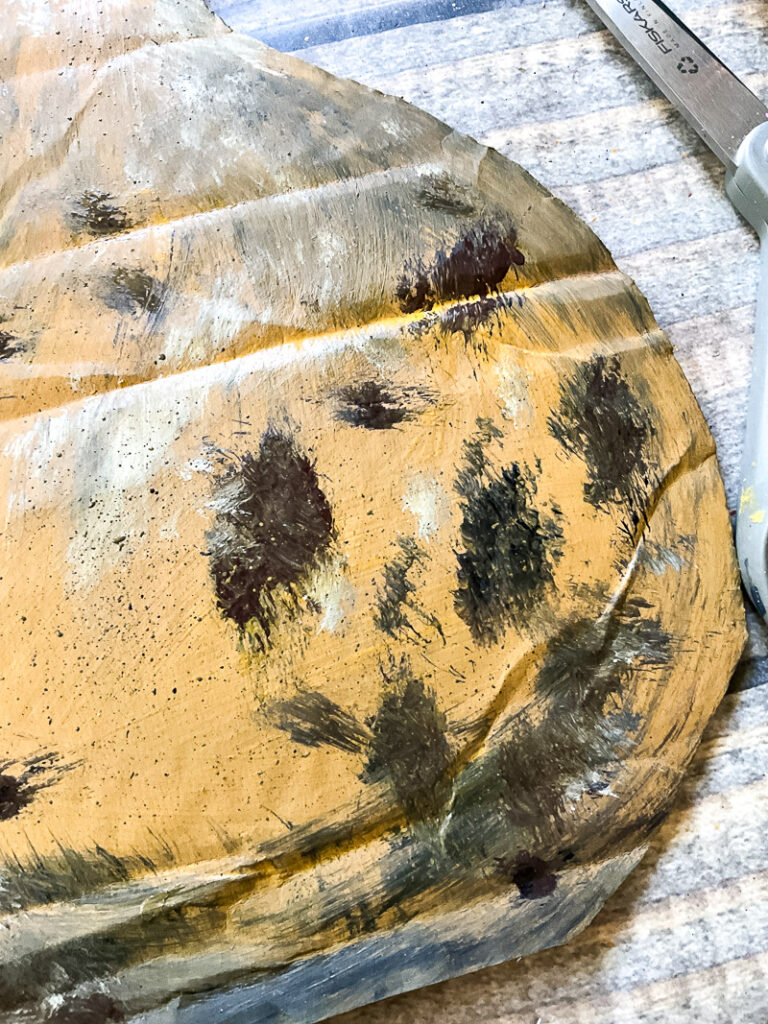
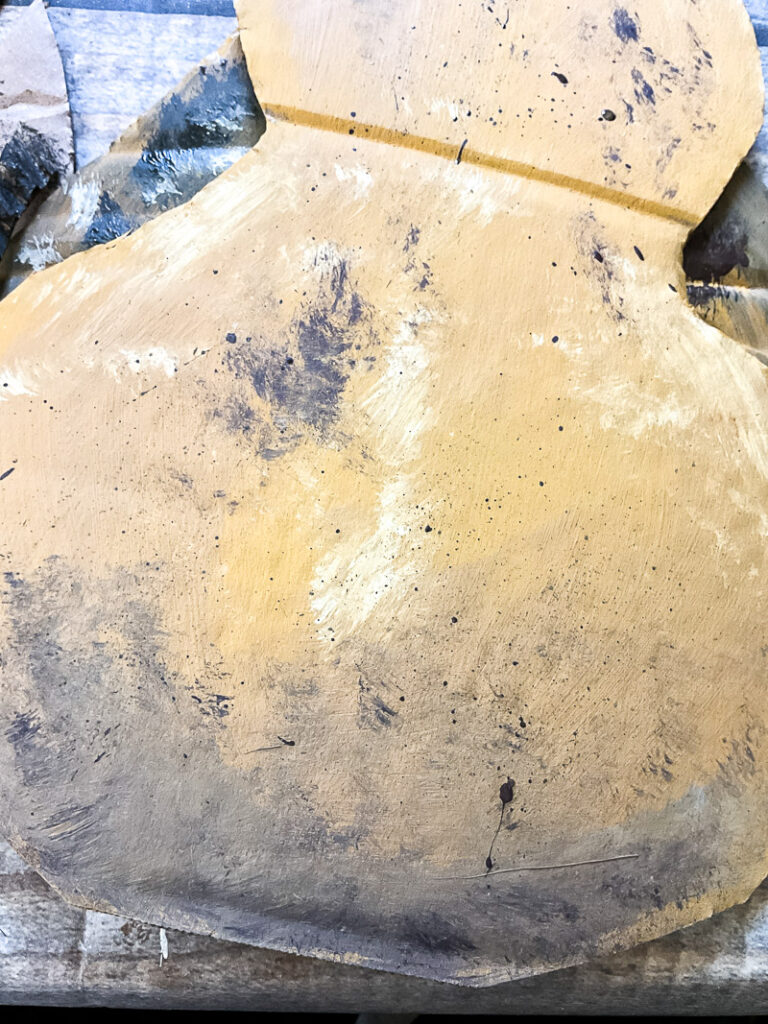
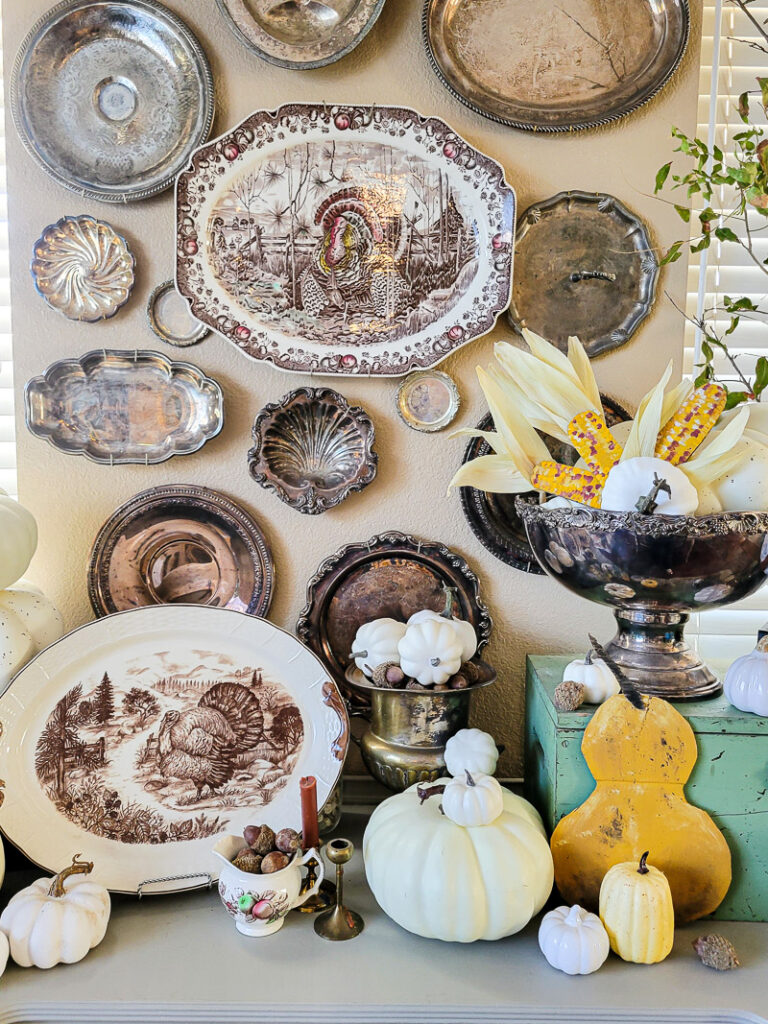
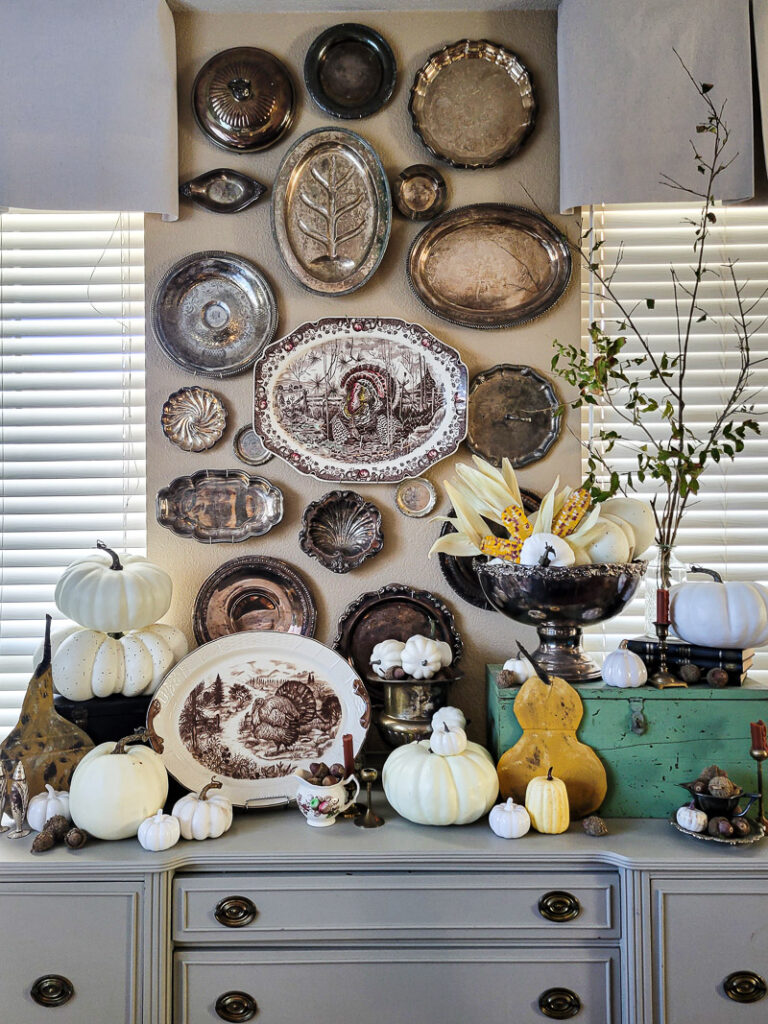
- On my first gourd, I painted the base golden sunset and then went overtop to accent it some with the cocoa color. But on my second one, I mixed the two and painted the base with that. You can use the exact same colors or use what you have- it doesn’t have to be exactly the same!
- This is the part where you rough them up a bit. With my chip brush and some parchment paint, I made little accents along the gourd. I did the same with the color burnt umber, and as the last painting trick, I splashed a little paint on the gourd. To do this, just use your finger and flick the brush onto your project.

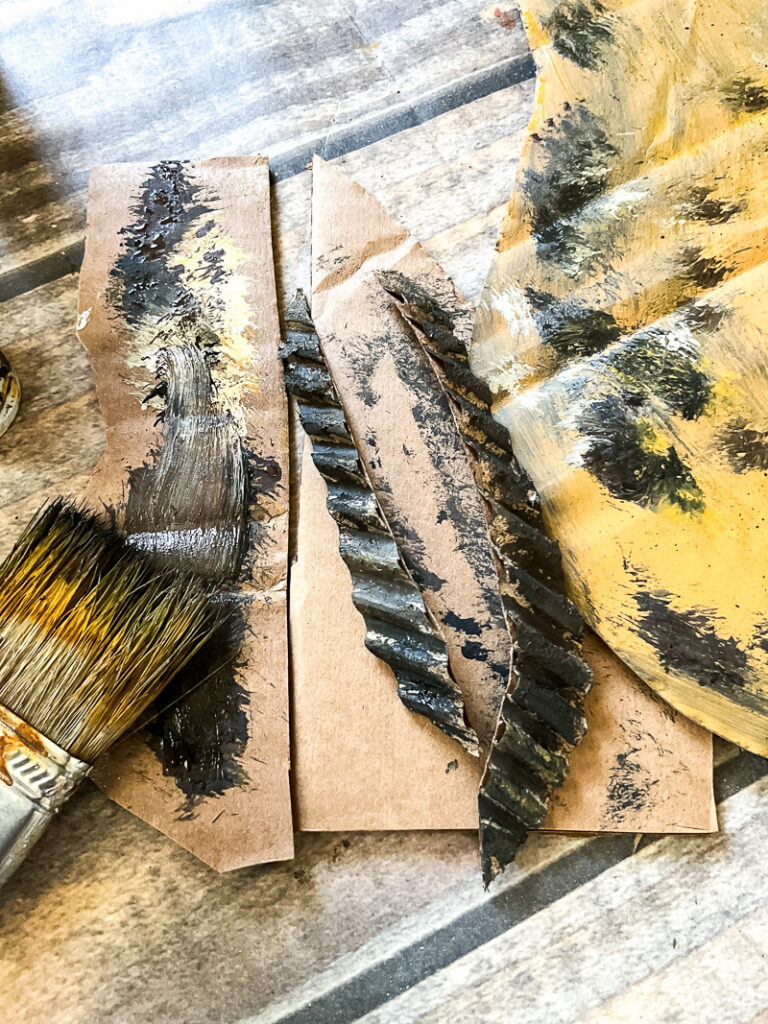
- With some scrap cardboard, I cut out little stems, got them wet, and then ripped off some of the cardboard to expose the corrugation. I then painted them with burnt umber and cocoa and hot glued them onto the gourds.
And that’s IT! This cardboard gourd decor is absolutely precious and seriously so budget-friendly!! If you already have some paints, maybe even FREE!
You can put these outside similar to my DIY heirloom pumpkins (you can see that project HERE) or inside as a little accent!

love how easy your instructions are to follow.